


Phil Coffins
69 Cal.
A buddy bought this kit as he started into this sport. He came to me hoping for help building it so I set him down and explained why he should not open the package but sell it and get a better kit. Well he got it cheap and despite my best efforts felt the learning experience would be good so we started. The farther we went the more he learned and bought a nice rifle and shot it for the summer. He has three rifles in flint and percussion now and has lost all interest in over coming the short coming of the Traditions kit. Silly me, Asked him if I could see what can be done with it. So here we go:
Problem one, Tang is straight but should be curved. A bit of filing then hammering.
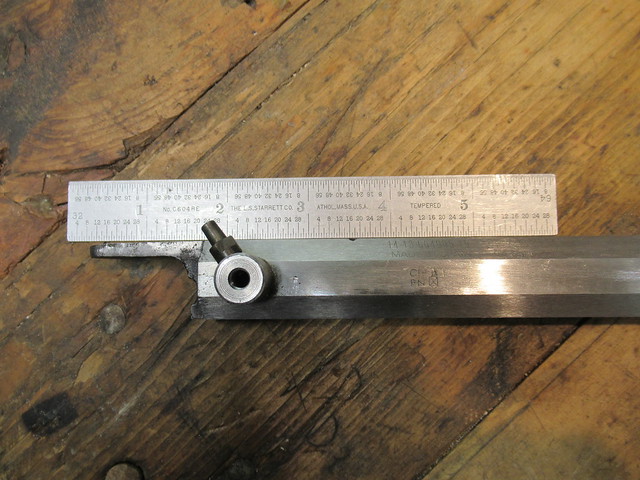 IMG_0384 by Oliver Sudden, on Flickr
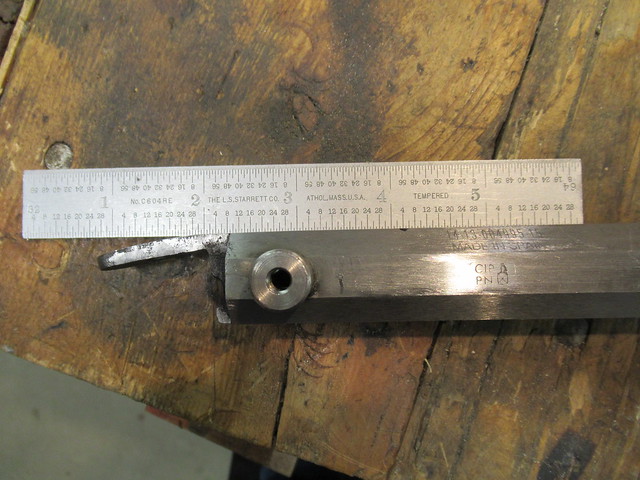 IMG_0385 by Oliver Sudden, on Flickr
Problem one, Tang is straight but should be curved. A bit of filing then hammering.
IMG_0384 by Oliver Sudden, on Flickr
IMG_0385 by Oliver Sudden, on Flickr IMG_0383
 IMG_0387
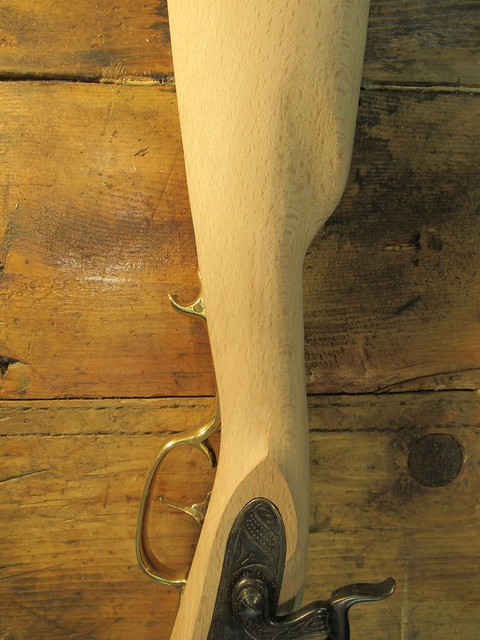 IMG_0388
 IMG_0386
 IMG_0389
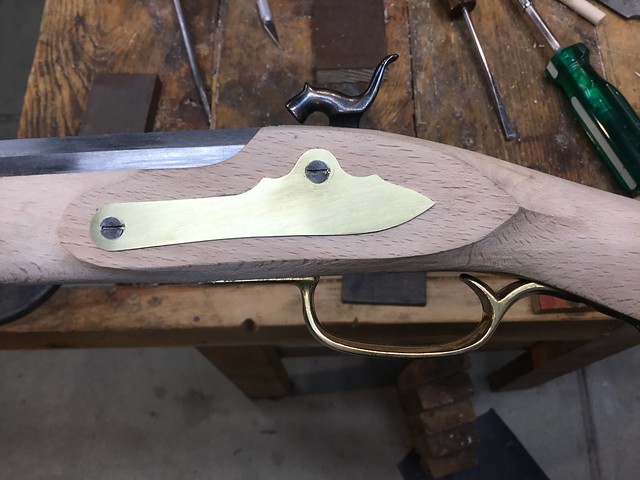 49E35F97-03EC-4005-8E46-A662306C3BFB
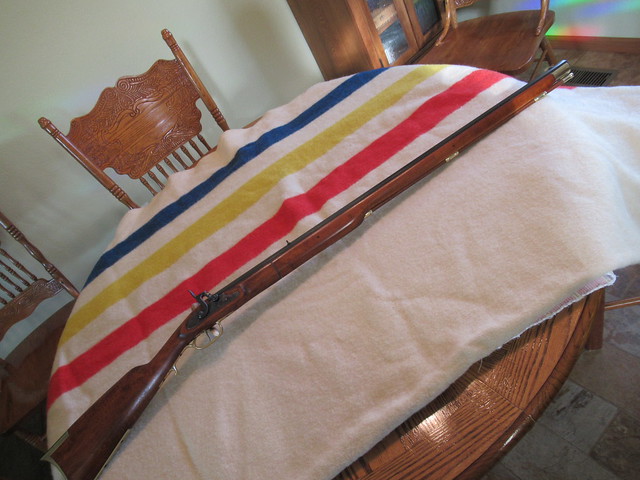 IMG_0390
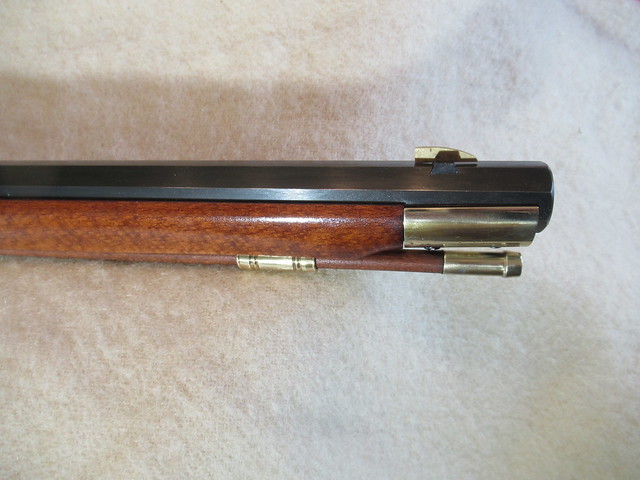 IMG_0393
 IMG_0391
 IMG_0392