I took the logo off a GM barrel, the punch method, it took about 10 minutes before draw filing. Looks like burnishing is a lost cause.
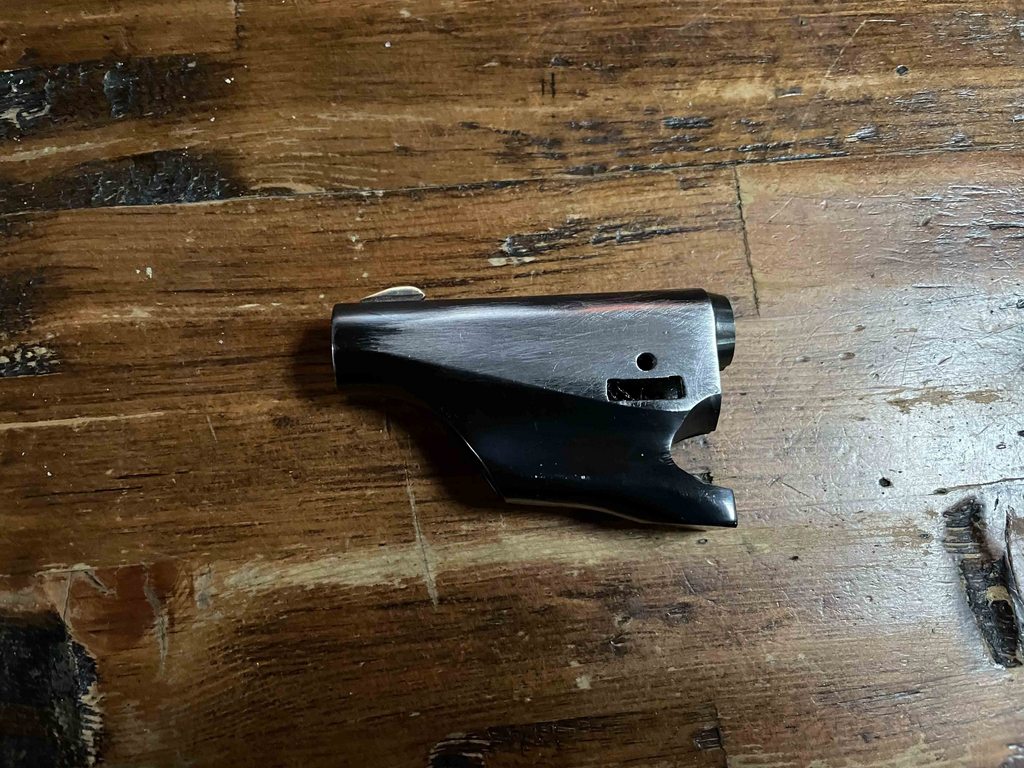
Here is the finished result, the logo was an inch or so forward of the touchhole liner. I struggled to fit the breechplug, when I finally got it perfect the logo was on the side flat, I didn't want to advance the tang two more flats so I stopped where I was and removed the logo.

Here is the finished result, the logo was an inch or so forward of the touchhole liner. I struggled to fit the breechplug, when I finally got it perfect the logo was on the side flat, I didn't want to advance the tang two more flats so I stopped where I was and removed the logo.