


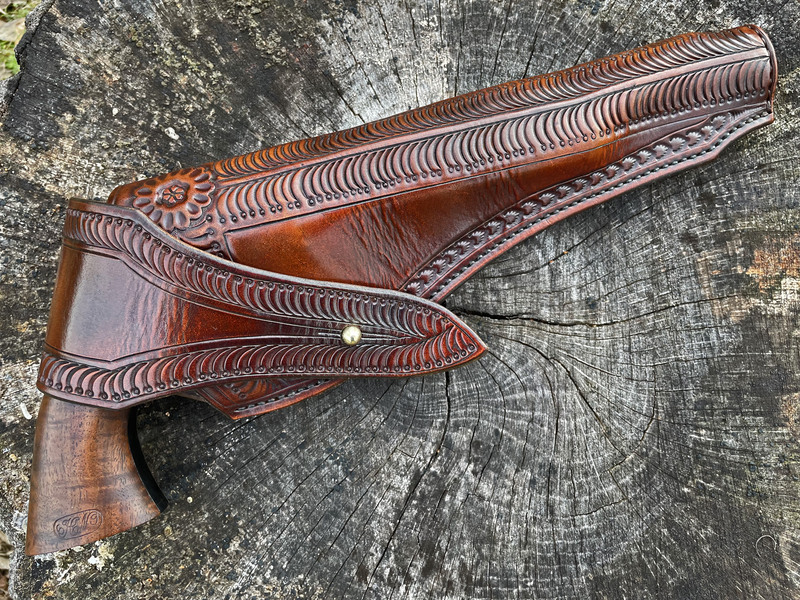
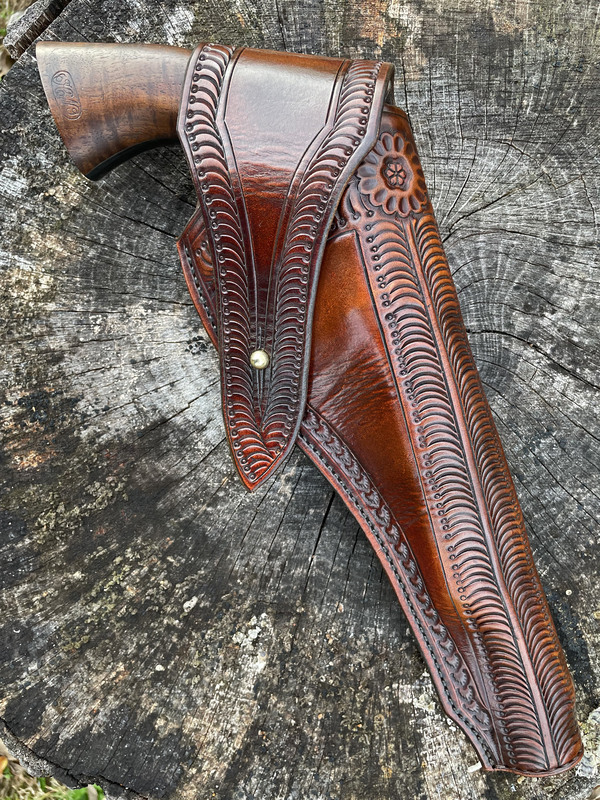
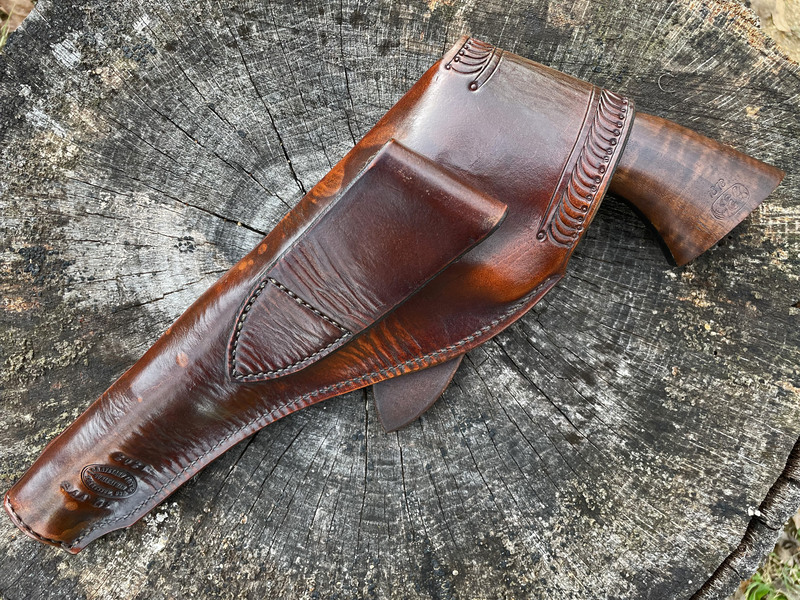
I've wanted to try this pattern for a long time but always dreaded the trial and error involved in designing the flap. I started to do a plain black military pattern but just couldn't do it. I took design queues from both military and civilian versions. Sam Browne button instead of the usual keeper. The stamping pattern from page 74 of Packing Iron. I didn't really like the way the pattern on the original turned the corner at the top of the throat, so I used a rosette to facilitate the turn in the pattern. I had to wait until the holster was assembled and wet formed before I could finalize the design of the flap and stamp it out. Chestnut brown with some aging effects. Decided to do a sewn toe plug as well. It turned out pretty good.


Page 74 of Packing Iron.
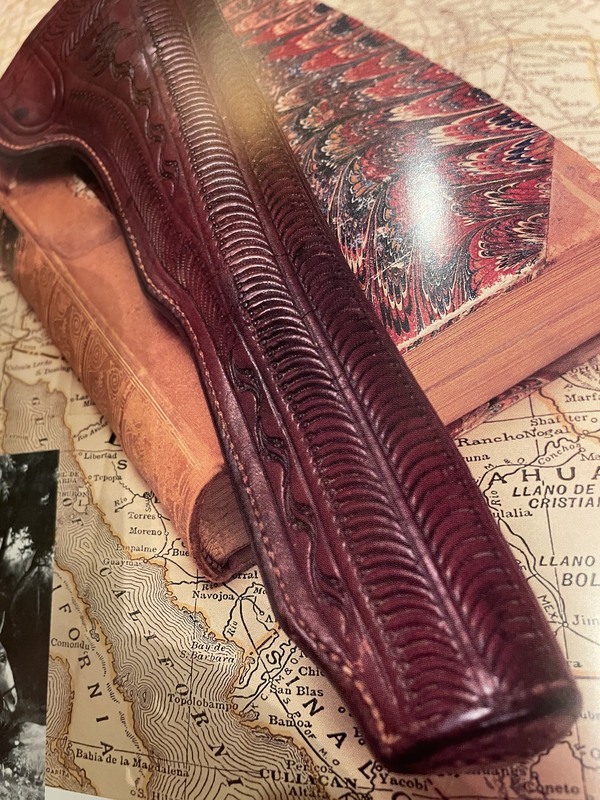
Page 74 of Packing Iron.


")

