• This community needs YOUR help today. We rely 100% on Supporting Memberships to fund our efforts. With the ever increasing fees of everything, we need help. We need more Supporting Members, today. Please invest back into this community. I will ship a few decals too in addition to all the account perks you get.


    Sign up here: https://www.muzzleloadingforum.com/account/upgrades
  • Friends, our 2nd Amendment rights are always under attack and the NRA has been a constant for decades in helping fight that fight.

    We have partnered with the NRA to offer you a discount on membership and Muzzleloading Forum gets a small percentage too of each membership, so you are supporting both the NRA and us.

    Use this link to sign up please; https://membership.nra.org/recruiters/join/XR045103

Started my Kibler Colonial...

Muzzleloading Forum

Help Support Muzzleloading Forum:

This site may earn a commission from merchant affiliate links, including eBay, Amazon, and others.

bladegrinder

32 Cal
Joined
Nov 12, 2019
Messages
40
Reaction score
77
Location
Florida Panhandle
I started my Kibler Colonial a few days ago. I live in Florida and according to Laurel Mountain Forge Browning solution directions and reading up on it, it requires high humidity for best results.
so looking at the weather the humidity in my area was going to be in the high 90s yesterday and today with rain too so I figured that should be perfect. so I went ahead and set the barrel, drilled the tenons, oblonged them a little for stock changes, and set the nose cap.

I finished the barrel to 320 grit and started the browning, with this kind of humidity the first coat started to rust in 5 min., off to a good start ! I applied 5 coats 3 hours apart, carded a couple times and applied one last coat this morning, cleaned up and oiled it real good with a couple wipe downs. this barrel came out great ! I don't think I could have asked for a better looking finish.

So...a couple problems,
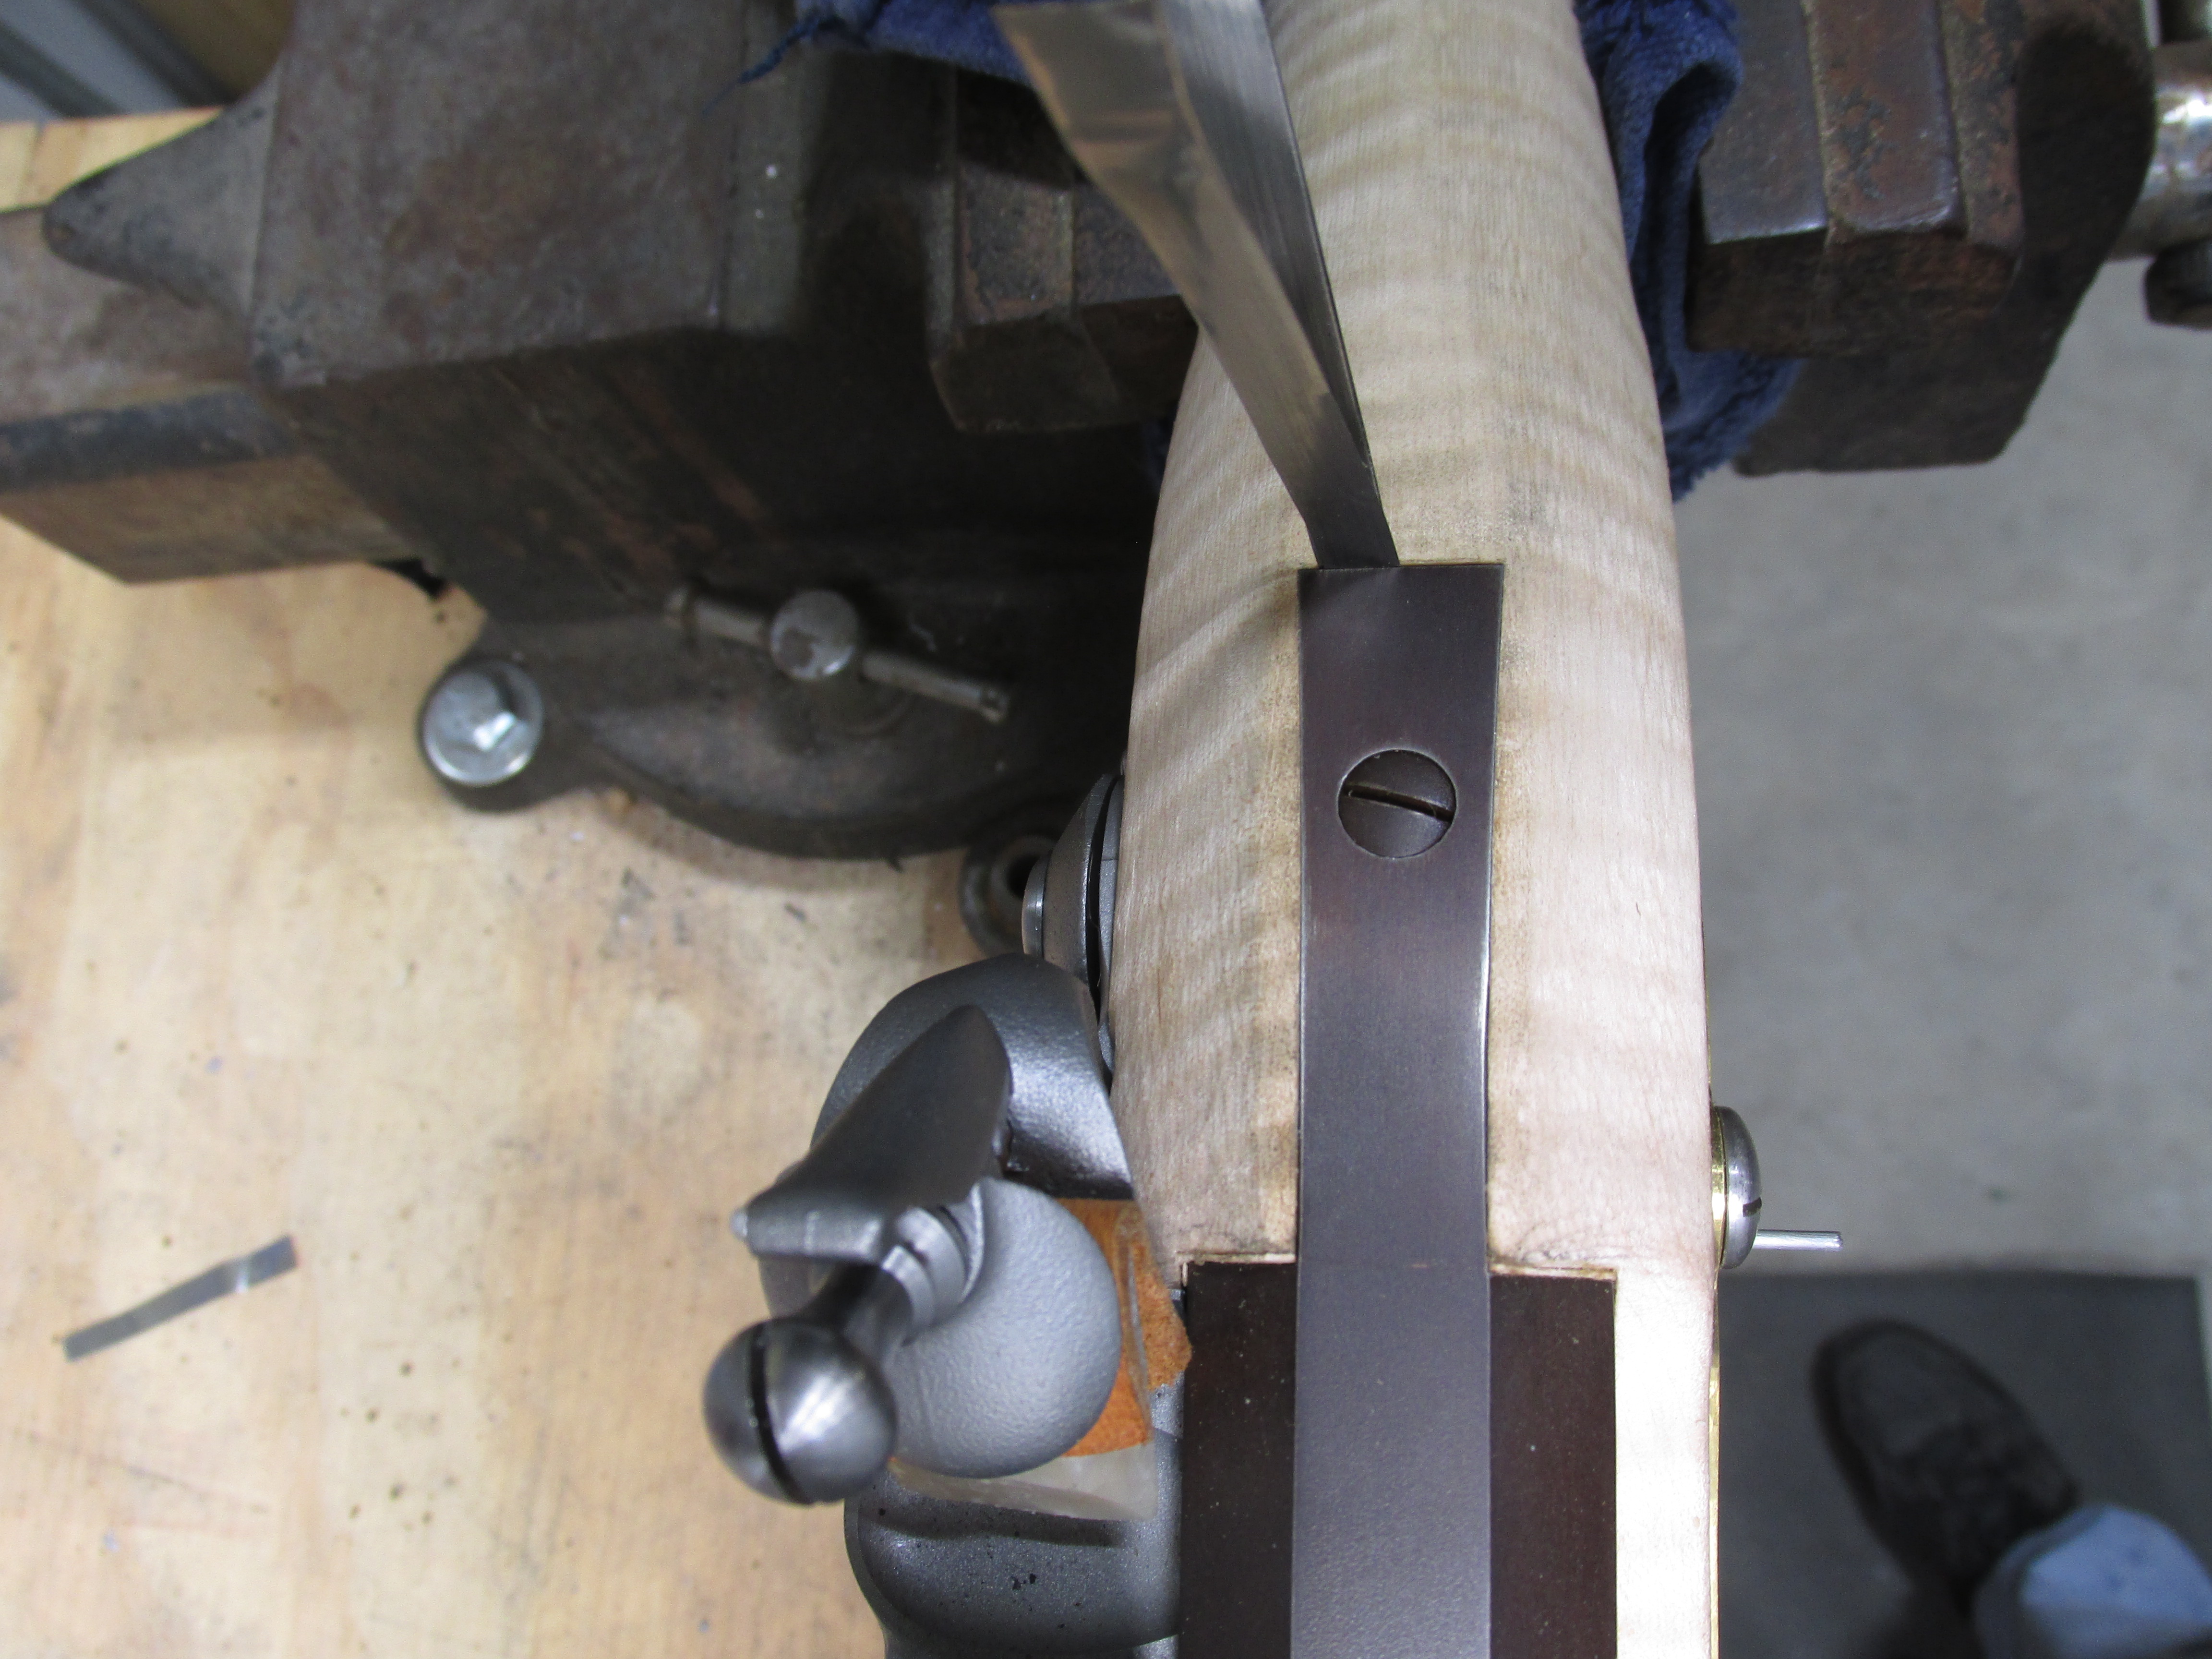
First, when I set the barrel back in the stock the pins wouldn't go in. big uh oh moment. it turns out that stock was sitting out in that humidity for two days and grew 1/6" with an ever slight bow downwards. I elongated the the holes in the tenons and alls good again, in a way it might have been good for this to happen because this rifle is going to see a lot of humid days hunting and now I won't end up with bent pins or stock problems in the future and wonder what happened.

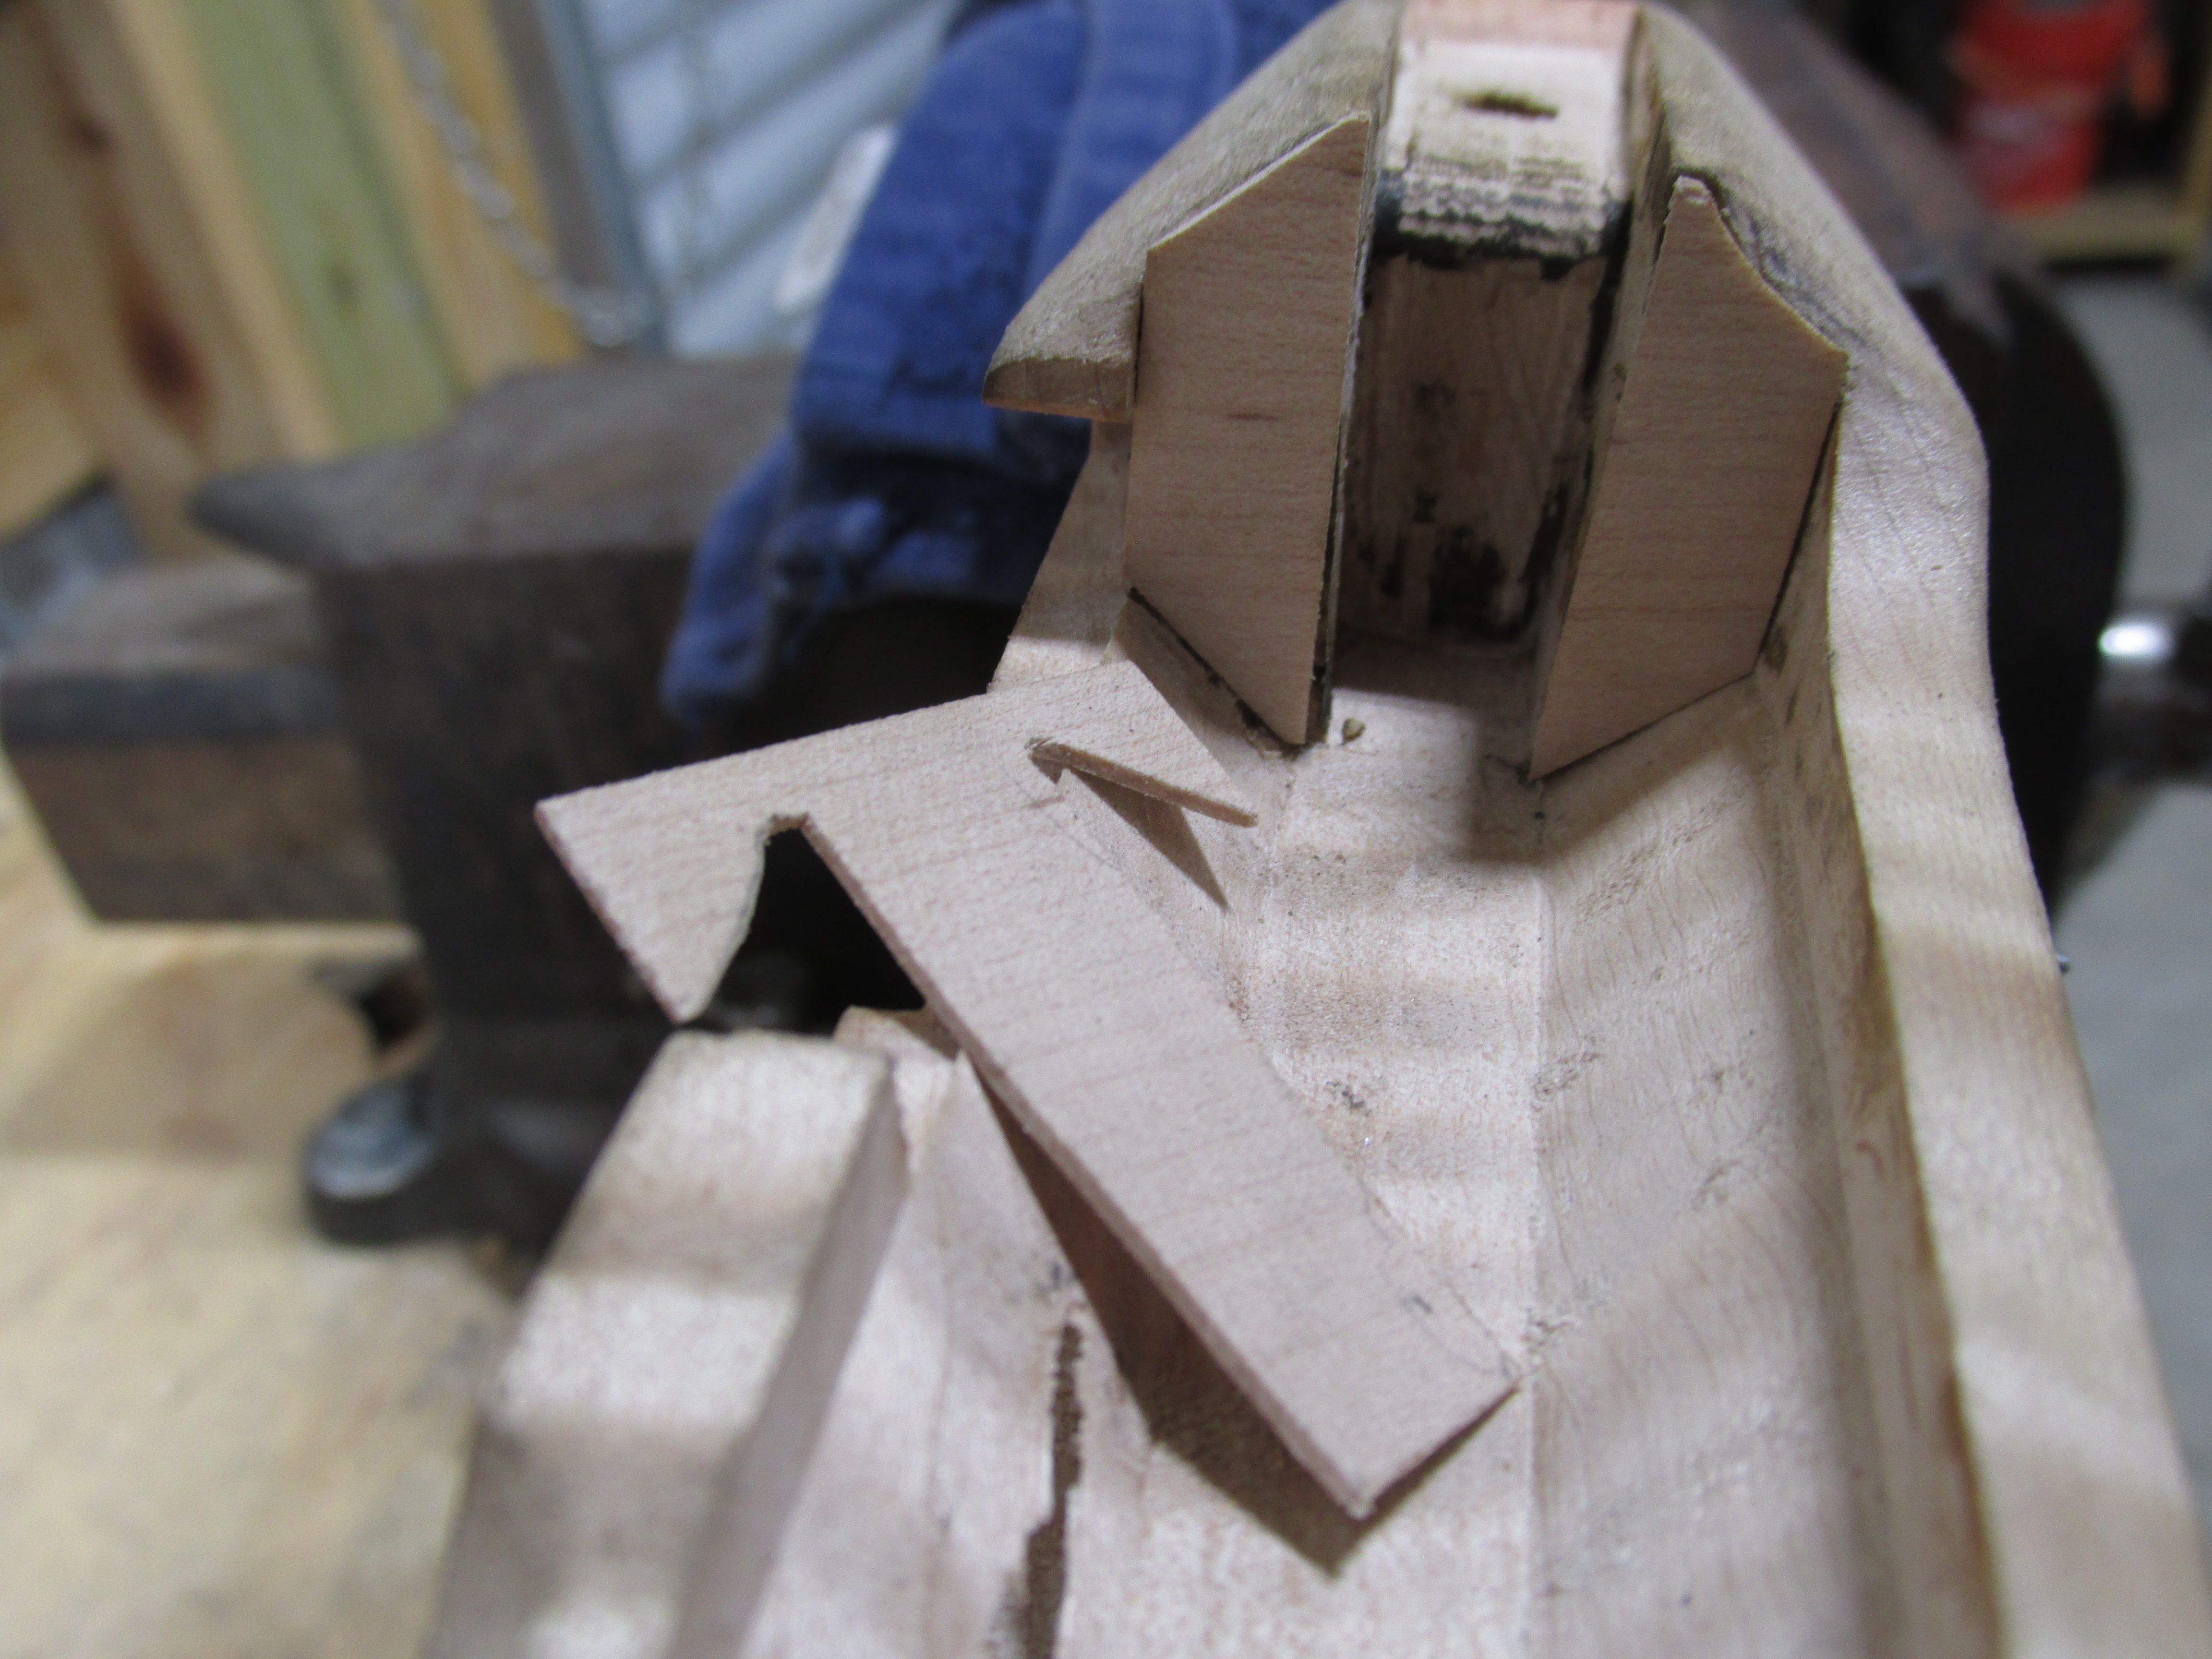
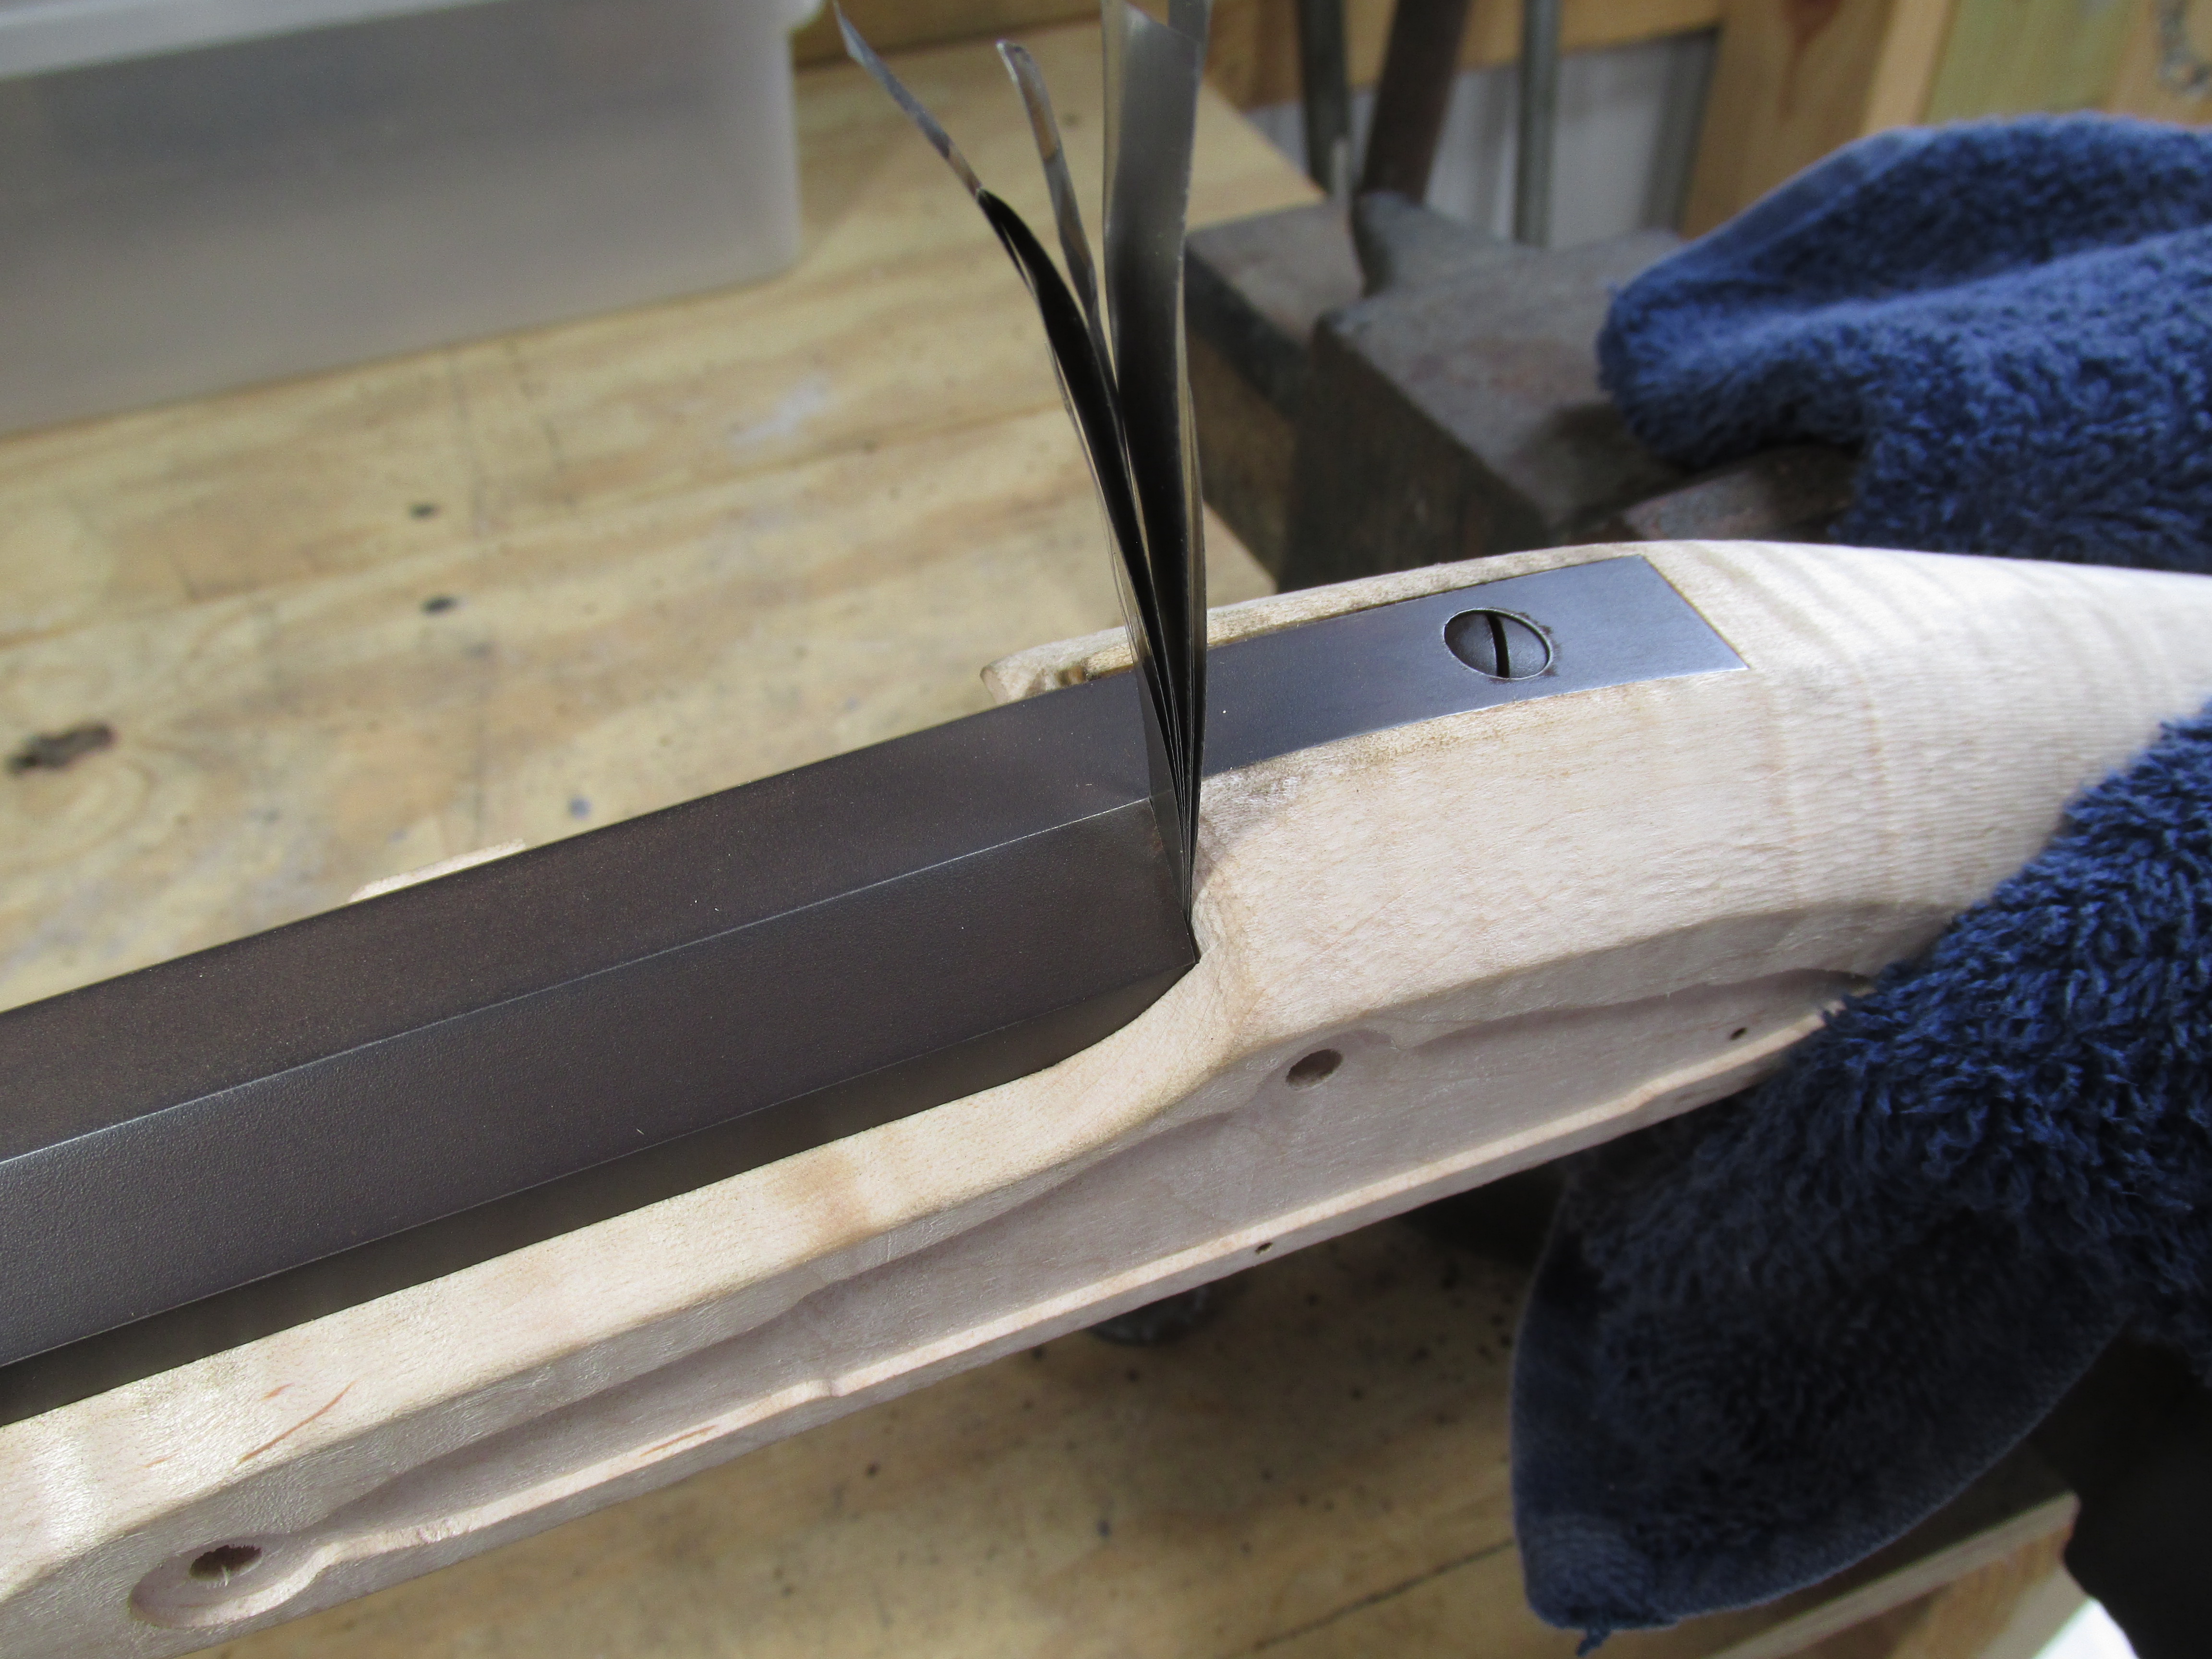
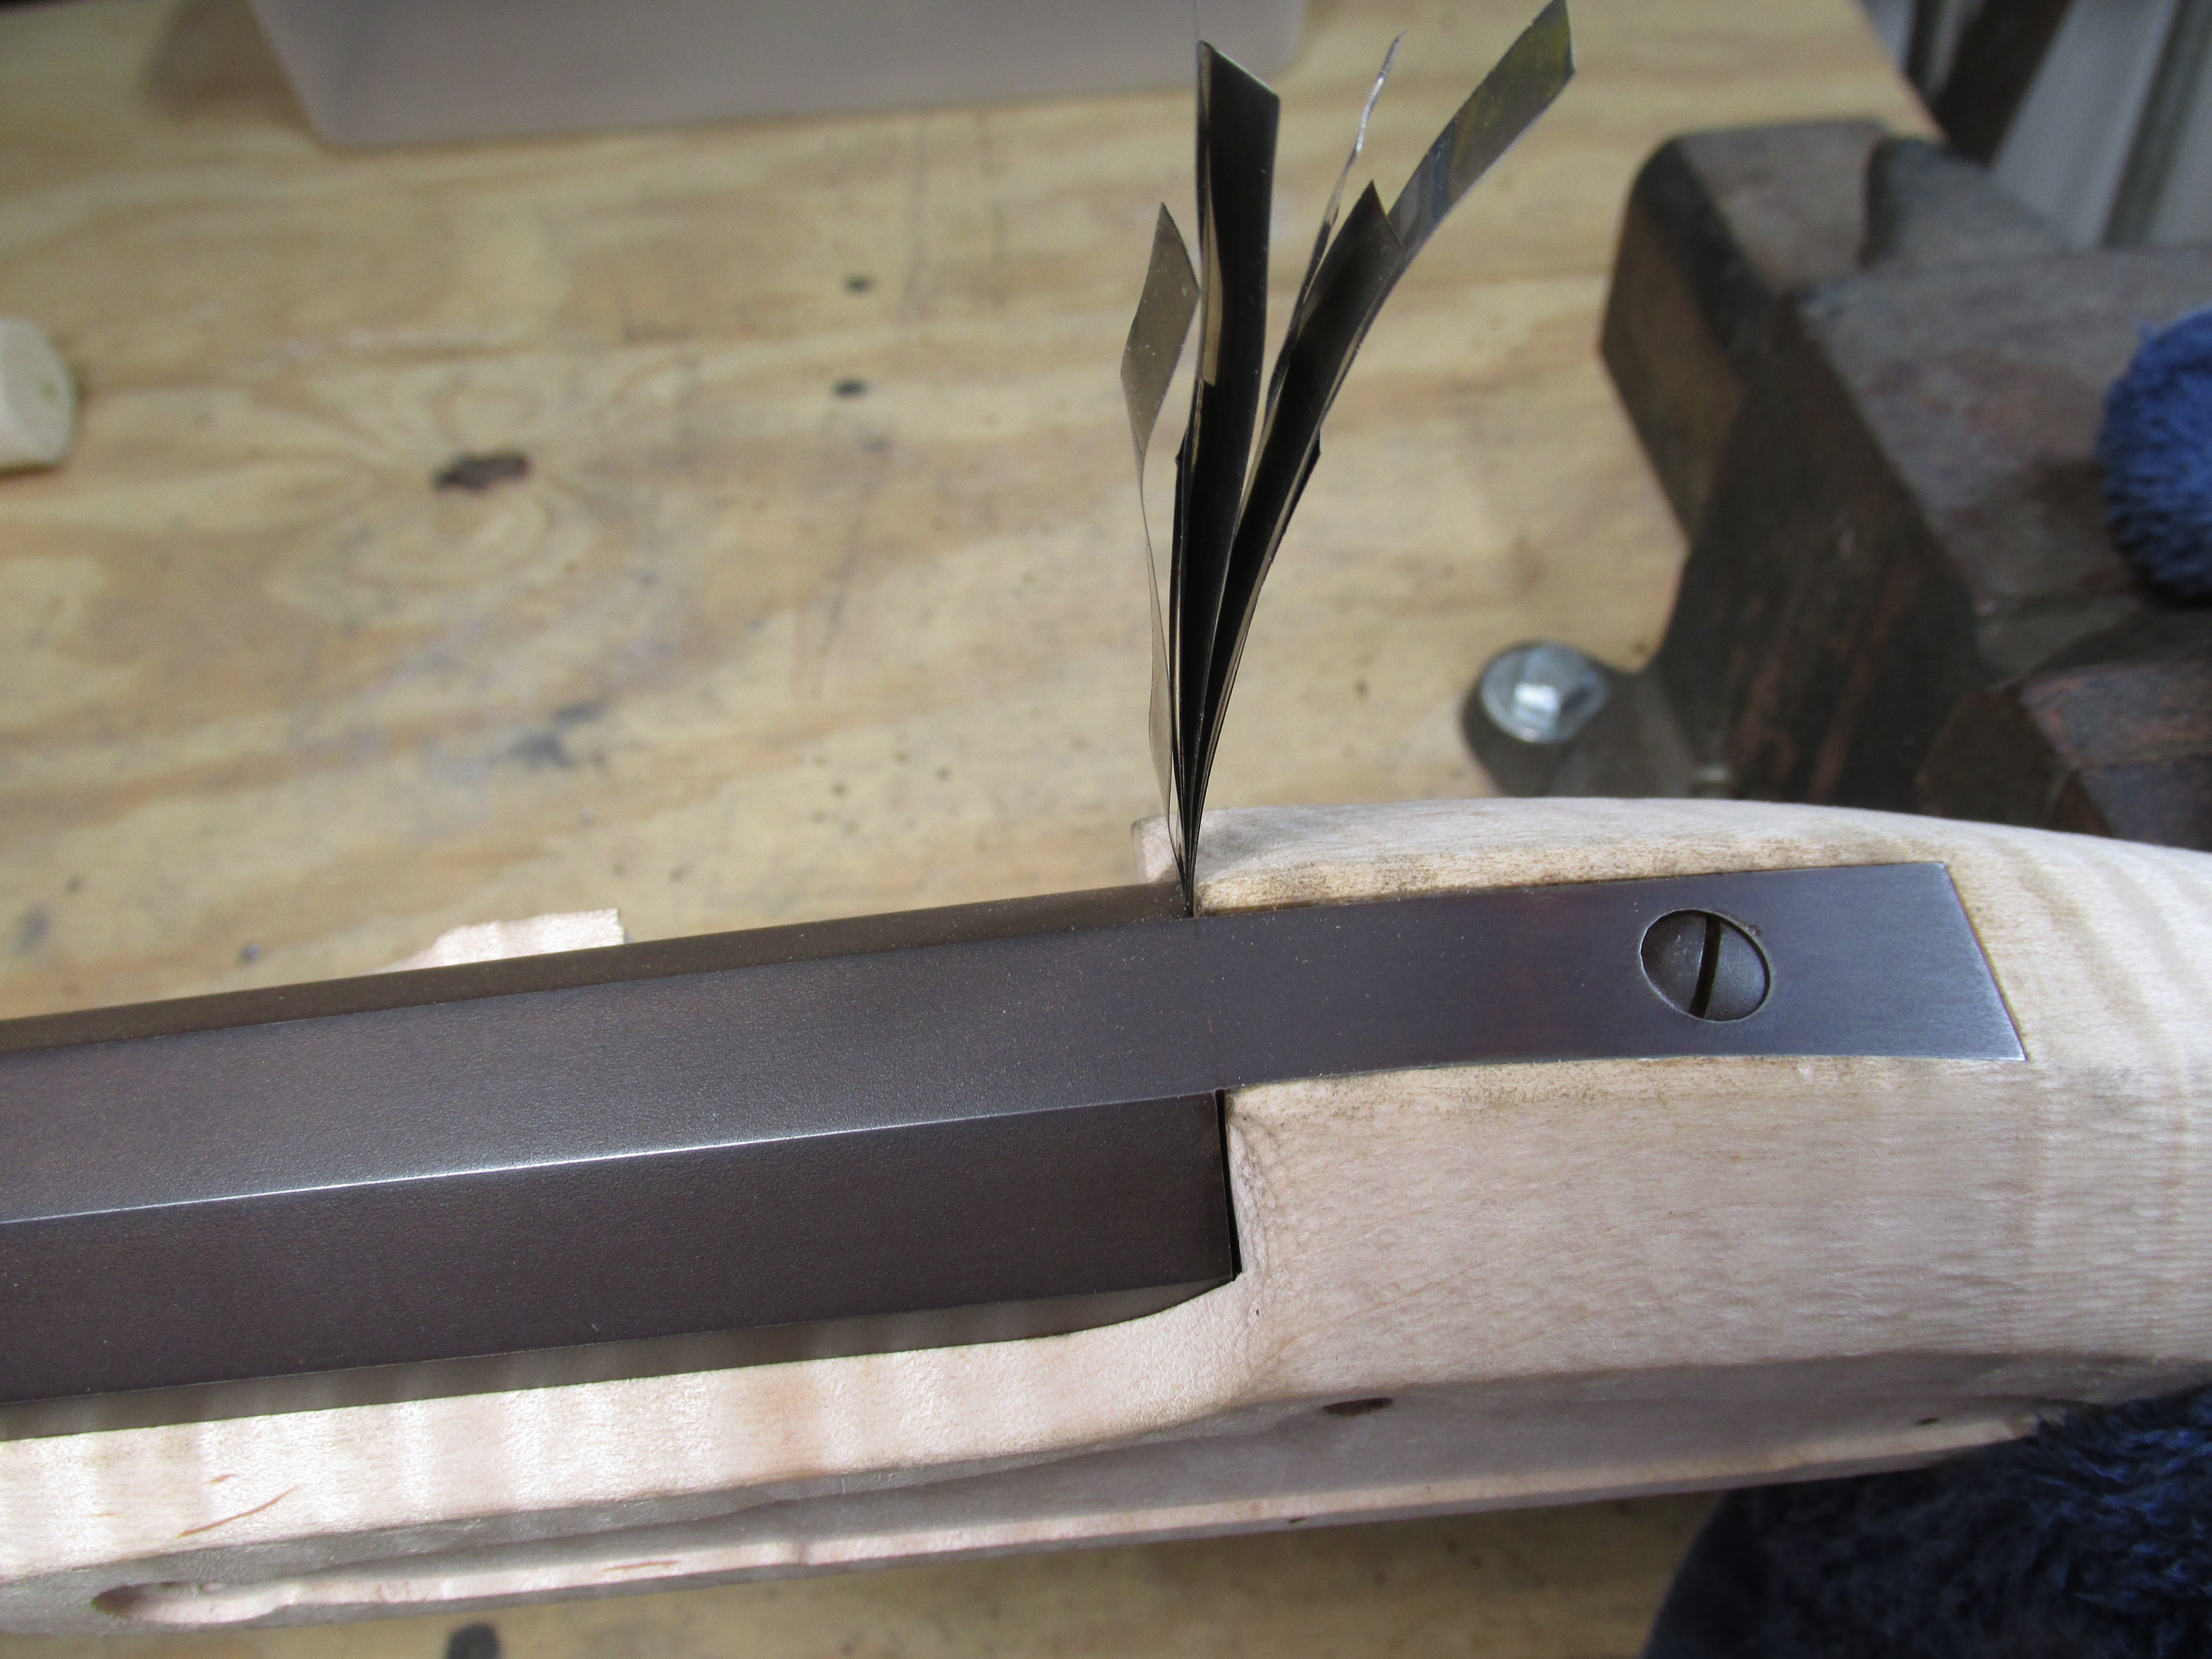
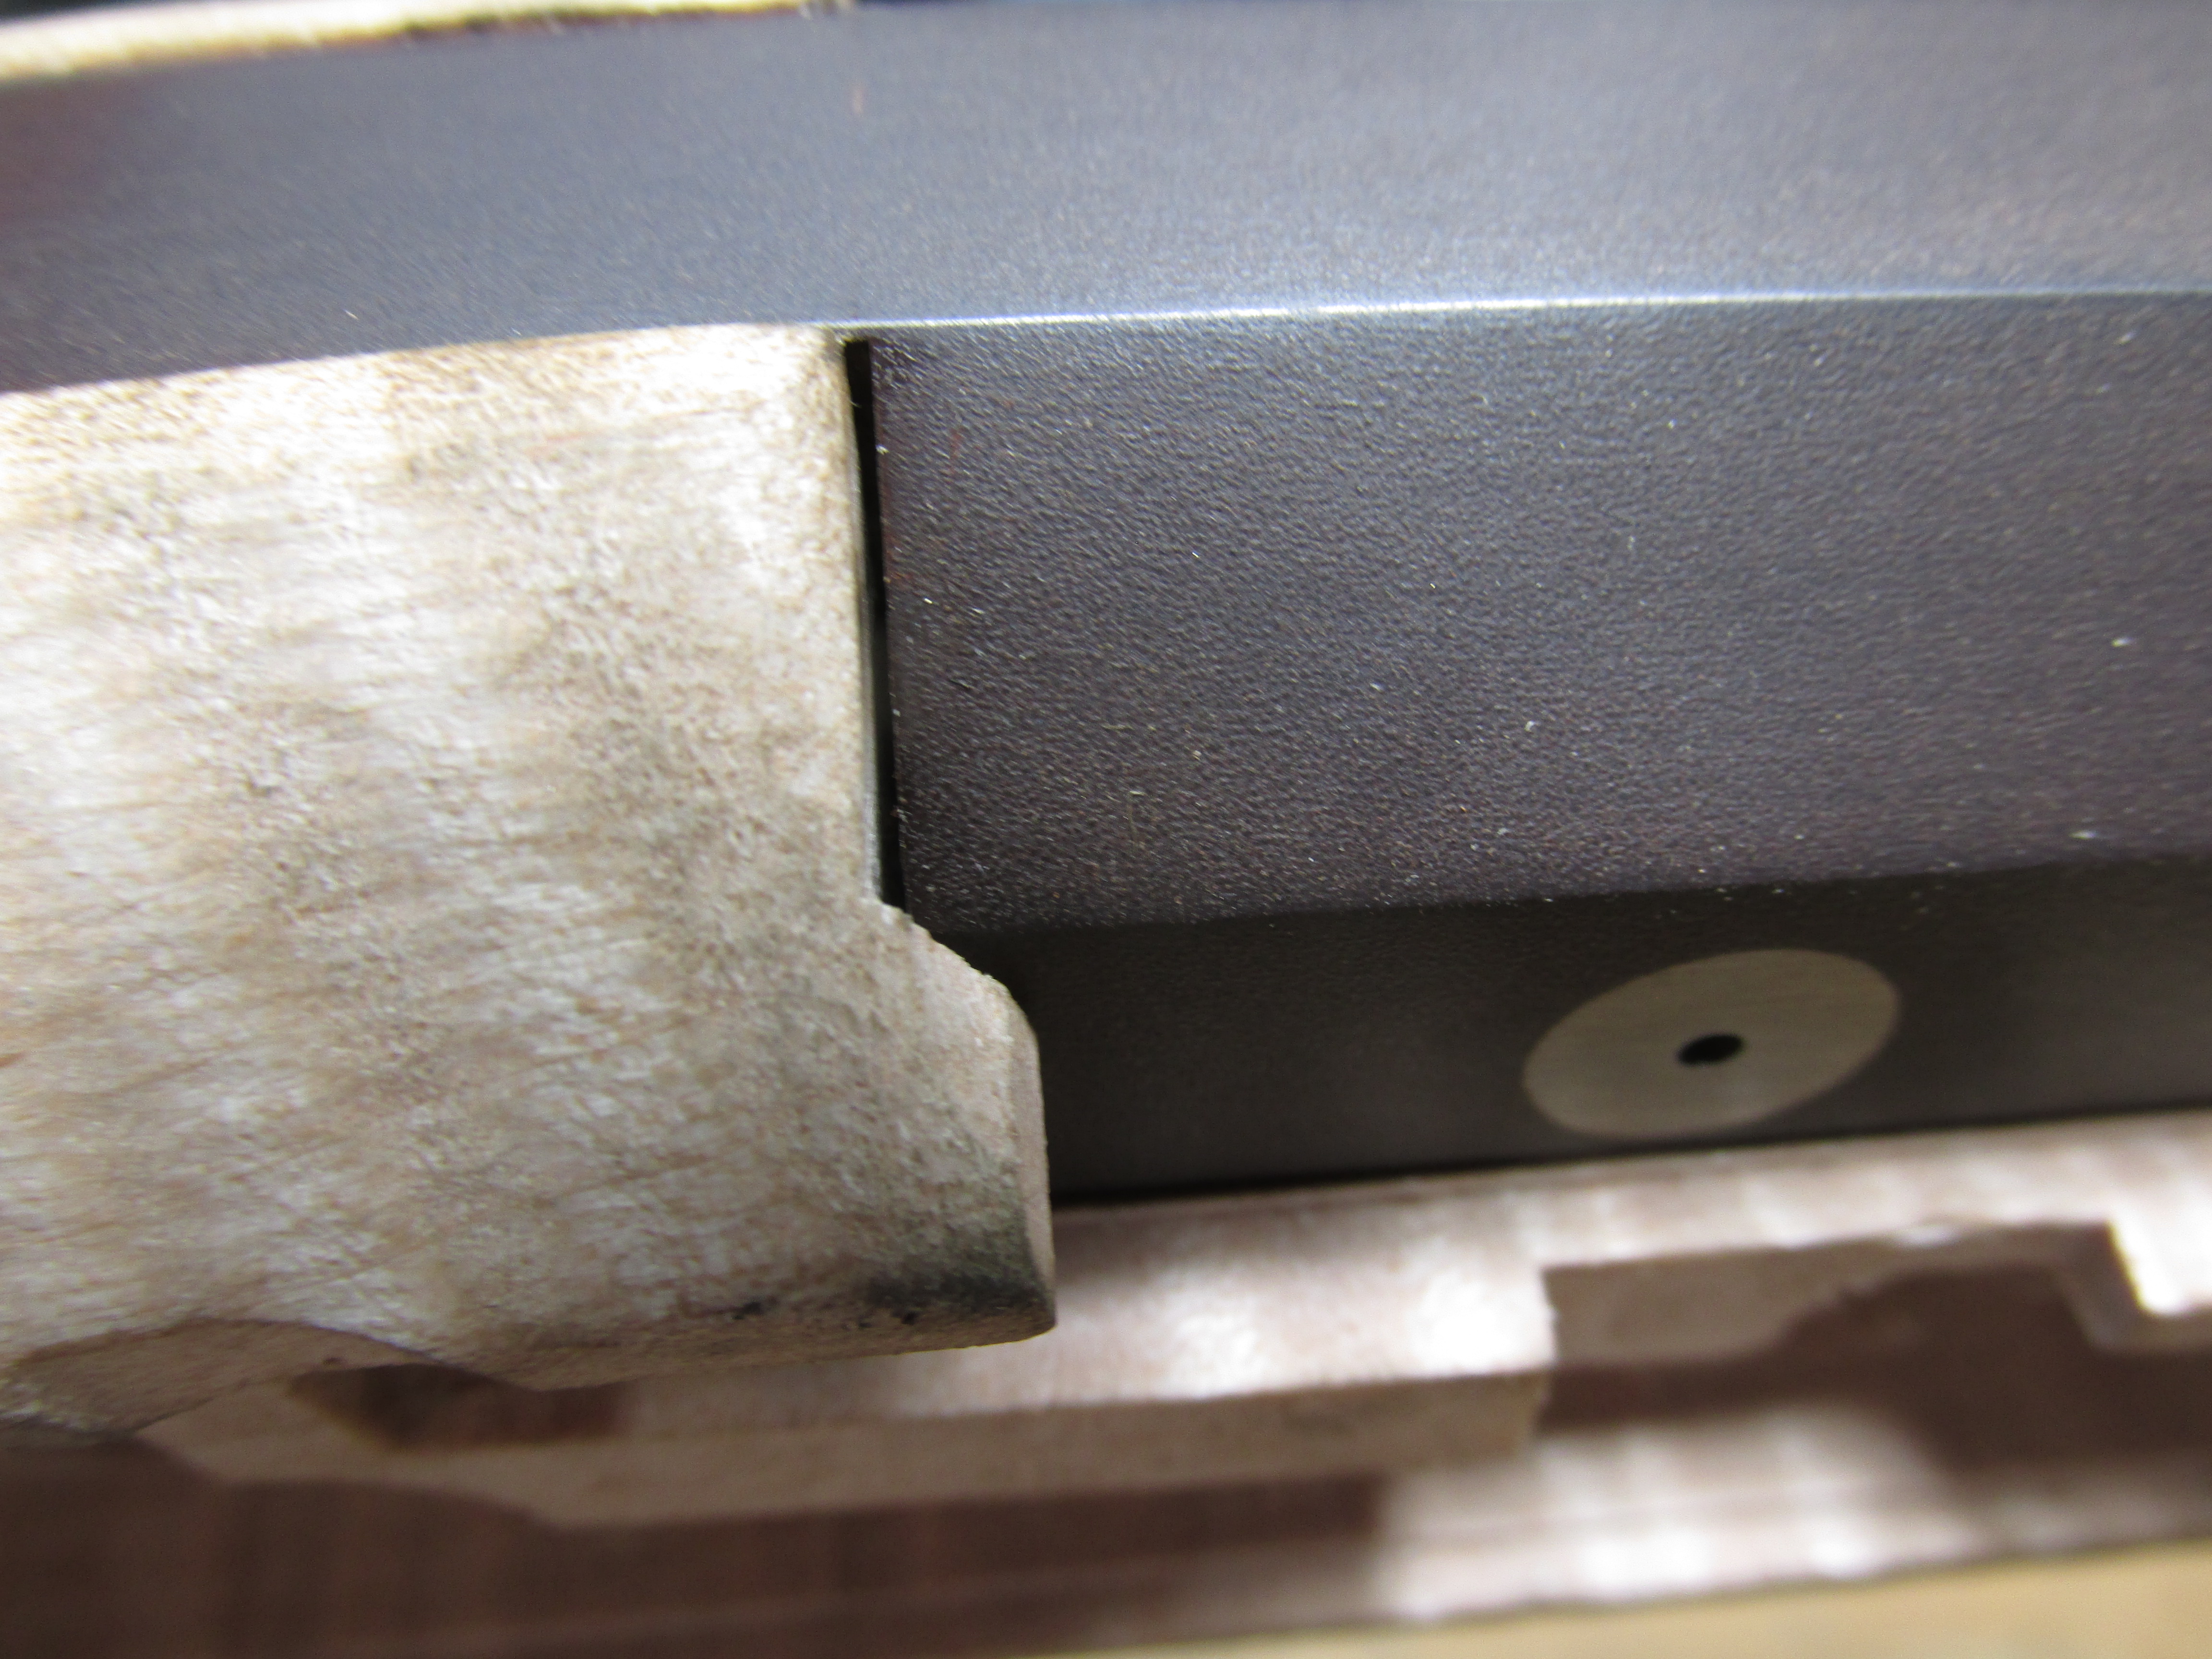
Second problem is when I set the barrel I got a little too ambitious with the inletting, in the end I have the tang fitting perfect in the mortise, the bolster is making good contact, but the back of the barrel has a gap of 12-14 thousands between it and the stock.

I'm thinking now I need to either place a backer shim behind it or a shmeer of JB weld, does anyone have an opinion of the best way I should go with this ? Thanks...
 
The gap seems to have closed some since yesterday, it could be due to the humidity in my shop, I don't know but there's still one there and I'd like to close it.
here are a few pics with strips of heat treating foil in the gap, the strips are 1 thousands each. I was able to get six in one side and eight in the other. that's not much and maybe I'm over thinking this but there's a visual gap that concerns me and I'm thinking I could close it by putting a shmeer of JB weld then cellophane and tighten everything up making sure to clean up any squeeze out.
Has anyone run into this and have any recommendations how I should move forward? Thanks.

BdWRodT.jpg

rXHHkLO.jpg

owS2ZUn.jpg
 
I thought of that but I'm afraid I'll loose my fit up with the lock and tang bolt, this happened from me removing to much wood behind the barrel. I think if I inlet the tang mortise to try to move it back I might be opening a can of worms I'll regret.
 
That's how I'm leaning Dale, thanks, I'm thinking if I use JB weld and something goes South I could be in bad trouble, on the other hand some wood shims can be worked down with a chisel. I was also thinking maybe a little super glue to harden it and seal it.
 
That's how I'm leaning Dale, thanks, I'm thinking if I use JB weld and something goes South I could be in bad trouble, on the other hand some wood shims can be worked down with a chisel. I was also thinking maybe a little super glue to harden it and seal it.
You don't need a chisel. Lay one end of the stick on a board, hold the other end and sand to the desired thickness. Then cut and shape it to your needs. I use popsicle sticks a lot. It helps that my wife loves popsicles. :rolleyes: Dale
 
Pull the tang screw and the barrel pins out. Does the barrel seat all the way at that point? Will it seat if a bit of wood is removed at the back of the tang, because that looks tight? And yes, humidity makes a lot of difference.

If you get the barrel to seat. Then if it moves when the pins and tang screw are installed. You may have to move the trigger group back just a bit. The trigger group is a bit of a wedge fit.

Or, try using the supplied tap and run it through where the tang screw goes and see if it fudges things just enough to close that gap.
 
I thought of that but I'm afraid I'll loose my fit up with the lock and tang bolt, this happened from me removing to much wood behind the barrel. I think if I inlet the tang mortise to try to move it back I might be opening a can of worms I'll regret.
You have my vote! We all make mistakes, but if that were my rifle the barrel gap would be filled with maple, using wood glue. Forget the JB as you can't stain it. When you are all done you don't want the tail of the tang to be tight. Against, but not tight. Recoil will eventually move the back of the barrel into the stock where the new shims are a tad. If the tang end is tight, it may cause it to pucker the wood. Another item that can help reduce a recoil tang pucker is to undercut the tang inlet a smidgen so only the top portion of the tang is against the wood. JMO
Larry
 
i'll be following this thread, having the exact same problem.

awhile back on a similar issue JB Weld was recommended
when mixed with some of the same stain/stock treatment
that would be used on the final finish. Titebond is preferable?
 
i have not yet made this mistake (but i will in the future, i'm pretty sure). having said that, i would be more inclined to go with a wood repair (popsicle sticks or a sliver of maple) than i would be with the JB weld. additionally, i remember reding somewhere (might have been Pete Alexander) that it's not a very bad thing to have a very small gap behind the tang, but i can't remember how big in real distance "very small" is.

if the wood repair doesn't work as you want, you always have the very sharp chisel, but the JB Weld deal - well, you're pretty much stuck with it if it fails.

Good luck with you project!
 
Hi,
You cannot move things around very much on a Kibler kit. It might be best to either bed the breech in epoxy such as Acra Glas that can be tinted or use a thin shim of maple, which can be stained and finished off. Also, when you stain the stock it may swell a little, which could take care of the gap. Try wetting the stock at the breech and put the barrel in place to see if it swells. It was not a good idea to brown the barrel so early in the process. Now you cannot put it in the stock while you scrape or sand the wood to final finish unless you are willing to brown it again. The barrel adds strength and rigidity to the stock, which is very helpful when final shaping and sanding the fore stock. Finally, in very humid conditions, I always let a stock blank sit for at least a month in my shop to acclimate.

dave
 
OK, the JB weld is out. it turns out the shipping crate has form blocks in it that are Maple.
they heat glue and screw them to the crate but I was able to cut a big piece out, put it to the band saw,
the disc sander and shape it a bit. I've got the slice down to 20 thou right now, the rest will be by hand and test fitting.
I'll make this right.
photos to follow.
Thanks for everyone's input so far it's all been very helpful.
 
OK, so today I took a piece of maple down to 20 thou. and shaped it to the barrel channel. once I had it shaped pretty good I used a razor knife to cut the sides off and sanded those pieces down to 8-9 thous. had some titebond like was recommended and glued them in place and set the barrel, tang bolt, lock and bolts and barrel pins...it's tight now with no more gap.
I have a tight 3 thou. gap behind the tang, that should account for any future barrel setback from recoil...I'm thinking...
I think when everything's sanded down and finished nothing will standout out.
YktEtPd.jpg

BO1iDGz.jpg
 
Back
Top