• This community needs YOUR help today. We rely 100% on Supporting Memberships to fund our efforts. With the ever increasing fees of everything, we need help. We need more Supporting Members, today. Please invest back into this community. I will ship a few decals too in addition to all the account perks you get.


    Sign up here: https://www.muzzleloadingforum.com/account/upgrades
  • Friends, our 2nd Amendment rights are always under attack and the NRA has been a constant for decades in helping fight that fight.

    We have partnered with the NRA to offer you a discount on membership and Muzzleloading Forum gets a small percentage too of each membership, so you are supporting both the NRA and us.

    Use this link to sign up please; https://membership.nra.org/recruiters/join/XR045103

My Apprentice and Her English Fowler

Muzzleloading Forum

Help Support Muzzleloading Forum:

This site may earn a commission from merchant affiliate links, including eBay, Amazon, and others.
Hi,
I posted this for Maria.

Hello All,

Well here's what everyone has been waiting for... The final pictures.


Man has it been a journey. Sometimes I have to pinch myself and ask if this is real. The best part? It is! There are a few little things I'd fix and change or wish I had done differently, but overall I'm definitely proud of myself. I couldn't of done this without having such an incredible teacher and mentor in Dave.
All the engraving is done by him, as that was a skill I did not have time to master with the deadline I had to work with.

I'm definitely NOT going to stop building although college will shorten the amount of time I have free. Already there are four orders in for this summer I will be building for folks (two Short Land Pattern Brown Besses, one Long Land, and one Eliot Carbine). The goal by the end of the summer is to be able to build a historically correct musket by myself without any guidance. I will be following in Dave's footsteps and posting updates throughout the summer on those builds so everyone who has followed this project has something to look forward to.

I would also like to say a huge thank you to everyone who has followed and supported this project. Your endless support and encouragement has never failed to bring a smile to my face. Thank you all for following along.

-Maria
Absolutely stunning job! Well done! Very happy to hear you will be continuing to post on subsequent builds. You have made my Monday mornings for the last 6 months! Thank you!
 
There is so much to say on this fantastic smoothbore gun that there is not enough room here to say it all. Everything on this build has been a journey of learning, love, and inspiration to all of us lowly mortals. The lines on this gun are crisp, straight and precise - even elegant! Thanks for allowing us to come along on this journey with you :ThankYou:
 
Hi,
Maria gave her presentation at her high school last Friday night. Staff from the school, parents and friends were in attendance. She did really well discussing some British gun making history and then the making of her fowler. She gave a Powerpoint presentation that was also videoed and broadcast virtually to folks who could not directly attend the talk. Afterwards, we went outside and shot off a few blanks demonstrating how reliable and fast her gun was. The school principal and those involved with funding and administering her project were very, very pleased. Currently, Maria is working over a Miroku Charleville musket that needs extensive work and then she is on to building two British pattern 1769 short land muskets. The work will be done in my shop under my supervision. I have other guns to do build at the same time so the shop will be humming along all summer.

dave
 
Hi,
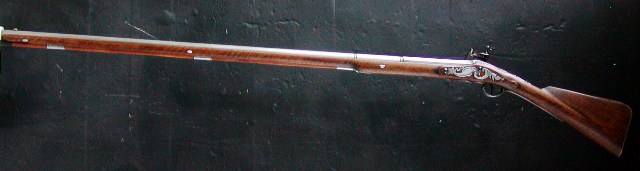
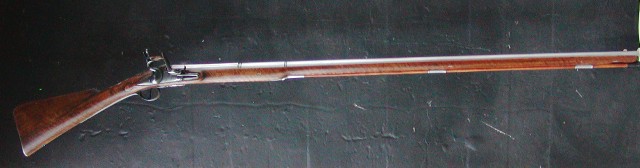
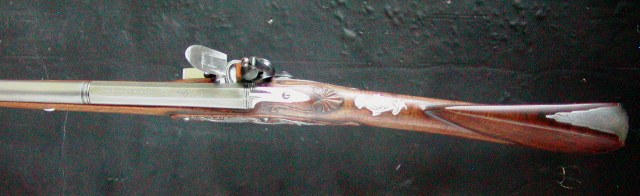
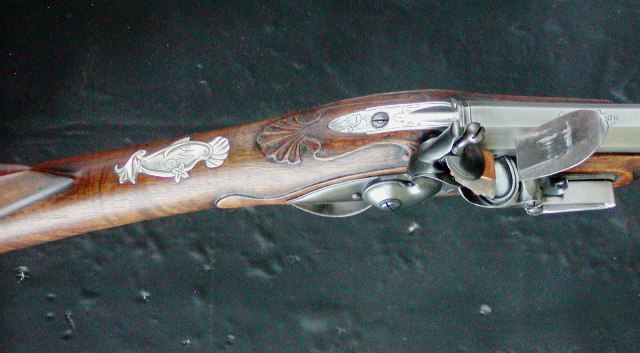
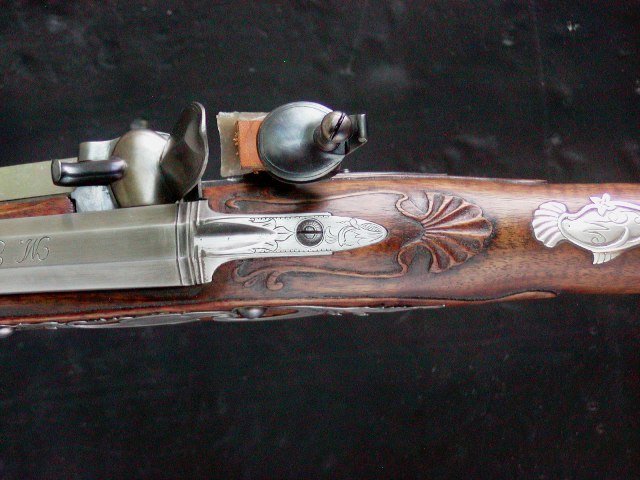
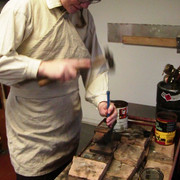
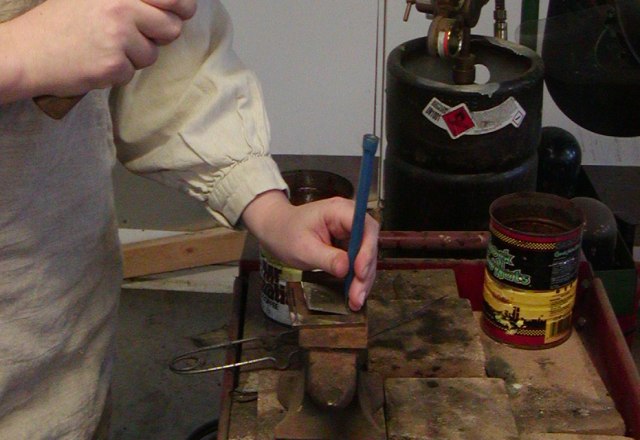
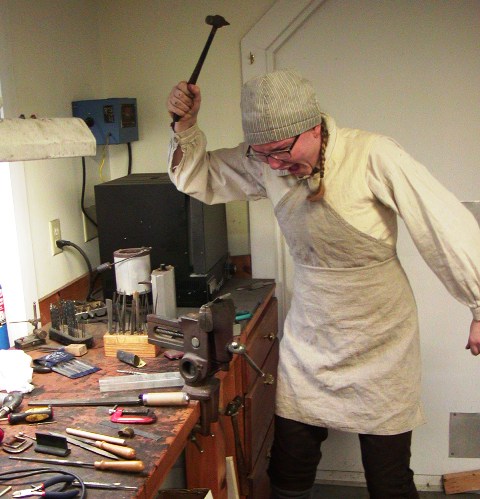
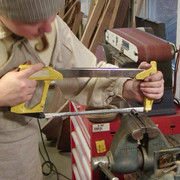
Maria came over today and was in full 18th century dress. She made it look good compared with the over fed middle aged reenactors out there who try to represent starved continentals. Anyway, we made her ramrod pipes today. During our previous session, I taught her about steel, brass, and silver alloys, and how to heat treat them. Today, she learned how to solder. We started by cutting out rectangles of mild steel sheet to make the pipes. In our case the forward pipe is 27/64" inside diameter, the middle pipe is 3/8" inside diameter, and the rear pipe is 5/16" in diameter. That is consistent with original English fowlers from this period. She cut the rectangles and then embossed raised ribs on the ends. We use the methods taught to me by Kit Ravenshear using a little plate with a groove filed into it and a cold chisel.


We planned for 1/4" tabs on each side of the pipes for the pins. She formed those tabs next.


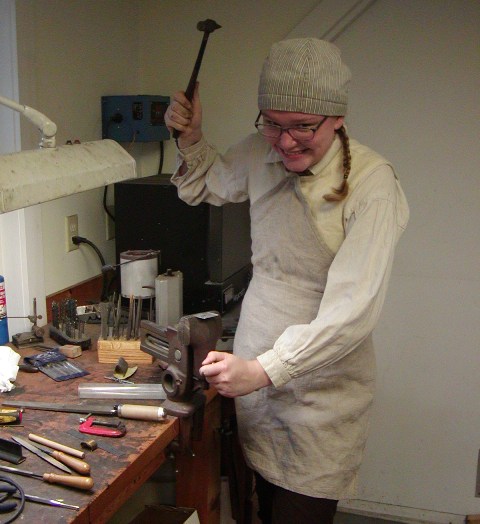
I had to tell her "whomp that pipe, don't give it a love tap. She whacked it accordingly.


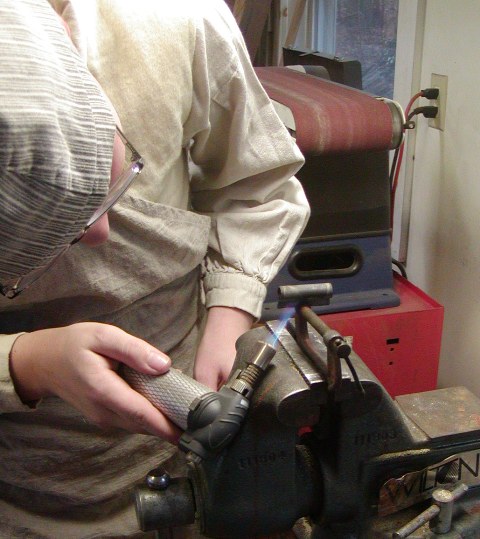
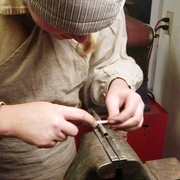
After forming the tabs, we cleaned them up with files and sandpaper, preparing for soldering and formed the pipes around the appropriate sized drill bits. Then we soldered the tabs together.


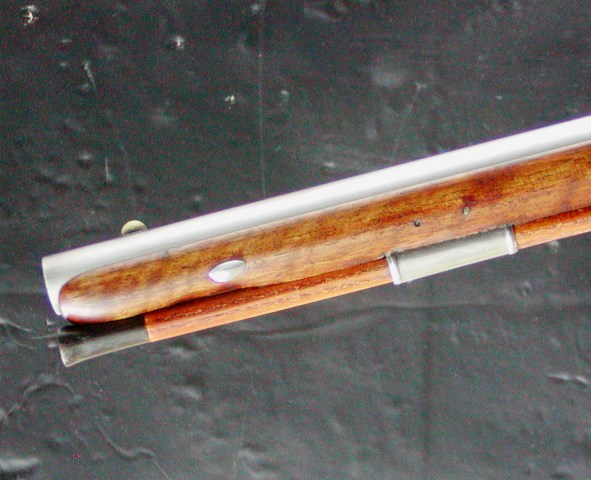
Then she cleaned up the ends of the pipes and removed any burrs on the ends with a counter sink so they would not be sharp and scrape the ramrod.


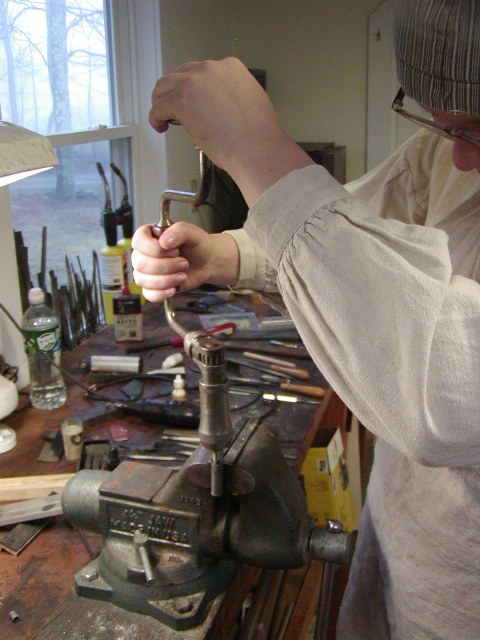
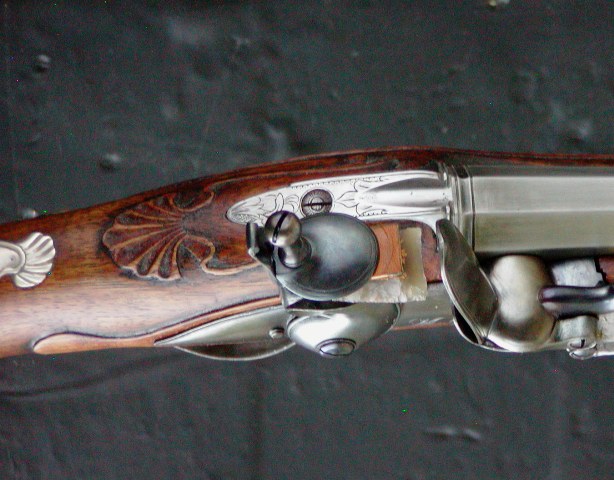
She then filed and cleaned up the pipes. Next we cut off the tang from a cast steel rear pipe.


Then she soldered the tang on to her rear sheet steel pipe. She embossed a ring on the rear of that pipe about 1/8" forward of the end giving it a section to attach the cast tang. We then soldered the tang on to the rear pipe.


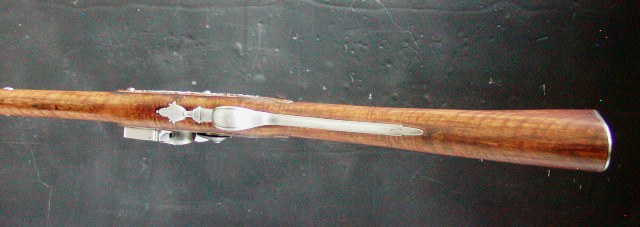
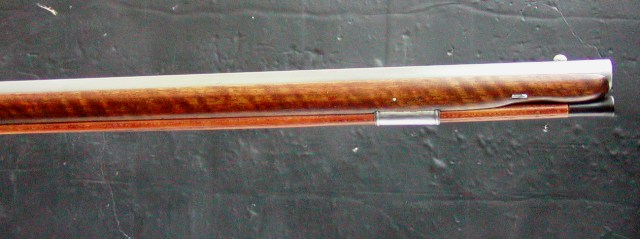
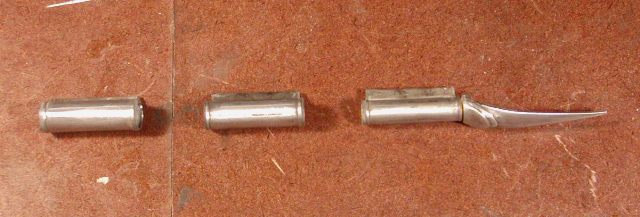
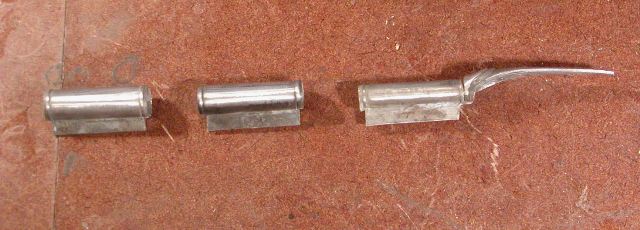
Maria cleaned it up and here are her set of pipes.


dave
There is hope for the world, after all!
 

Latest posts

Back
Top