Hello All,
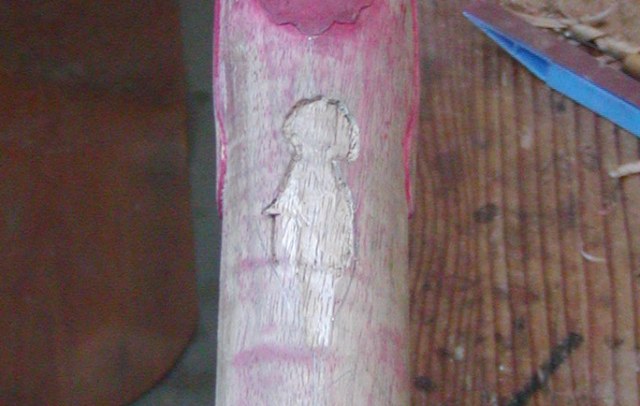
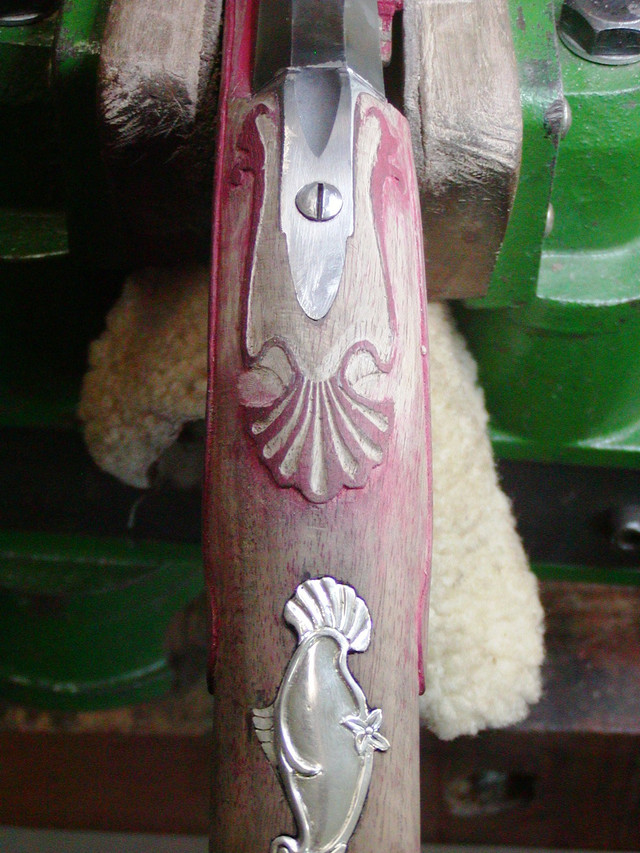
Another day in the shop completed and what an exciting one it was! The first small portion of the day was spent staining my stock. We tested some different stains on some of my scrap wood and then chose which one I liked best. (This is why it is important to keep the pieces you chop off guys!) The stain chosen was mixed from 4 different water-soluble aniline dyes from Brownells; scarlet, resorcin brown, tartrazine, and nigrosine.
View attachment 223171
View attachment 223172
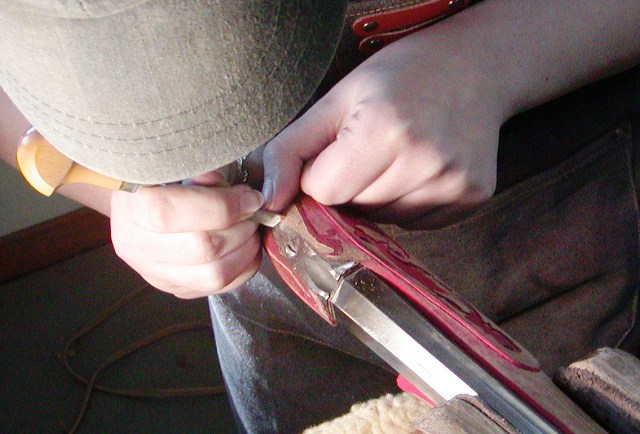
I painted the stain on the stock.
Dave and I then performed his ritual of spinning around three times reciting the Pledge of Allegiance backwards, whilst burning some sage and sniffing acetone so the stain would come out correctly. As many have seen with his work, his stains are beautiful, so obviously the ritual works and should not be questioned (nor performed at home).
View attachment 223173
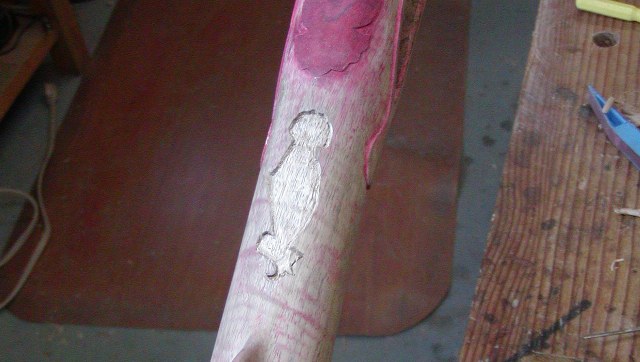
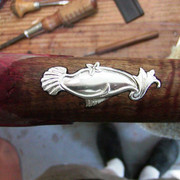
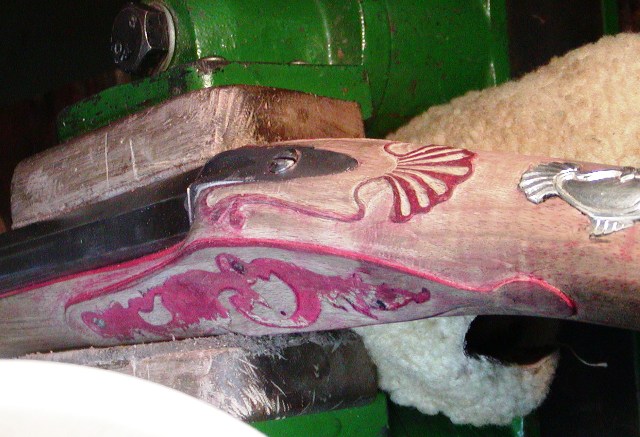
We let the stain dry outside in the sun and painted it with some alkaline dye. This really emphasizes the figure in the grain and adds to the beautiful, rich, red brown color.
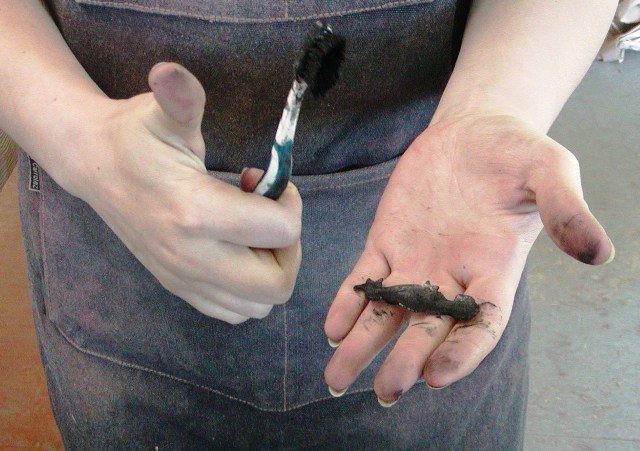
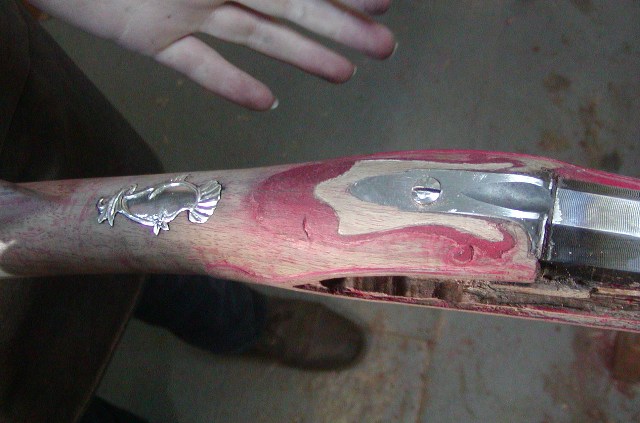
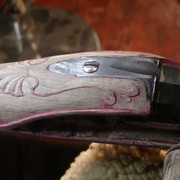
After letting the alkaline dye dry, I put the first layer of finish on. For the finish I am using Southerland Wells' Medium Sheen Polymerized Tung Oil. I diluted the finish 1 to 1 with Turpentine and applied the finish while lightly sanding with some 220-grit wet-dry sandpaper: creating a brown slurry.
View attachment 223174
The slurry really helps seal up the pores of the wood and then it dries creating a crust that will be sanded off prior to another layer of finish.
View attachment 223175
View attachment 223176
I waited and watched the finish dry for a while before putting it out in the sun.
View attachment 223177
View attachment 223178
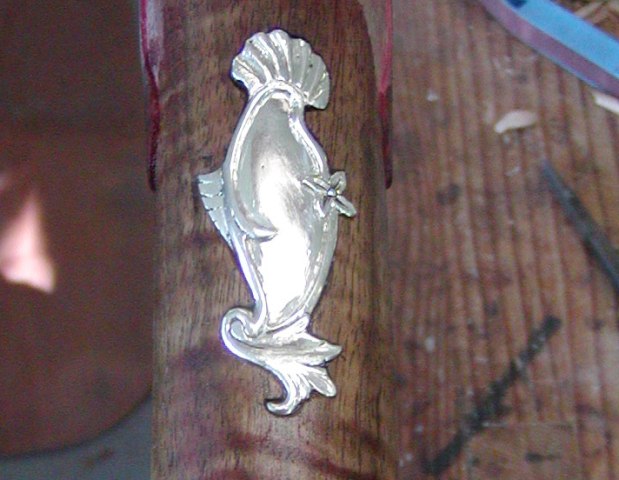
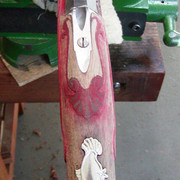
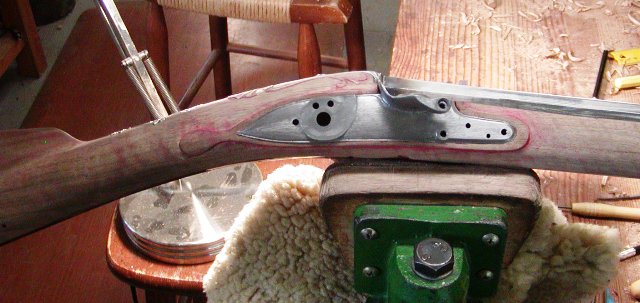
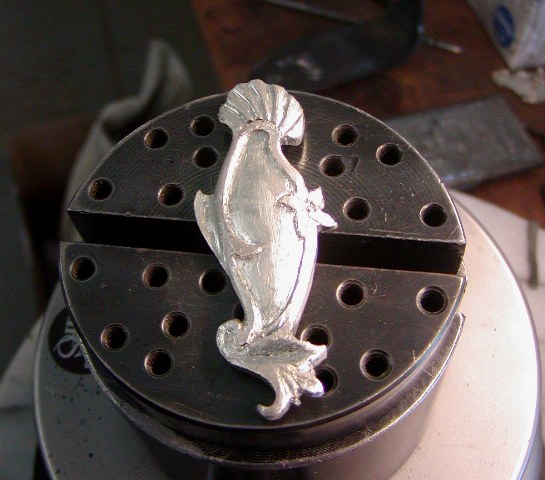
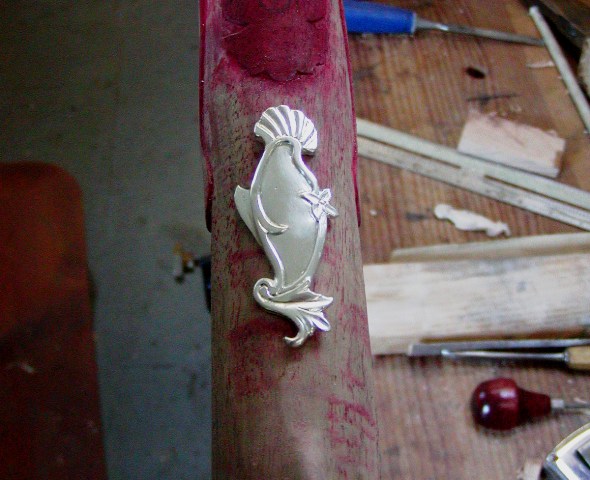
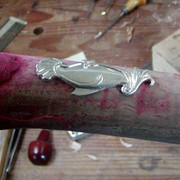
While my stock was drying, I got to work polishing up the barrel and sideplate. I did some draw filing on the octagonal flats of the barrel and then moved on to 220 grit wet sandpaper and did some barrel-shining.
View attachment 223179
View attachment 223180
The sideplate took some finesse and a lot of patience (as to which Dave will tell you I do not have) to polish but will turn out to be quite stunning once done.
I can't believe this project is almost done. It is quite bittersweet.
-Maria


")