


old ugly
40 Cal.
maybe not the HC method but this is a box I am building.
sorry about the photo quality.
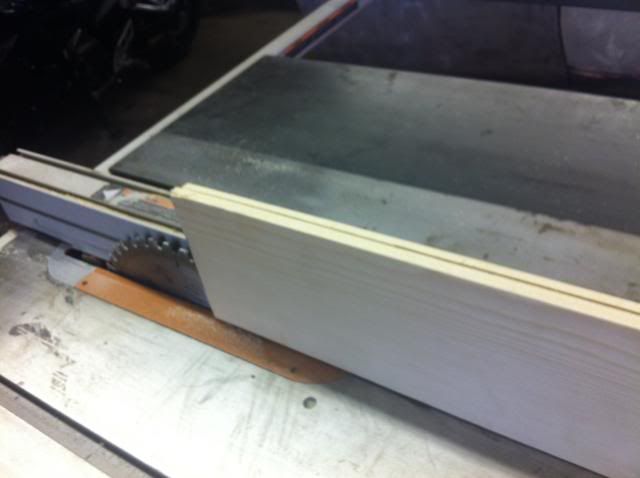
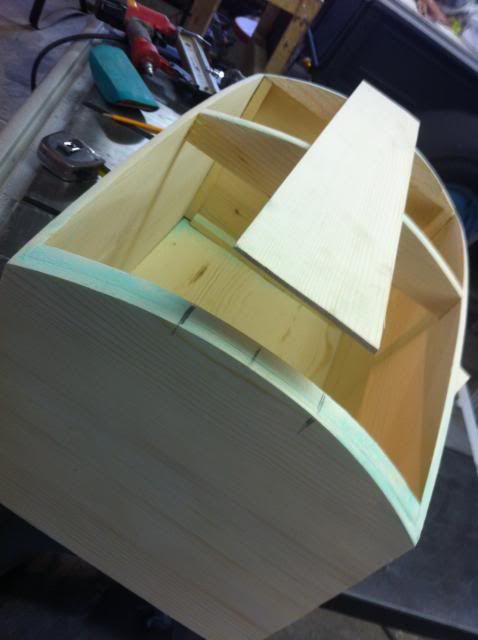
basically build the bottom what ever size you need and dimension it so as to be pleasing to the eye.
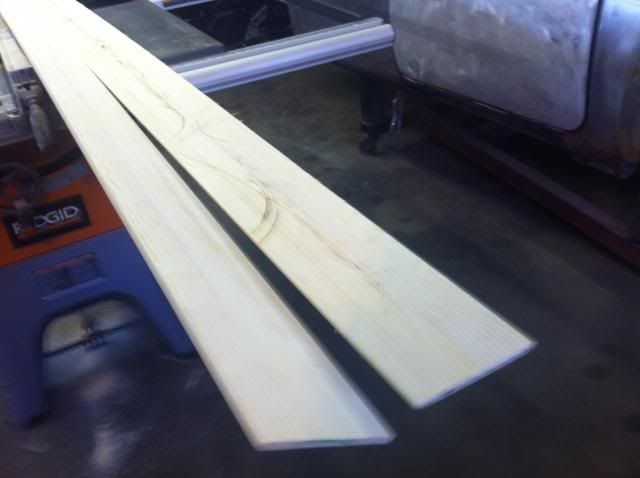
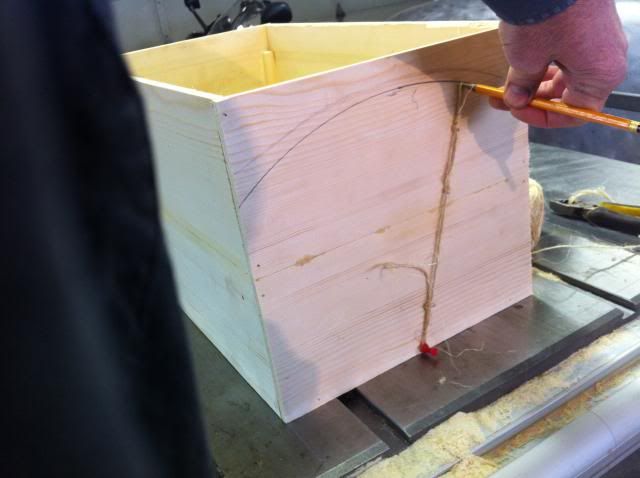
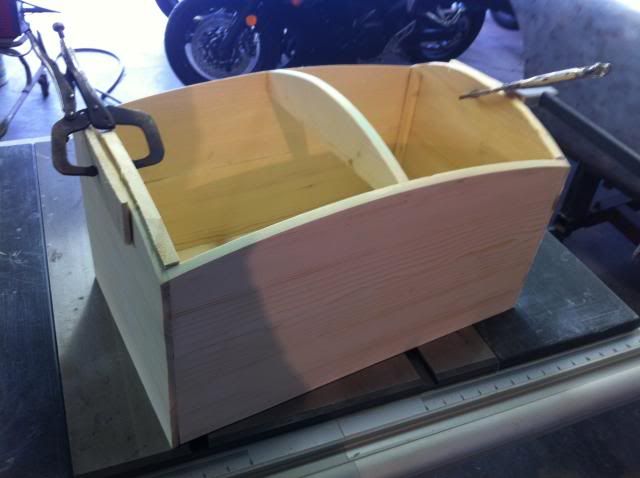
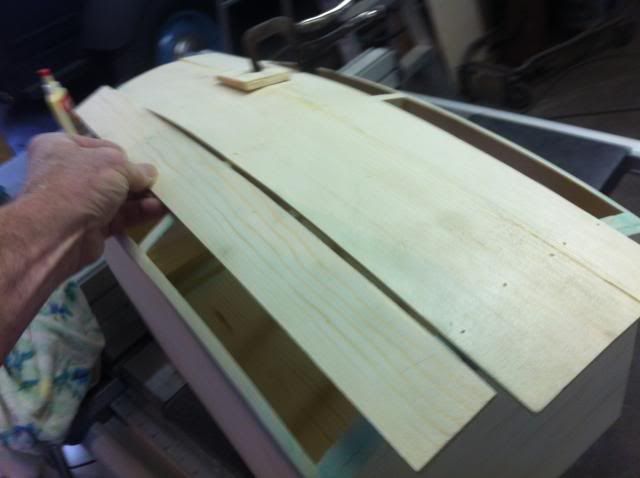
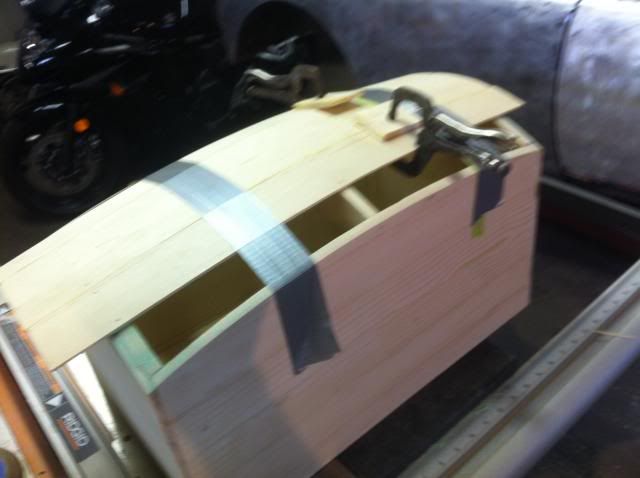
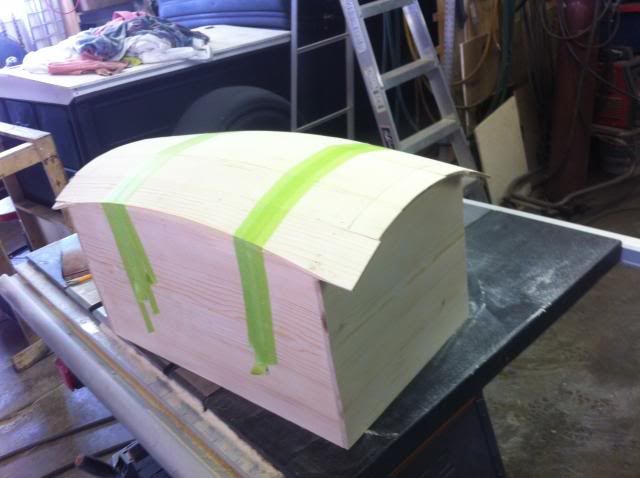
determine the amount of curve by trying to bend your top boards in your hands ahead of time (you may have to make the top boards thinner or have less curve). I make all mine thin so it is easy to bend and the box will be lite. after you have the main box dimensioned start adding and fitting the top. on this one I started with the center board but you can start where ever. then match each consecutive board. I leave them long and trim later. I use glue, tape and the pinner gun (you cant see the pins in the photos but they are there)to hold it together, (I think small ratchet straps may work too). im going to put finishing trim around it after with small square nails so it looks correct. this is what I have so far, it has to sit for the glue to dry and I am hoping to carry on tomorrow.
sorry about the photo quality.
basically build the bottom what ever size you need and dimension it so as to be pleasing to the eye.
determine the amount of curve by trying to bend your top boards in your hands ahead of time (you may have to make the top boards thinner or have less curve). I make all mine thin so it is easy to bend and the box will be lite. after you have the main box dimensioned start adding and fitting the top. on this one I started with the center board but you can start where ever. then match each consecutive board. I leave them long and trim later. I use glue, tape and the pinner gun (you cant see the pins in the photos but they are there)to hold it together, (I think small ratchet straps may work too). im going to put finishing trim around it after with small square nails so it looks correct. this is what I have so far, it has to sit for the glue to dry and I am hoping to carry on tomorrow.


")
