• This community needs YOUR help today. We rely 100% on Supporting Memberships to fund our efforts. With the ever increasing fees of everything, we need help. We need more Supporting Members, today. Please invest back into this community. I will ship a few decals too in addition to all the account perks you get.


    Sign up here: https://www.muzzleloadingforum.com/account/upgrades
  • Friends, our 2nd Amendment rights are always under attack and the NRA has been a constant for decades in helping fight that fight.

    We have partnered with the NRA to offer you a discount on membership and Muzzleloading Forum gets a small percentage too of each membership, so you are supporting both the NRA and us.

    Use this link to sign up please; https://membership.nra.org/recruiters/join/XR045103

Kings Howtizer Build

Muzzleloading Forum

Help Support Muzzleloading Forum:

This site may earn a commission from merchant affiliate links, including eBay, Amazon, and others.

threepdr

40 Cal.
Joined
Apr 12, 2005
Messages
162
Reaction score
4
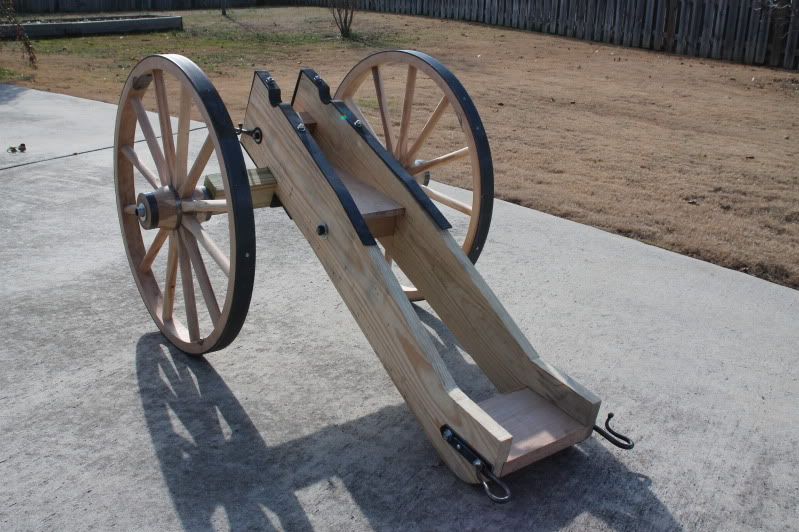
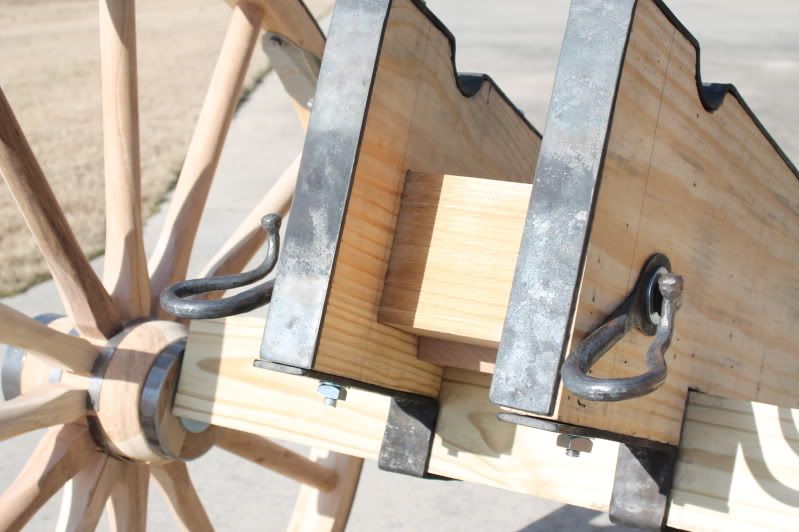
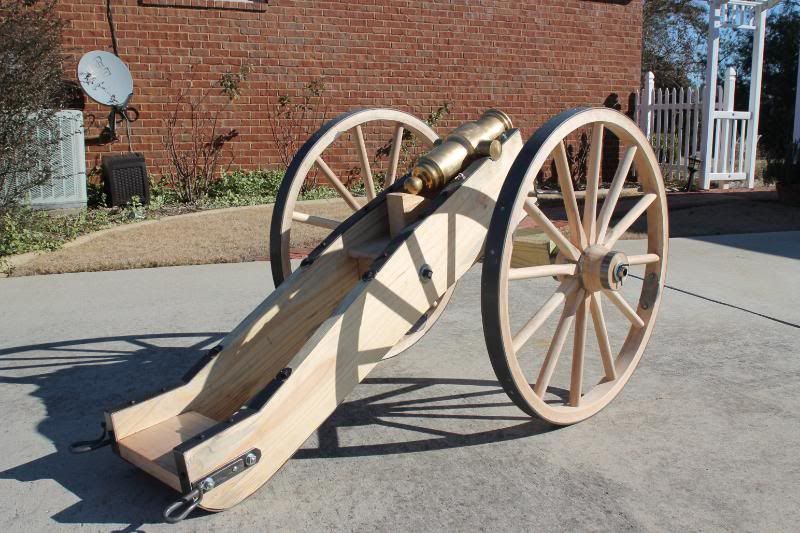
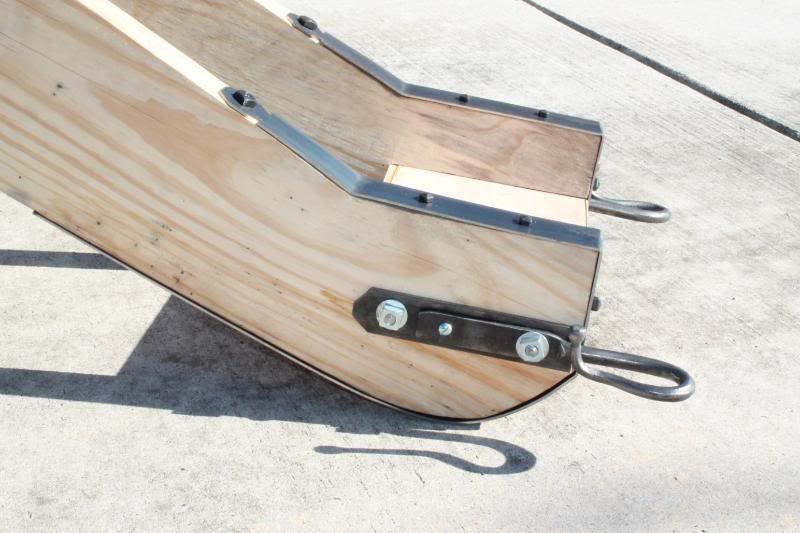
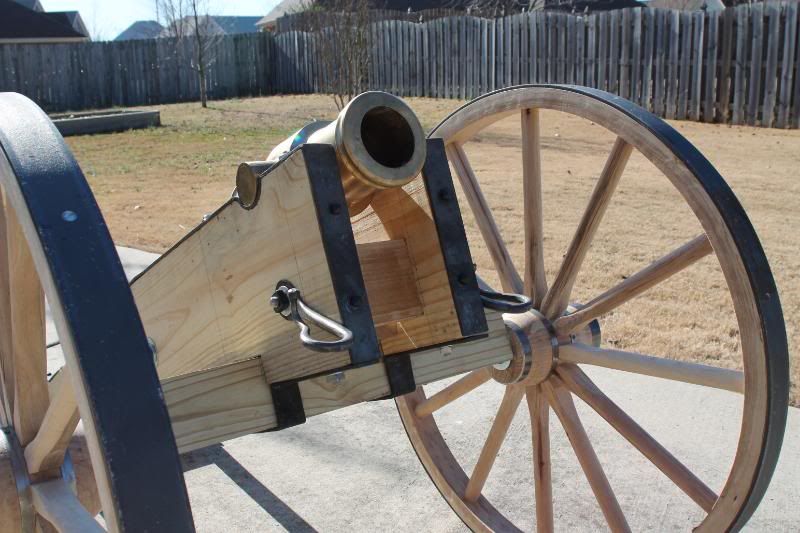
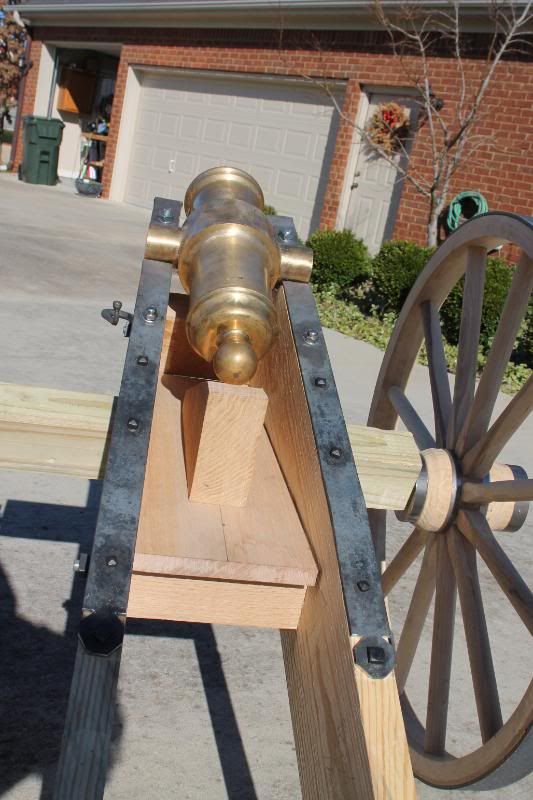
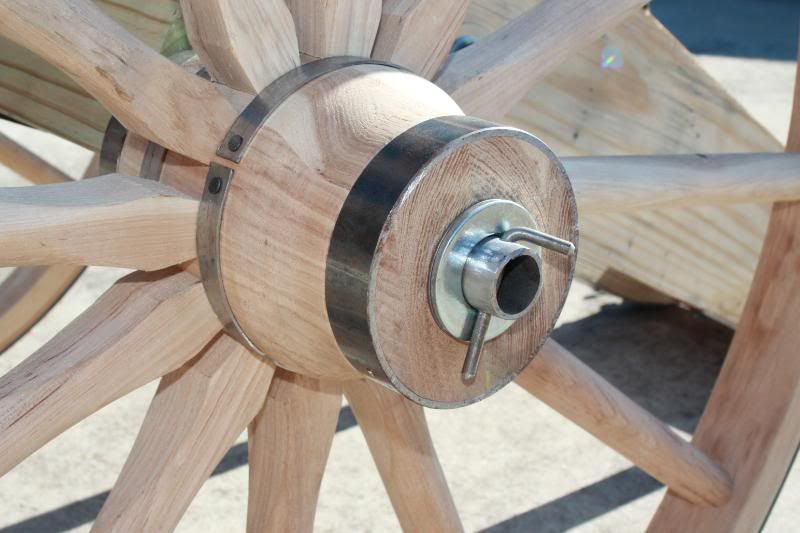
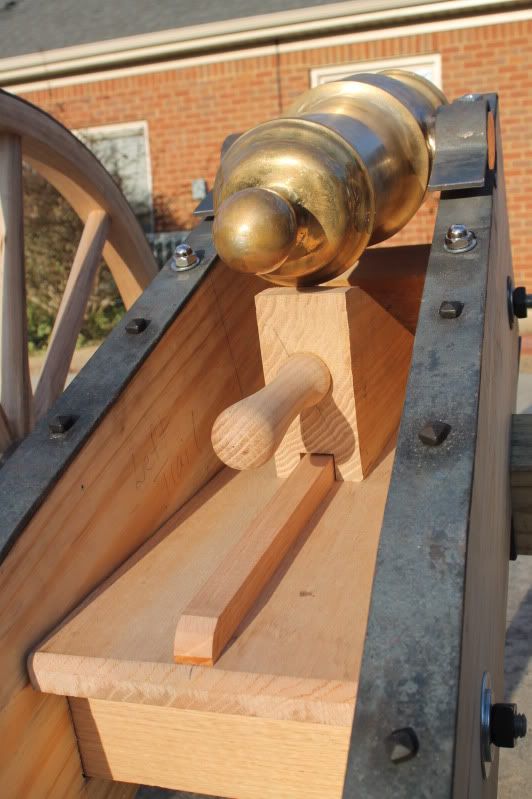
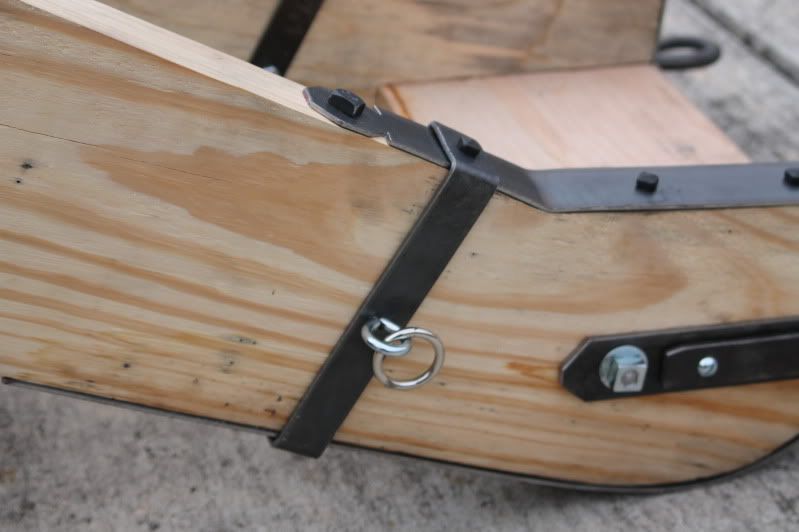
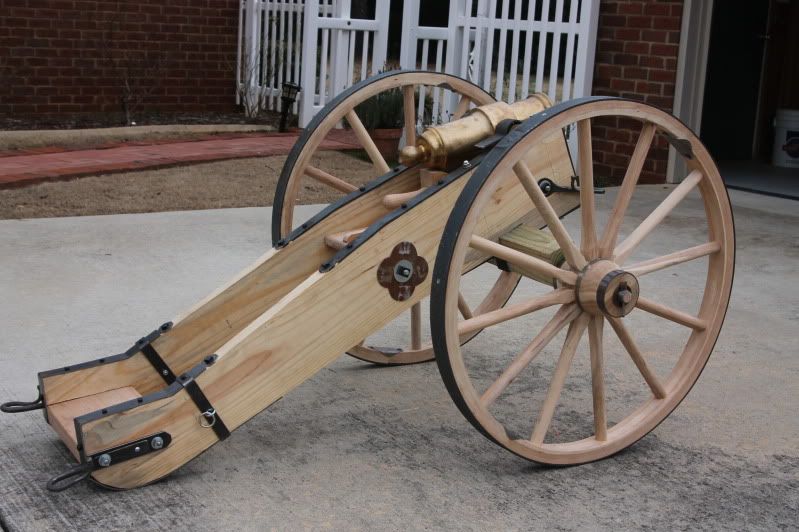
I finally have my King Howitzer carriage dry fitted together. Now I'm starting to install the irons. My tube came from Bob Gilmor, Wheels from customewagonwheels.com and irons from a local blacksmith, made to my specifications.

IMG_0018.jpg
 
Last edited by a moderator:
Looks like some serious fun in the making!
What type of wood did you use? And what color will it be when finished? Maybe I missed some of your posts about it.
 
trent/OH said:
Looks like some serious fun in the making!
What type of wood did you use? And what color will it be when finished? Maybe I missed some of your posts about it.

Trent, the originals were light prussian blue as were most US artillery in the late 18th, early 19th century. All the wood is oak except for the cheek peices. They are hard yellow pine. That is all that I could find long/thick enough locally. I may replace them with oak someday as it becomes availible to me.
 
rifleshooter2 said:
I cant wait to see her finished. I have a soft spot for King Howtizers.

Save Legionville
Andy


Andy, I believe you know Pat Riley? He provided some measurments from your King's that helped me draft the plans for this one. That to Pat and the Legionville crew who helped with the info.
 
I fitted the blacksmith made irons and drag hooks. This is 3/16 inch steel. The cheeks are 1.5 inchs thick. These are just held on with the through bolts that go from top to bottom. I'll dress the irons and add the holes and nails later. I can align the iron better with the wood when I add the nails and lag bolt at the end.

I'm going to make the irons for the trail end myself with 1/8 inch steel. I think I can cold bend that thickness OK. We'll see soon!


IMG_0746.jpg


IMG_0748.jpg
 
I made a lot of progress over this long weekend. I've installed almost all of the iron. The front irons were made by a local blacksmith from 3/16 inch stock. I made the rear irons from 1/8 inch strap steel from Home Depot. Those are all cold bends, but it worked great.

All the ends are fastened with 3/8 square head lag bolts. Instead of forged nails, I used small pyramid head lag bolts that I ordered from an on-line blacksmith supply. They look like hand forged nails, but can be easily removed if I ever need to.

I used some 1/4 inch rod to make the lynch pins, but I'm not satisfied with that arraingement. I may make something else to hold the wheels on. The axle is 1 inch steel pipe. I'll put a wooden plug in the end of the pipe before I paint the carrage, to make it look a bit more like a wooden axle. You have to make some authenticy concessions.

The tube is just set on the carriage. Mounting the capsquares comes next. Lots of ways to screw that up, so I'll have to go carefully. "Measure twice, drill once!"

IMG_0757.jpg


IMG_0762.jpg


IMG_0770.jpg


IMG_0769.jpg


IMG_0768.jpg
 
My real job and other duties has slowed me down abit on working on the howitzer. I was able to finish the Quion bed and Quion. The bed has a 3/4 inch by 3/4 inch rail down the center that fits into a corresponding groove on the bottom of the quion. This will keep the quion from hopping around so much during recoil. I tuned a nice handle to fit into the wedge. Next will be to get the trunnions fitted properly into the irons so it will move smooth when elevating.
IMG_0897.jpg
 
Love to see a thief's face when he opens up the front door and sees that staring him down!! :rotf: :rotf: :rotf:

THAT would be priceless!!!!! :thumbsup:

Nice job. Don't get into cannons much but fascinated by watching the progress!! :hatsoff:

Cheers, DonK
 
I have the holiday off, so I was able to add some to the carriage this AM.

I use 1 X 1/8 strap steel for the lunette reinforcements. This was also cold bent with a big vise, ballpine hammer and a carpenter's square. This holds both ends of the long peice of steel the wraps around the trails. As with all of the plated hardware, I'll soak the ring in muratic acid to get the plating off before it is painted black. The paint will stick better that way.

Someone asked why I did'nt have the limber pintle hole in the rear transom. That's because the King Howitzers were not designed to be towed. They were carried in pack saddles and manhandled once they were deployed.

IMG_0906.jpg


I also added a decrative plate under the Quion bed transom. This is essentially a big, pretty shaped washer. I cut this from some 12 guage sheet steel I had laying around (thats why its rusty :grin: ). Originaly would have been thicker metal. Here it is on a full shot of the carriage

IMG_0907.jpg


I'm waiting on a 2 inch diameter sanding spindle to arrive. I'll use that to grind out the inside of the capsquares and trunnion iron to get a good fit.
 
Threepdr: Great stuff. By the way I have used a propane torch or my charcoal forge to burn off that plating. Just another option you are no doubt aware of. You can then buff it up and fire blue the part.
 
Bill,

I had not thought of a propane torch. I wonder If I can just set them in a charcoal fire to get the plating off. I don't have a forge.

Thanks
 

Latest posts

Back
Top