


Norman Brooks
45 Cal.
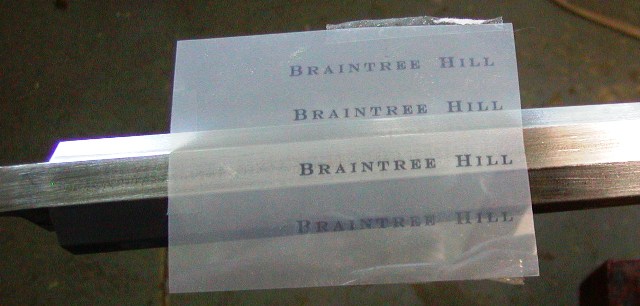
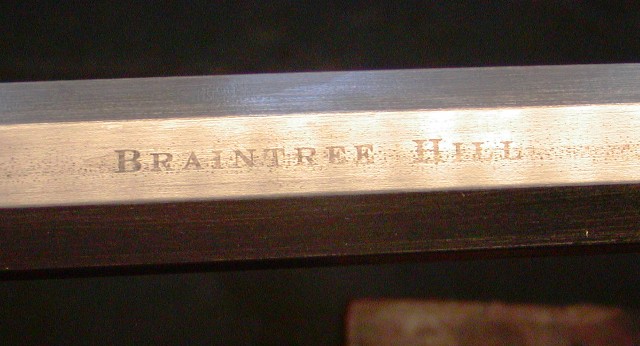
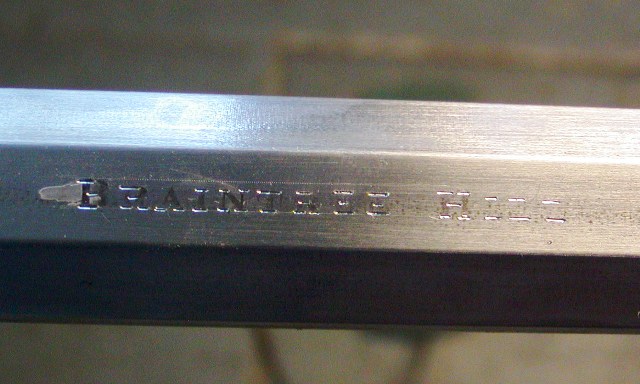
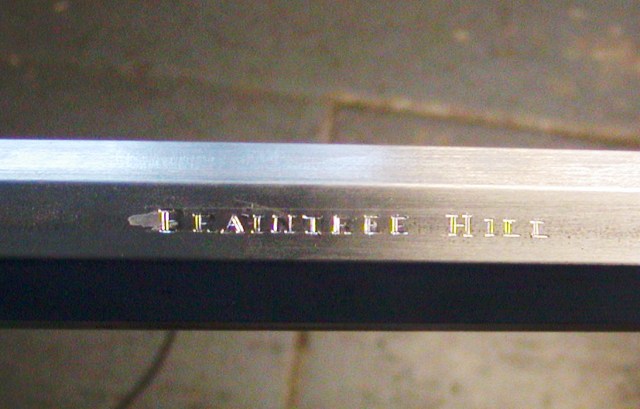
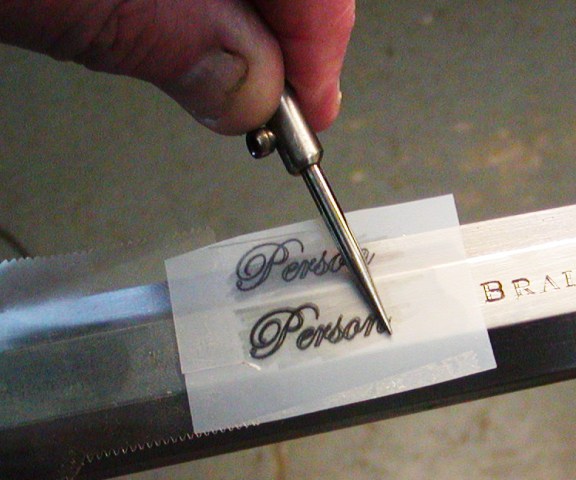
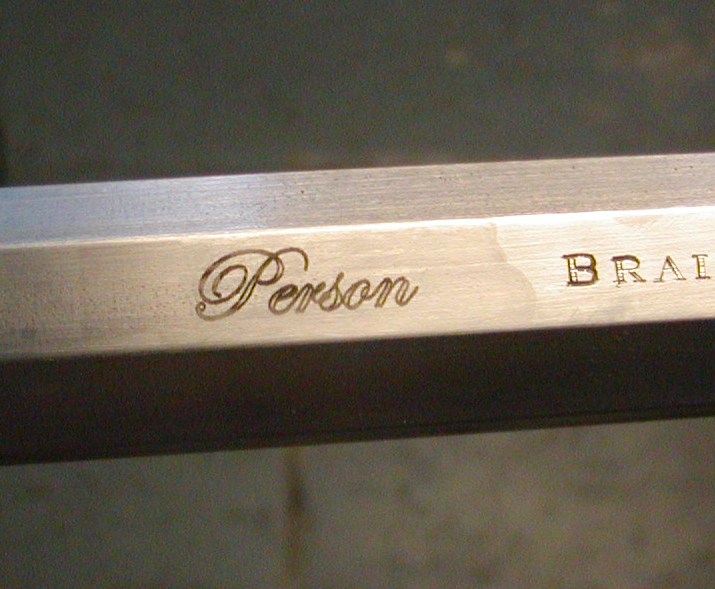
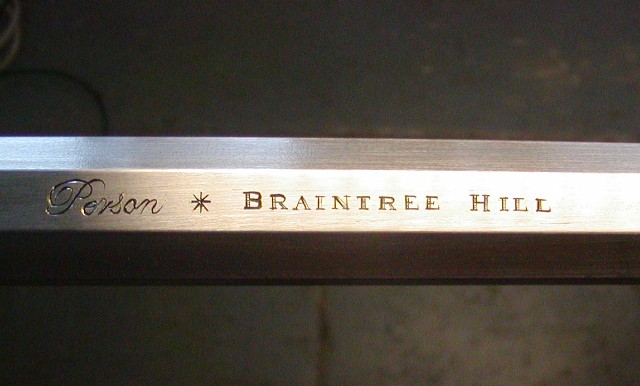
Would like to see how you do the engraving on the barrel, if you don't mind.

Are you trying to send me into withdrawal?I'll post some photos otherwise, I'll probably not post any until the rifle is finished
 Nice!
Nice!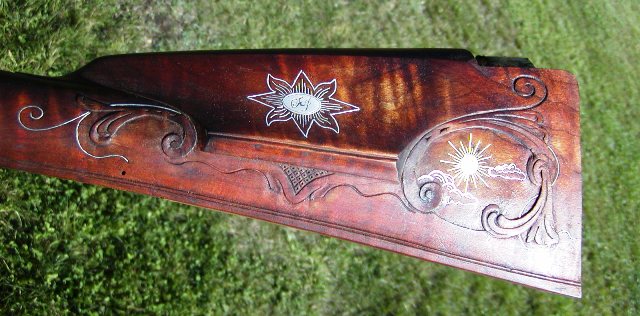

")


Beautiful work!Hi,
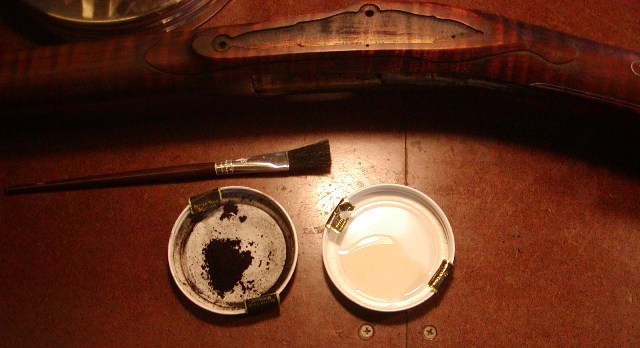
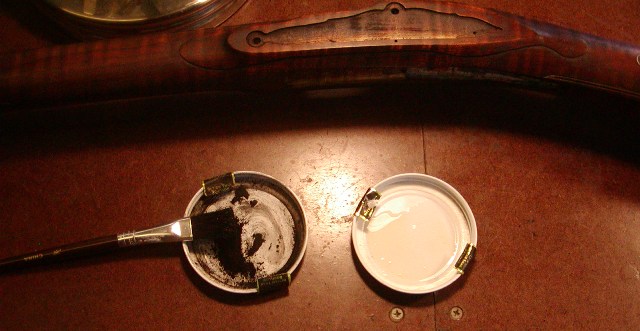
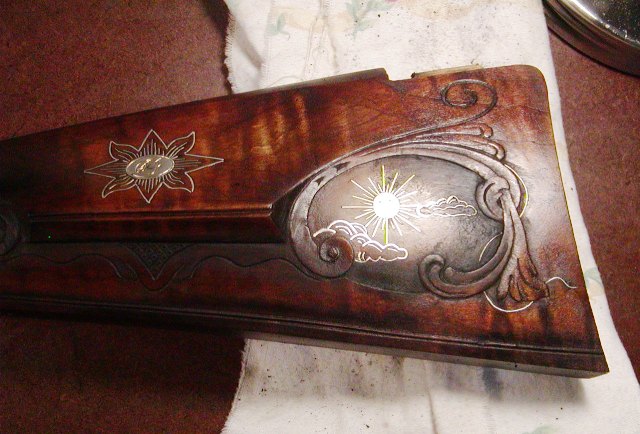
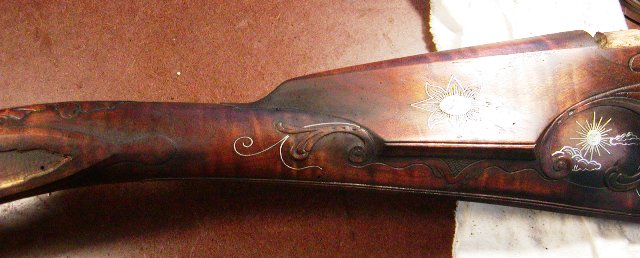
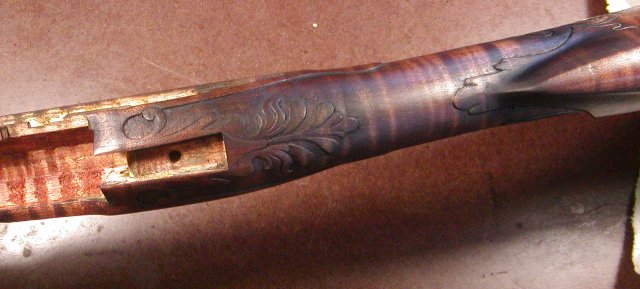
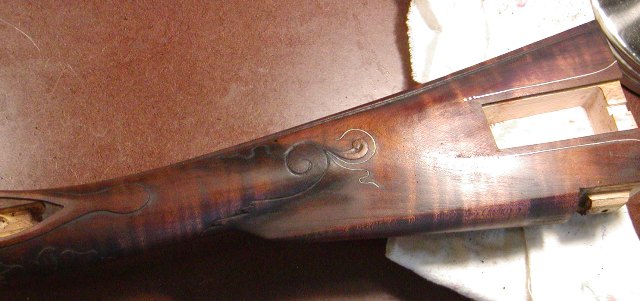
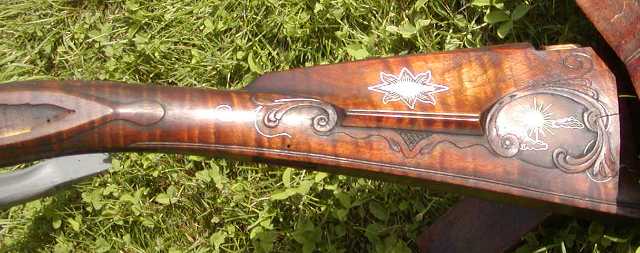
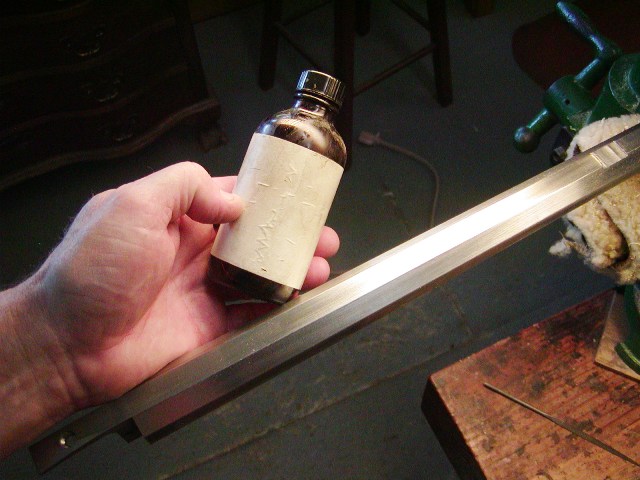
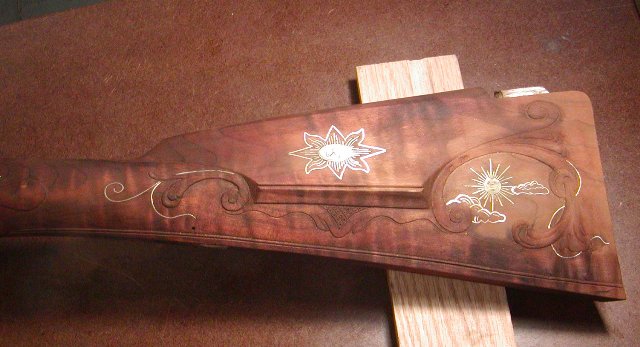
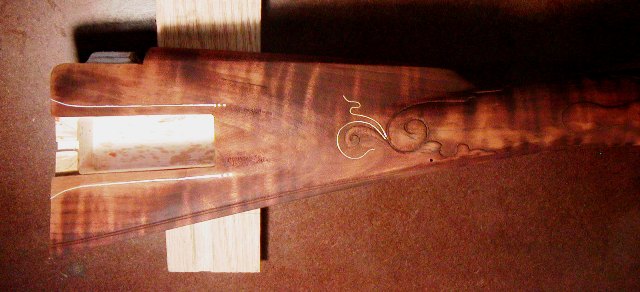
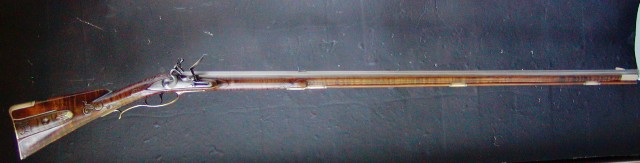
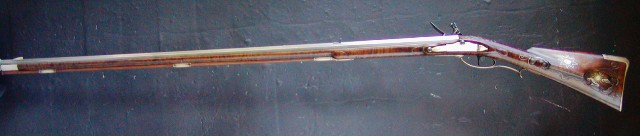
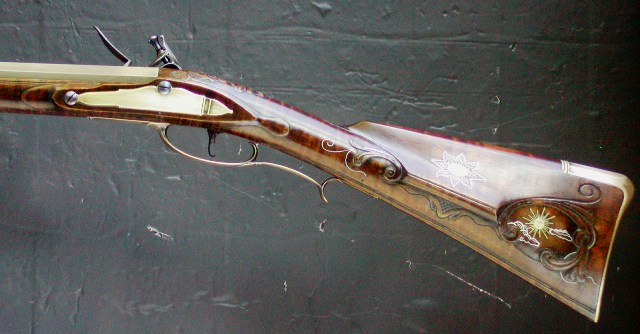
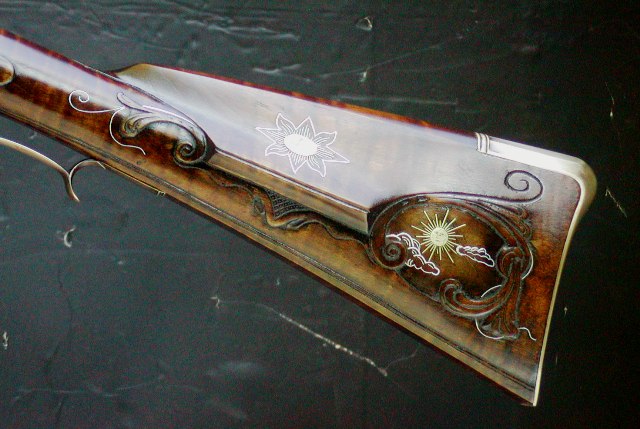
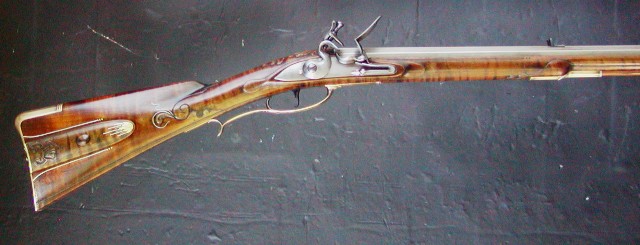
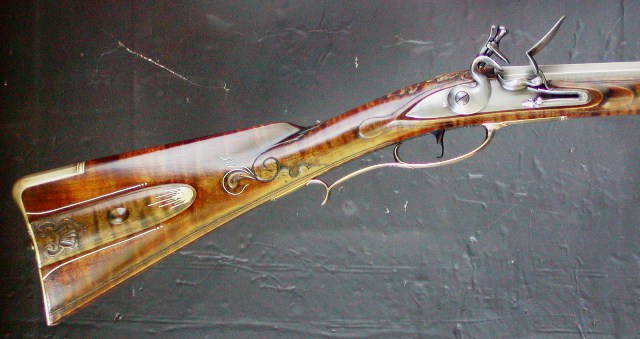
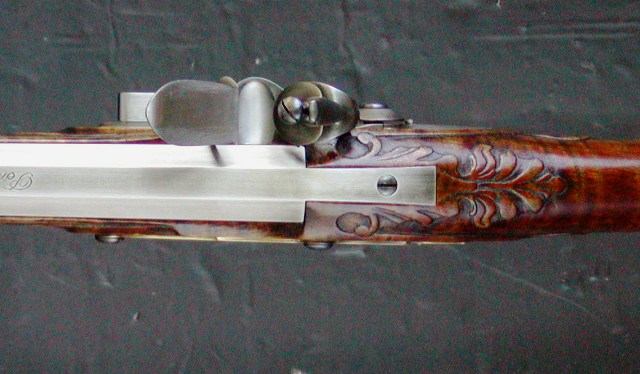
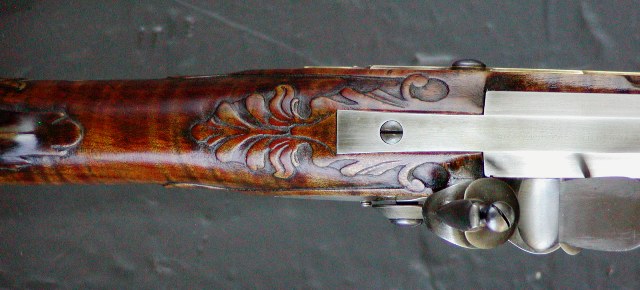
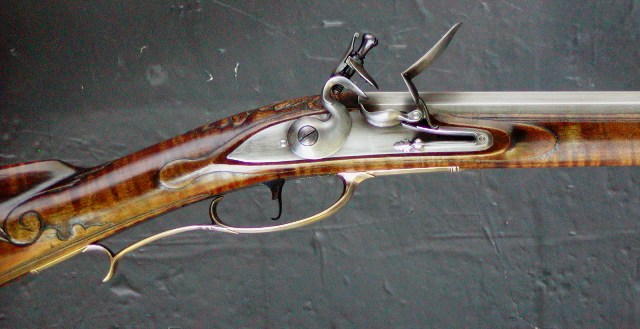
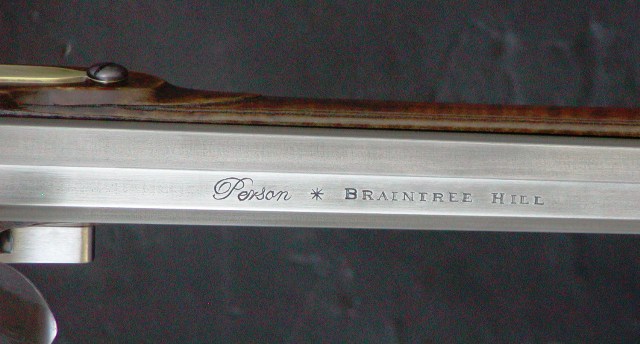
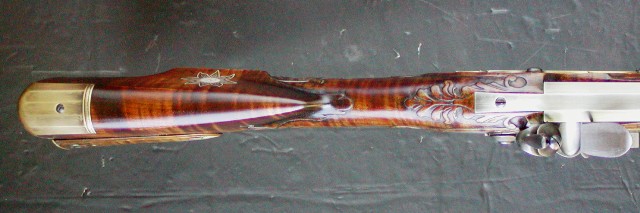
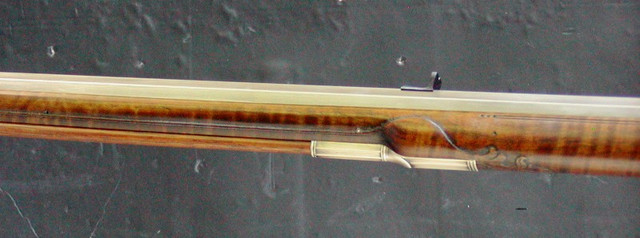
Well it is done. It took a while to finish because of the high humidity and there was a section of wood on top of the comb that would not stop whiskering. I finally put on a coat of finish and when it dried, I burnished down the wood with an antler tip. That did the job. Then I had another bizarre thing happen. The finish was almost done and I was testing the ramrod fit. I pulled the rod out and on the end was an angry wasp that stung me. I bobbled the stock in my surprise and put some small dents in it. It must have crawled in the ramrod hole looking for a cozy place. Anyway, the dents all steamed out nicely, thankfully. I polished all the brass and tarnished it a little with instant bluing. I did the same with the lock and barrel. I also cut teeth in the jaws of the flint cock. I case hardened the trigger and temper blued it as well as the trigger plate and all the bolt and screw heads that show on the outside. Tapered the ramrod a little and even turned the steel ferrule down to a slightly smaller diameter. I was very concerned that the close fit of the rod would swell in place on any humid day and since this rifle goes to Florida, that is a major consideration. I installed a taller rear sight because the owner is tall and it gives him just a little more drop at heel from the line of sight. The original low sight still fits so the owner can choose either one that suits. I'll let the finish cure for a few more days and the shoot the rifle to test it. After that, pack it up and ship it off. Hope you enjoy the photos.
dave
Enter your email address to join:
