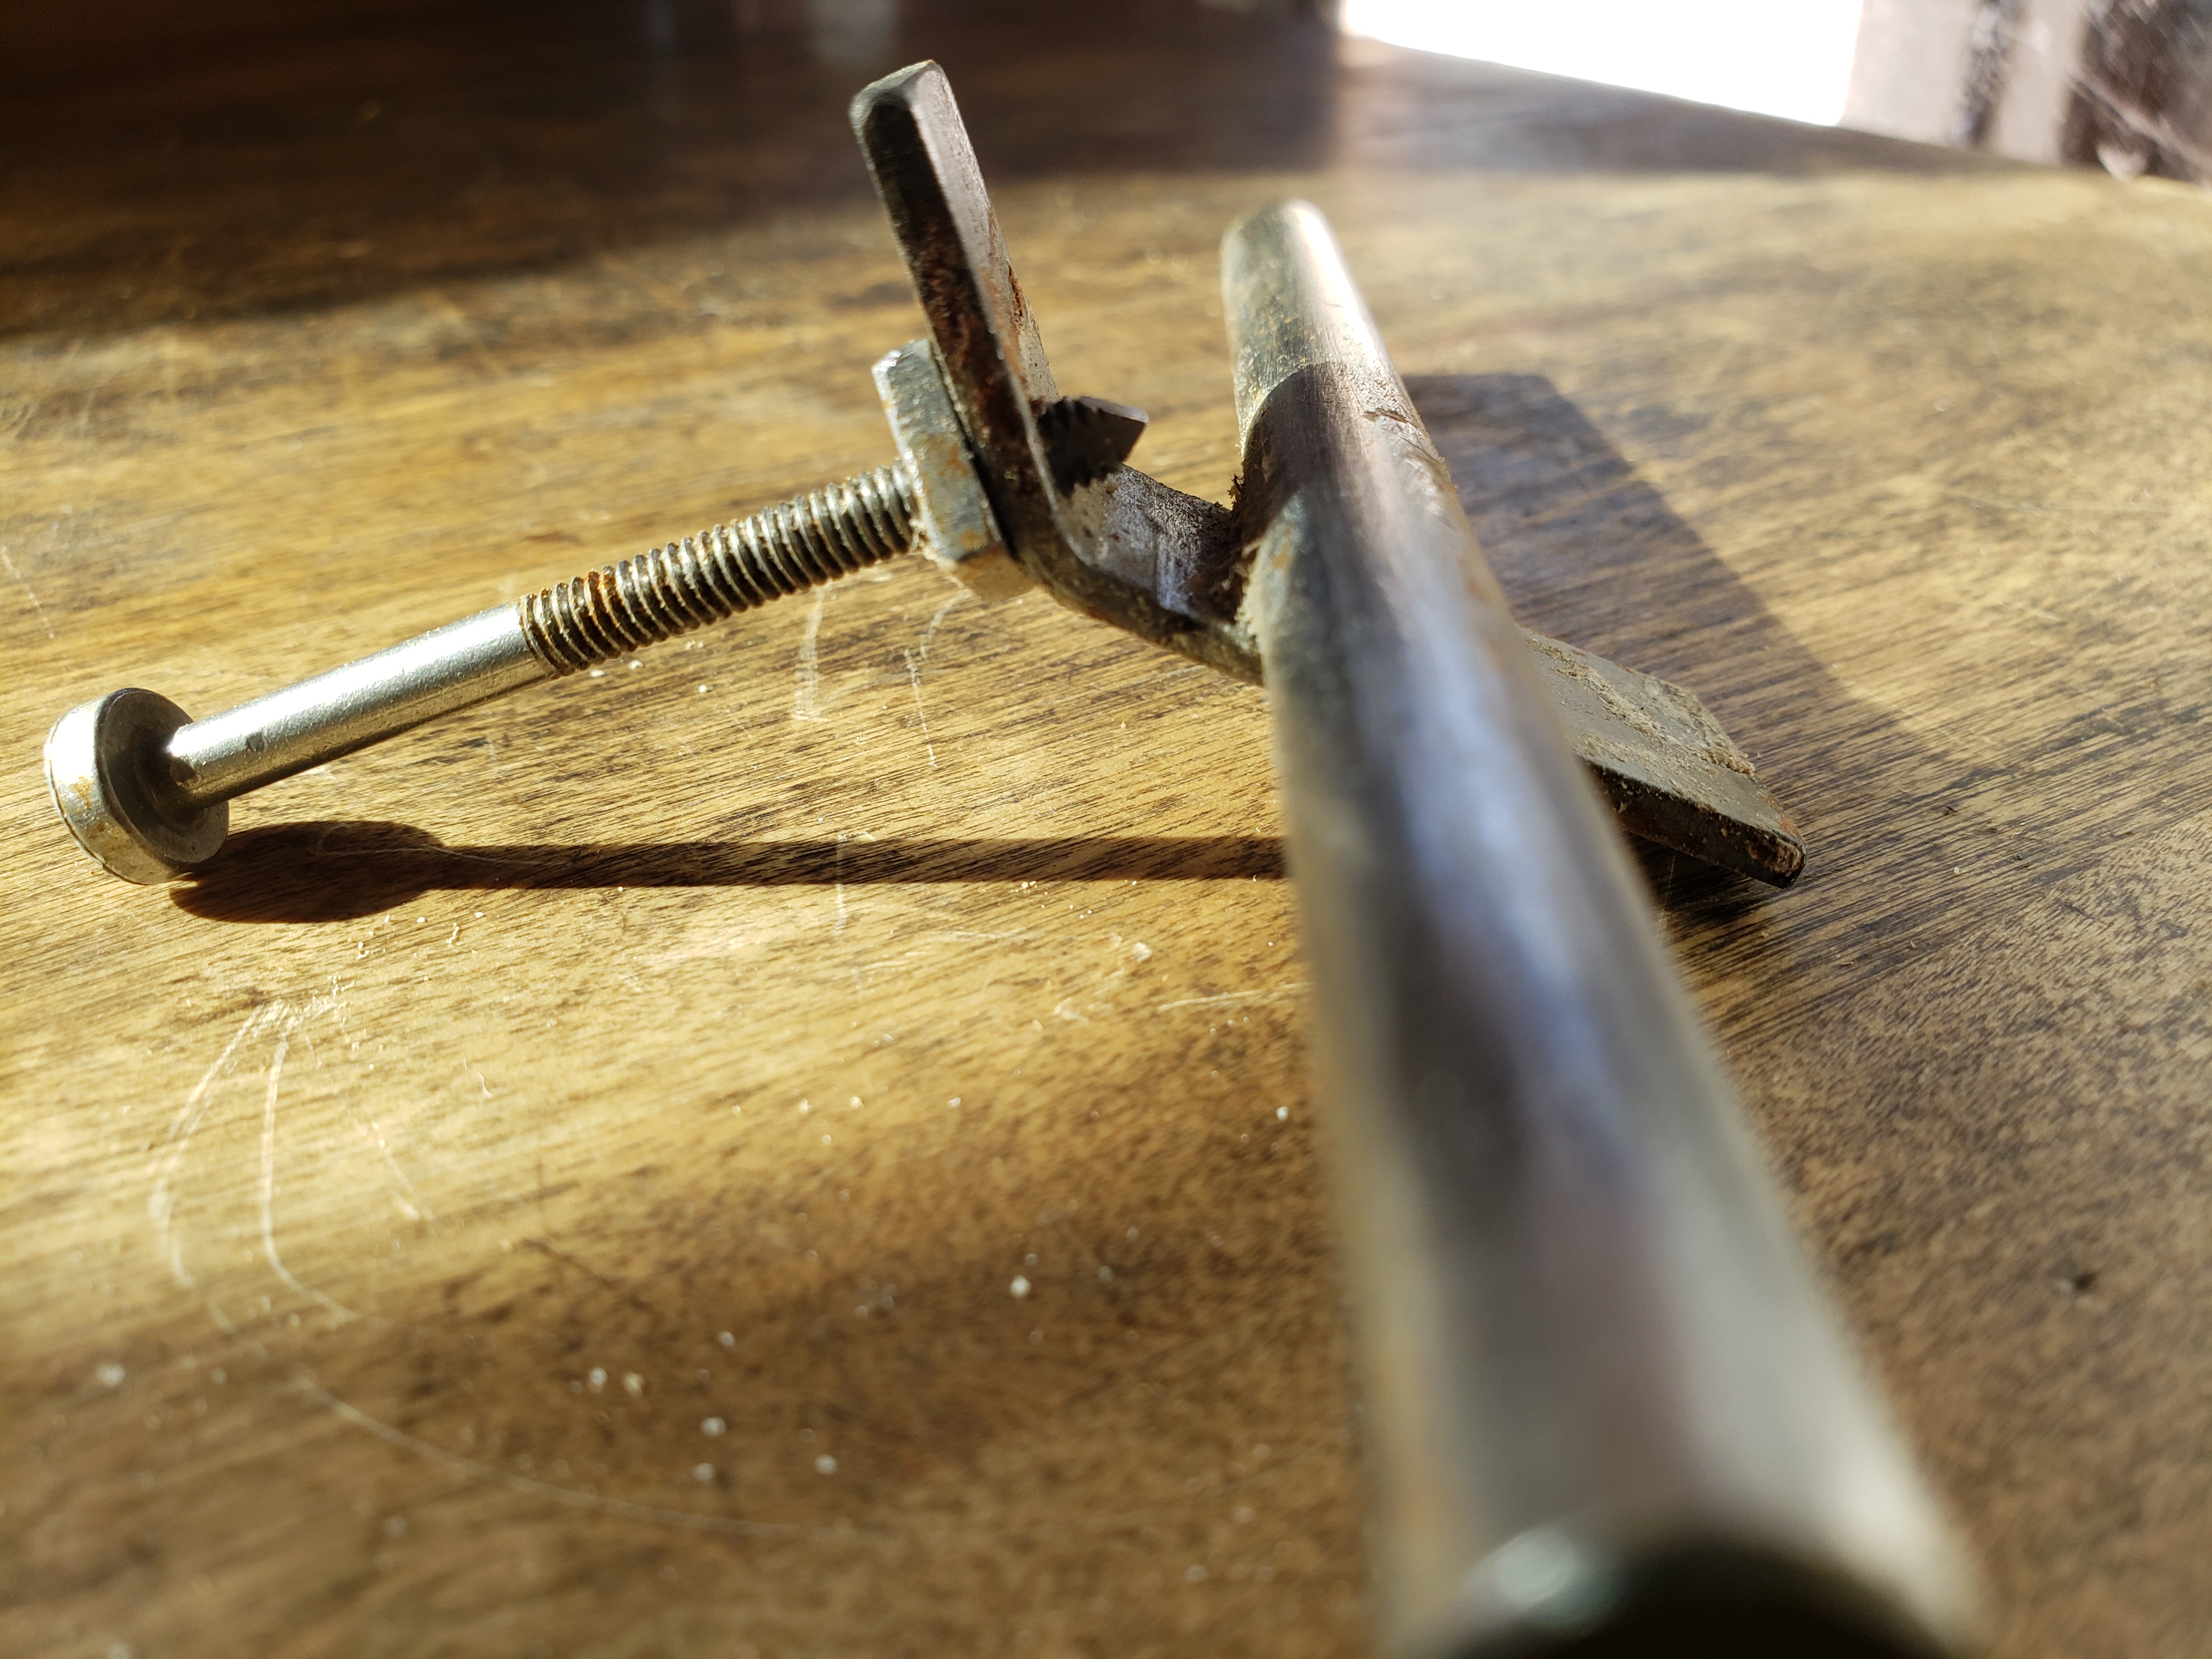
This might be a little controversial , but I'm not one for making things more difficult than they need to be. To make a straight line on a gunstock , like on the forearm. Measure down from a known point , like the top barrel flat using a 6" adjustable square , and mark with a pencil. To make fine lines on wood , get #4 hard lead pencils. #2's are soft lead , and dull too quickly , rendering fat imprecise lines. Aluminum 1/16 " hardware store rulers , are more flexible to make the best lines. However , a piece of 3/8" thin angle aluminum stock is absolutely inflexible , and render very straight lines. Ok.......Now we've put a long , really fine pencil line on the forearm. To start the line grooving process , use a fabric cutting razor wheel. Just roll it on the line a time or two. A round double ended checkering file , will cut out the line easily in a pass or two. If a compound line is desired , a double line checkering tool , or to get even more artistic , use a skip a line checkering tool. Another suggestion , take a sharp , 1/4" basic wood chisel and cut one side of the vee trench away , sand with a strip of fine sand paper. You have created a forearm molding , as easily as I can tell you how. I like easy..............oldwood. Using a vee chisel for any carving on a gunstock , is something not in my pay grade. I had a friend that back in the 1970's was an apprentice at the Colonial Williamsburg Gunshop.. The folks there , did some research about the ways old time gunsmiths did carving. The results of their findings , changed the way I think about wood carving. The above info is only a small portion , of how I have worked scratch building the 150 + rifles I created.