mikemeteor
45 Cal.
- Joined
- Nov 16, 2008
- Messages
- 660
- Reaction score
- 3
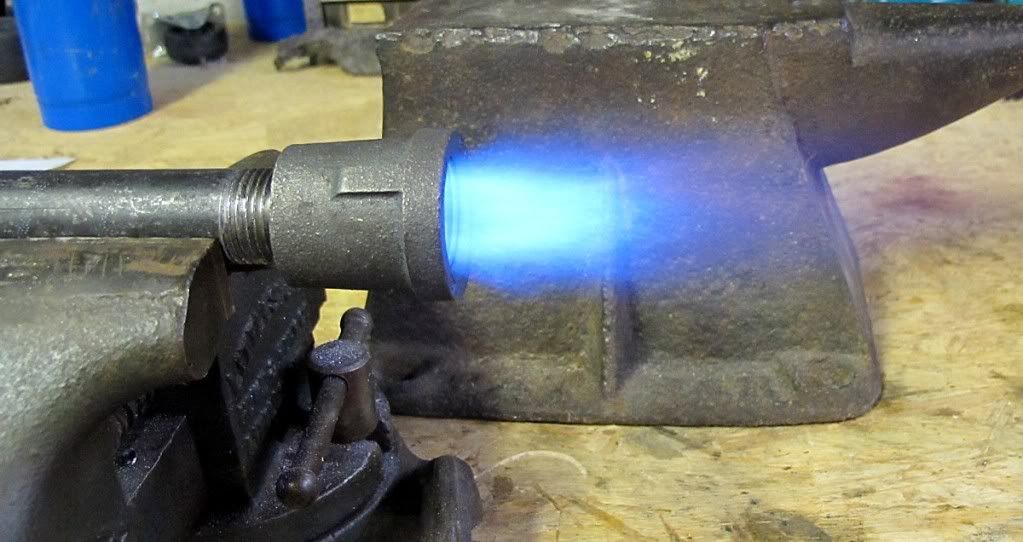
I am in the process of smaking a small "one brick" gas forge for small heat-treating and forging jobs associated with building MLers.
A couple hours spent with the source of all human knowledge (the internet) and about $25 worth of common materials has given me what I think is a serviceable atmospheric burner.
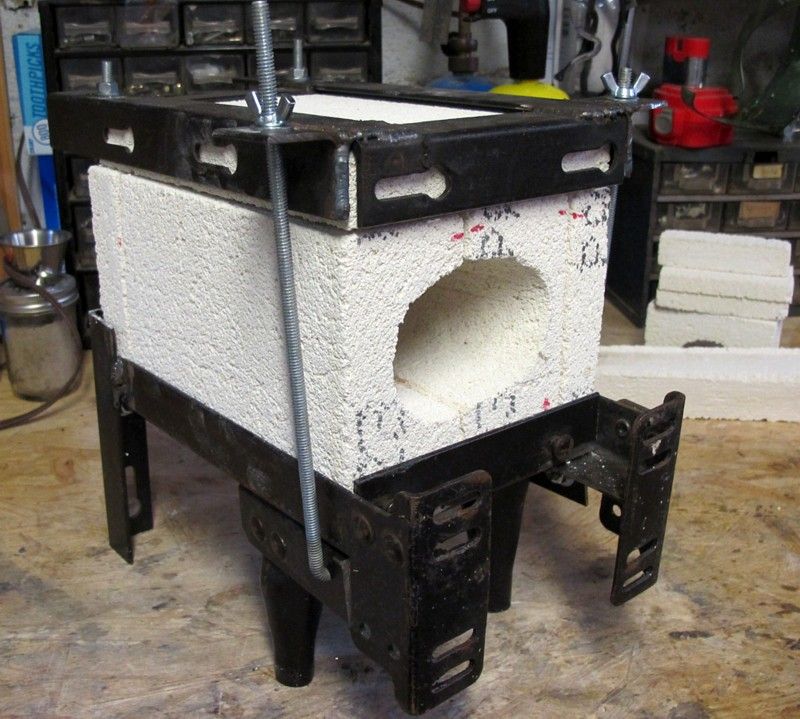
I am welding up a frame from angle iron for a hard firebrick housing.
The chamber will only be about 3"x5"x9" deep.
My question is: do I need to suspend the workpieces off the bottom with stand-offs? or can I simply lay them on the firebrick floor ?
Any insight on where and how to orient the burner when installing into the firebrick chamber ? Top mount or side mount ? Aim it at the work piece, or swirl around ?
thanks. Any insight on these micro gas forges greatly appreciated. I figure the blademakers here know all this stuff cold.
/mike

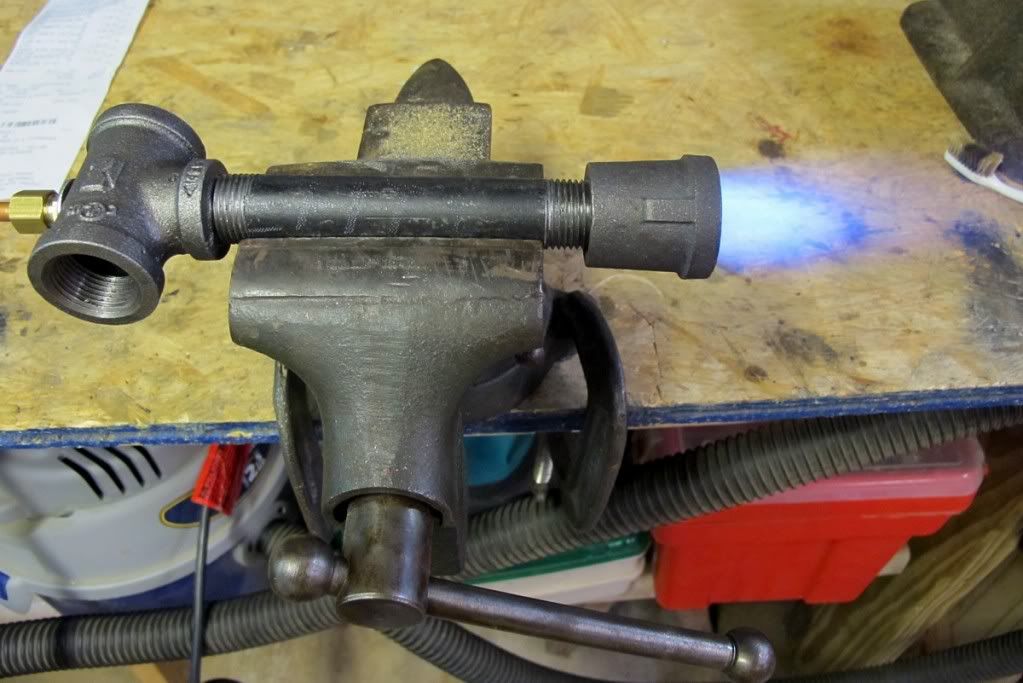
A couple hours spent with the source of all human knowledge (the internet) and about $25 worth of common materials has given me what I think is a serviceable atmospheric burner.
I am welding up a frame from angle iron for a hard firebrick housing.
The chamber will only be about 3"x5"x9" deep.
My question is: do I need to suspend the workpieces off the bottom with stand-offs? or can I simply lay them on the firebrick floor ?
Any insight on where and how to orient the burner when installing into the firebrick chamber ? Top mount or side mount ? Aim it at the work piece, or swirl around ?
thanks. Any insight on these micro gas forges greatly appreciated. I figure the blademakers here know all this stuff cold.
/mike