A good rule of thumb, is to take off as much wood as you think you should, then take off more. Most leave way too much wood on a stock, especially those building a long rifle.
Another thing many fail at, is having a lock mortise too tight. I like to be able to remove the lock bolts, and be able to tip a gun on it's side, and have the lock fall out of the stock, or nearly so. If too tight, and they get wet, that can cause a split. English guns were all built like this. Also, when tightening lock bolts, they should just be snug, not torqued down. This can cause the lock plate to bend, causing function problems.


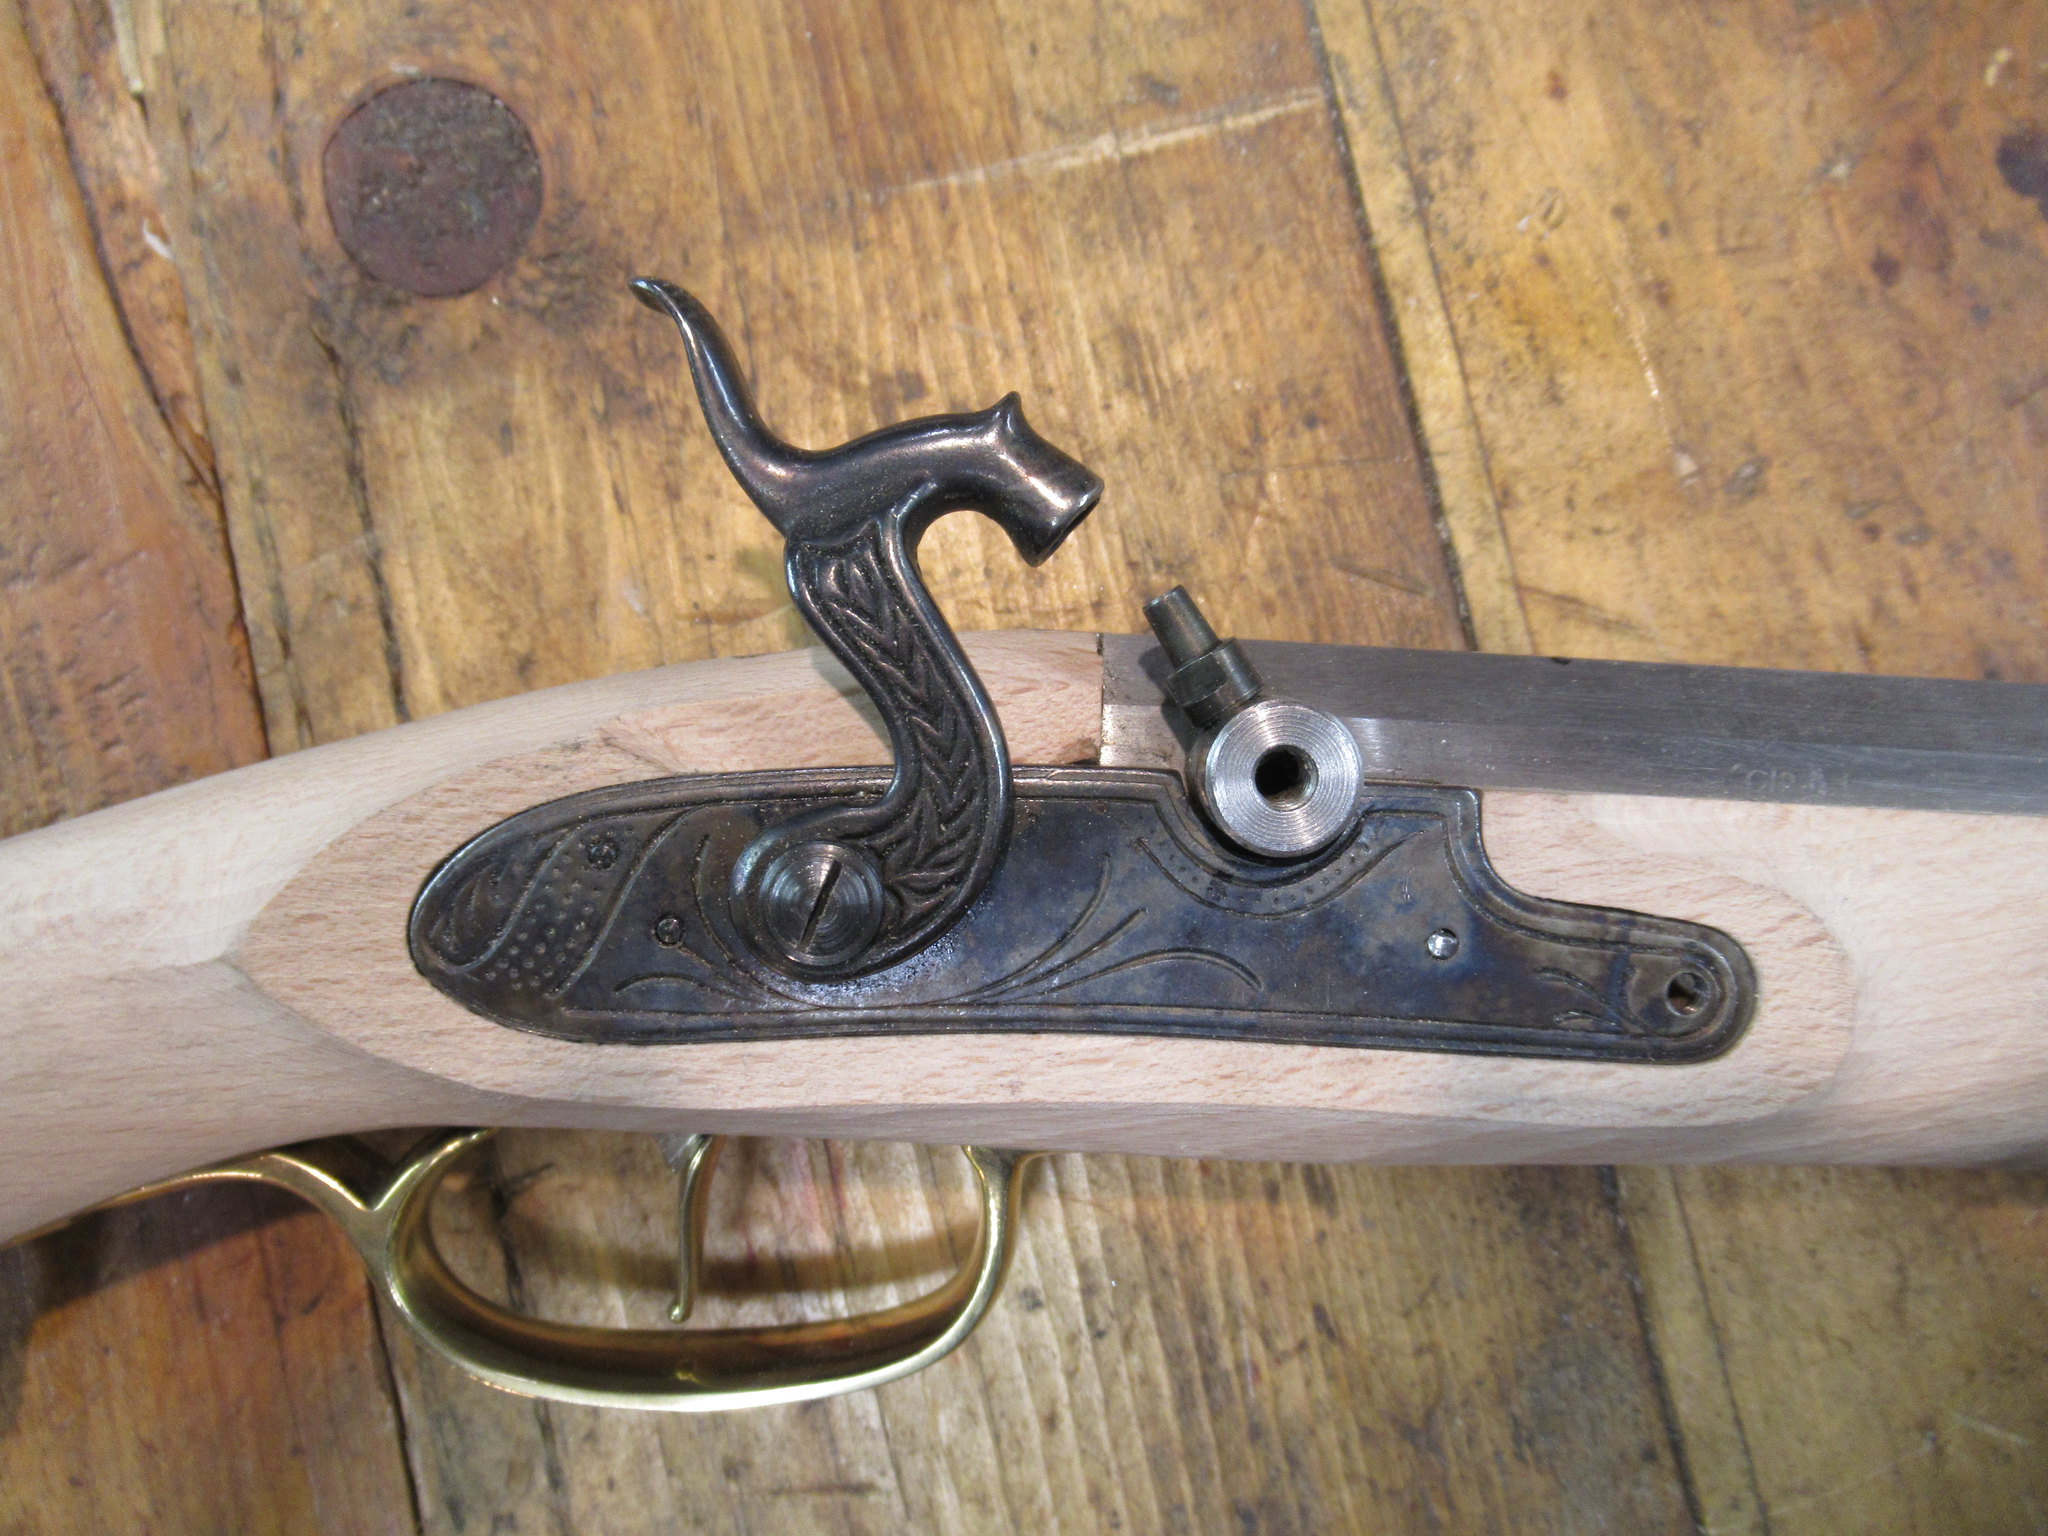 IMG_0387
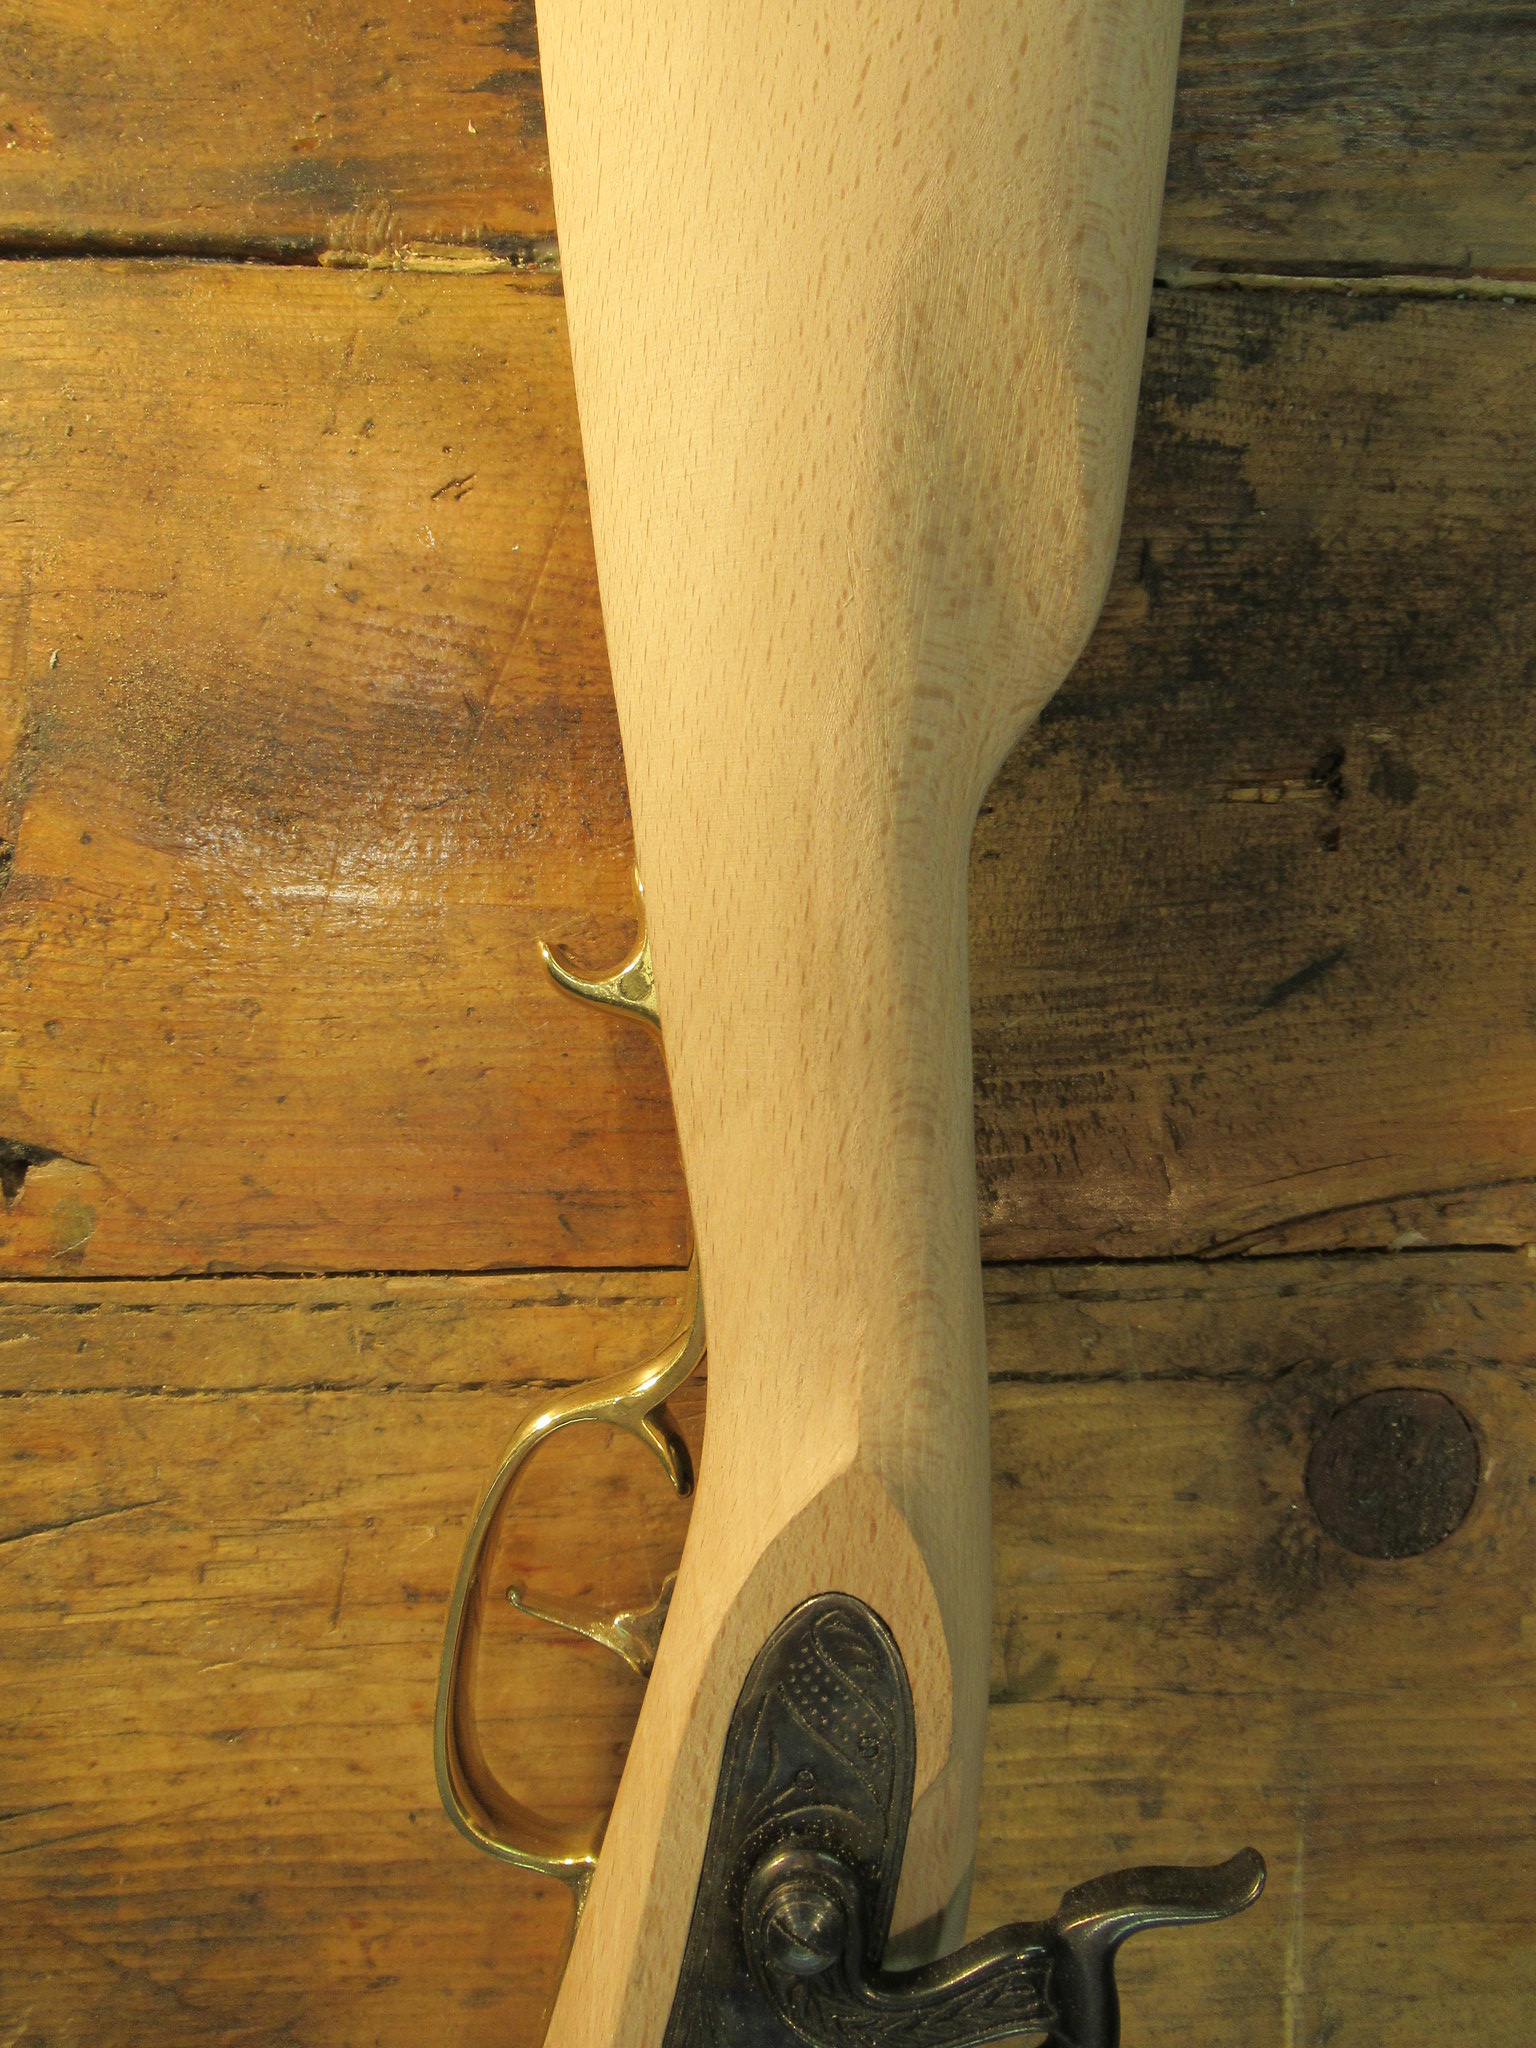 IMG_0388
