


Phil Coffins
69 Cal.
I like better wood on my Colts so I make them this way.
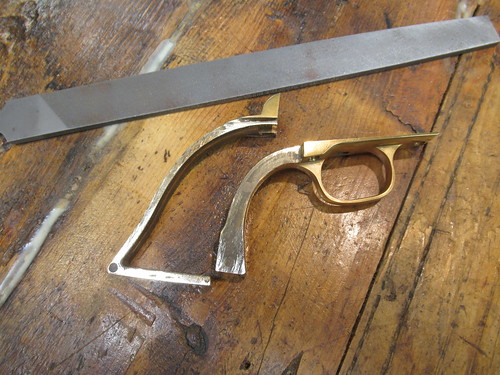
Step one: remove the grip frame and smooth and flatten the sides, as little as possible.
 IMG_0665 by Oliver Sudden, on Flickr
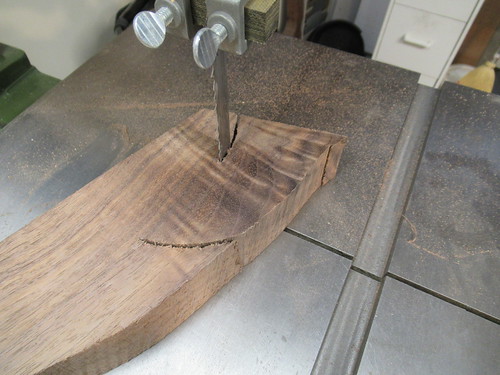
Step two: select the wood and cut to over size. A piece that is about 1 1/4" allows you to match the grain but if you have wood that is 5/8" thick that can work.
 IMG_0664 by Oliver Sudden, on Flickr
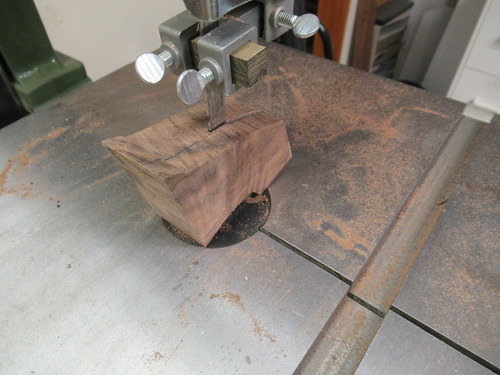
Step three: with the thick piece cut the slabs off a bit thicker then finished size, this one required the slabs to be .530" finished.
 IMG_0667 by Oliver Sudden, on Flickr
Step one: remove the grip frame and smooth and flatten the sides, as little as possible.
IMG_0665 by Oliver Sudden, on FlickrStep two: select the wood and cut to over size. A piece that is about 1 1/4" allows you to match the grain but if you have wood that is 5/8" thick that can work.
IMG_0664 by Oliver Sudden, on FlickrStep three: with the thick piece cut the slabs off a bit thicker then finished size, this one required the slabs to be .530" finished.
IMG_0667 by Oliver Sudden, on Flickr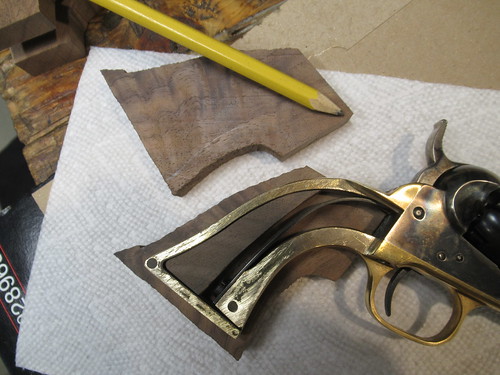 IMG_0669
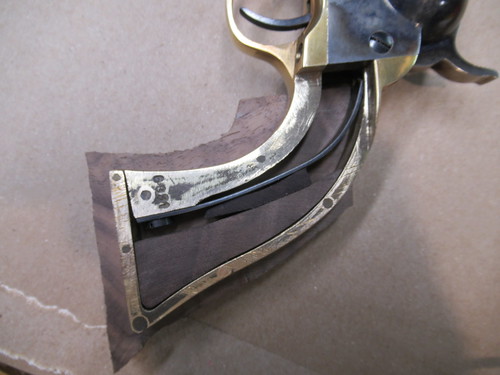 IMG_0670
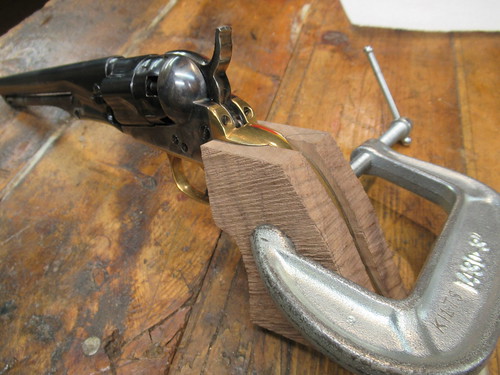 IMG_0671
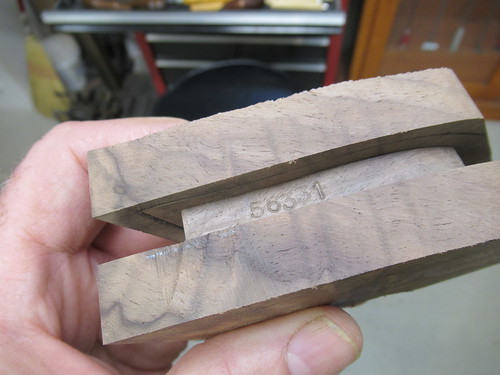 IMG_0673
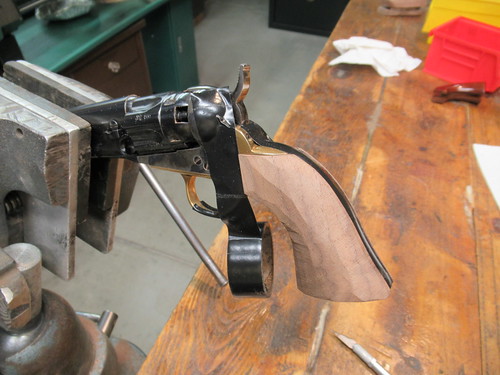 IMG_0674
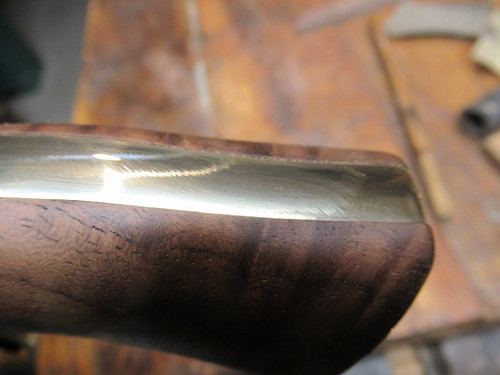 IMG_0675
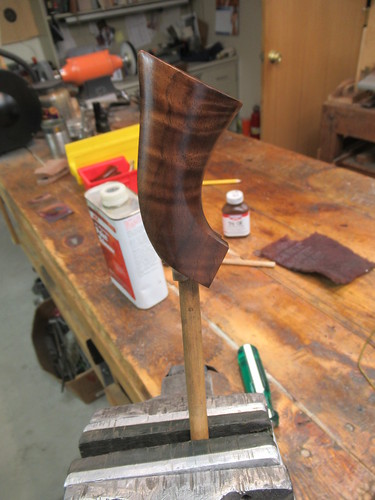 IMG_0678
 IMG_0679