-
This community needs YOUR help today. We rely 100% on Supporting Memberships to fund our efforts. With the ever increasing fees of everything, we need help. We need more Supporting Members, today. Please invest back into this community. I will ship a few decals too in addition to all the account perks you get.

Sign up here: https://www.muzzleloadingforum.com/account/upgrades -
Friends, our 2nd Amendment rights are always under attack and the NRA has been a constant for decades in helping fight that fight.
We have partnered with the NRA to offer you a discount on membership and Muzzleloading Forum gets a small percentage too of each membership, so you are supporting both the NRA and us.
Use this link to sign up please; https://membership.nra.org/recruiters/join/XR045103
You are using an out of date browser. It may not display this or other websites correctly.
You should upgrade or use an alternative browser.
You should upgrade or use an alternative browser.
Busy on the Forge
- Thread starter jcmcclure
- Start date

Help Support Muzzleloading Forum:
This site may earn a commission from merchant affiliate
links, including eBay, Amazon, and others.
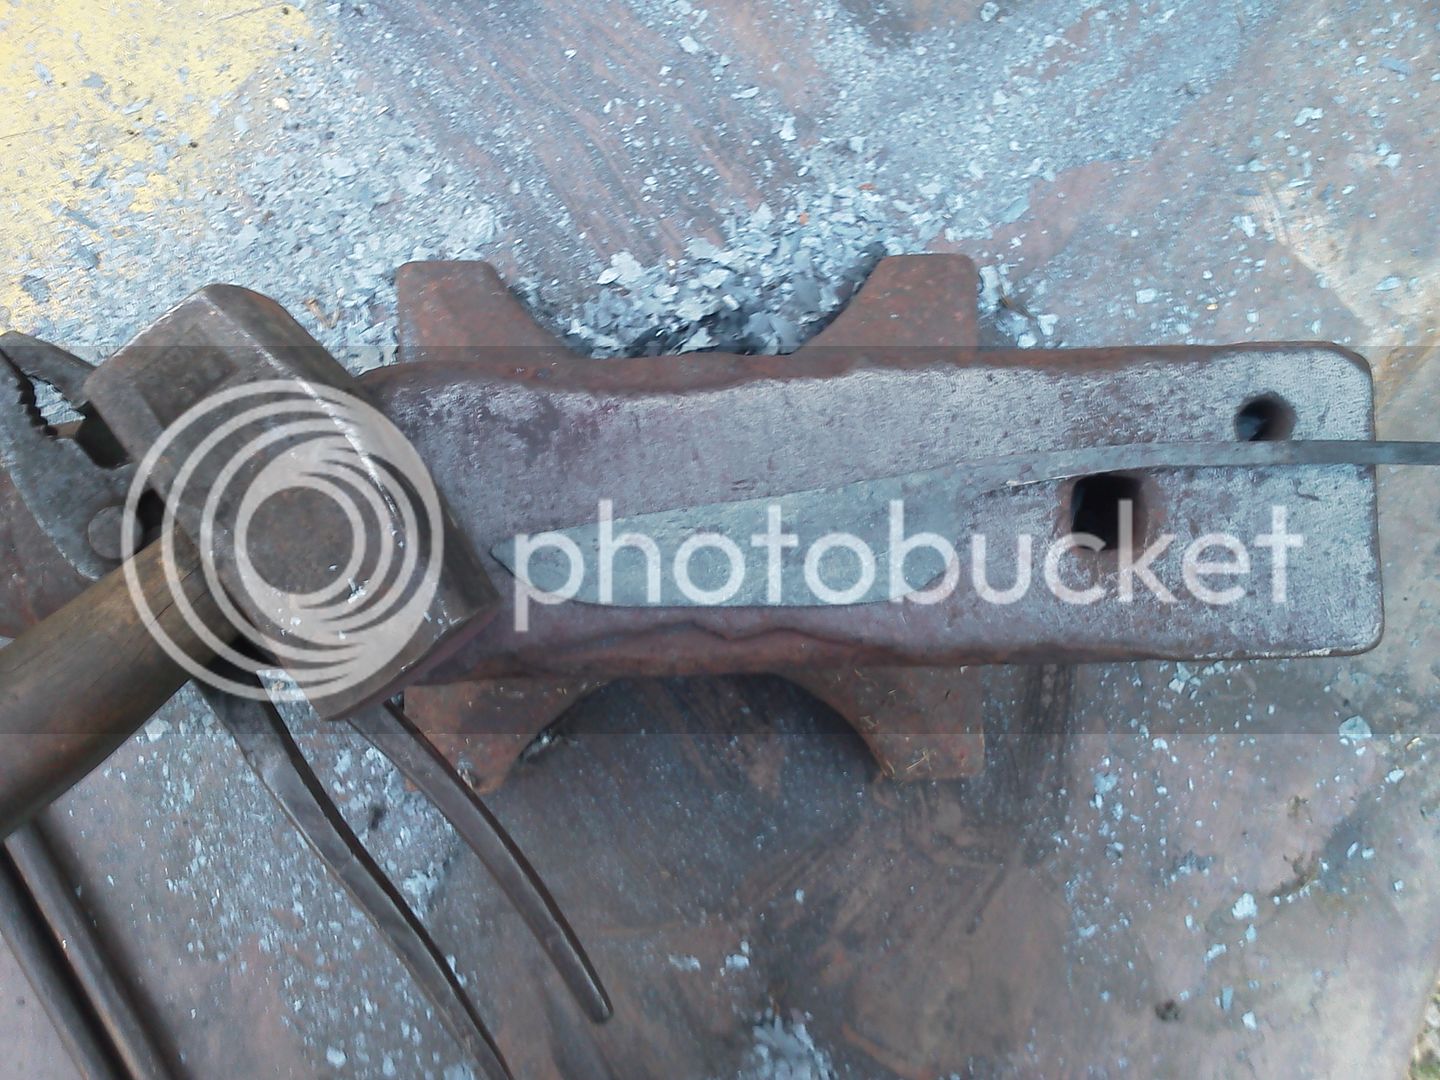
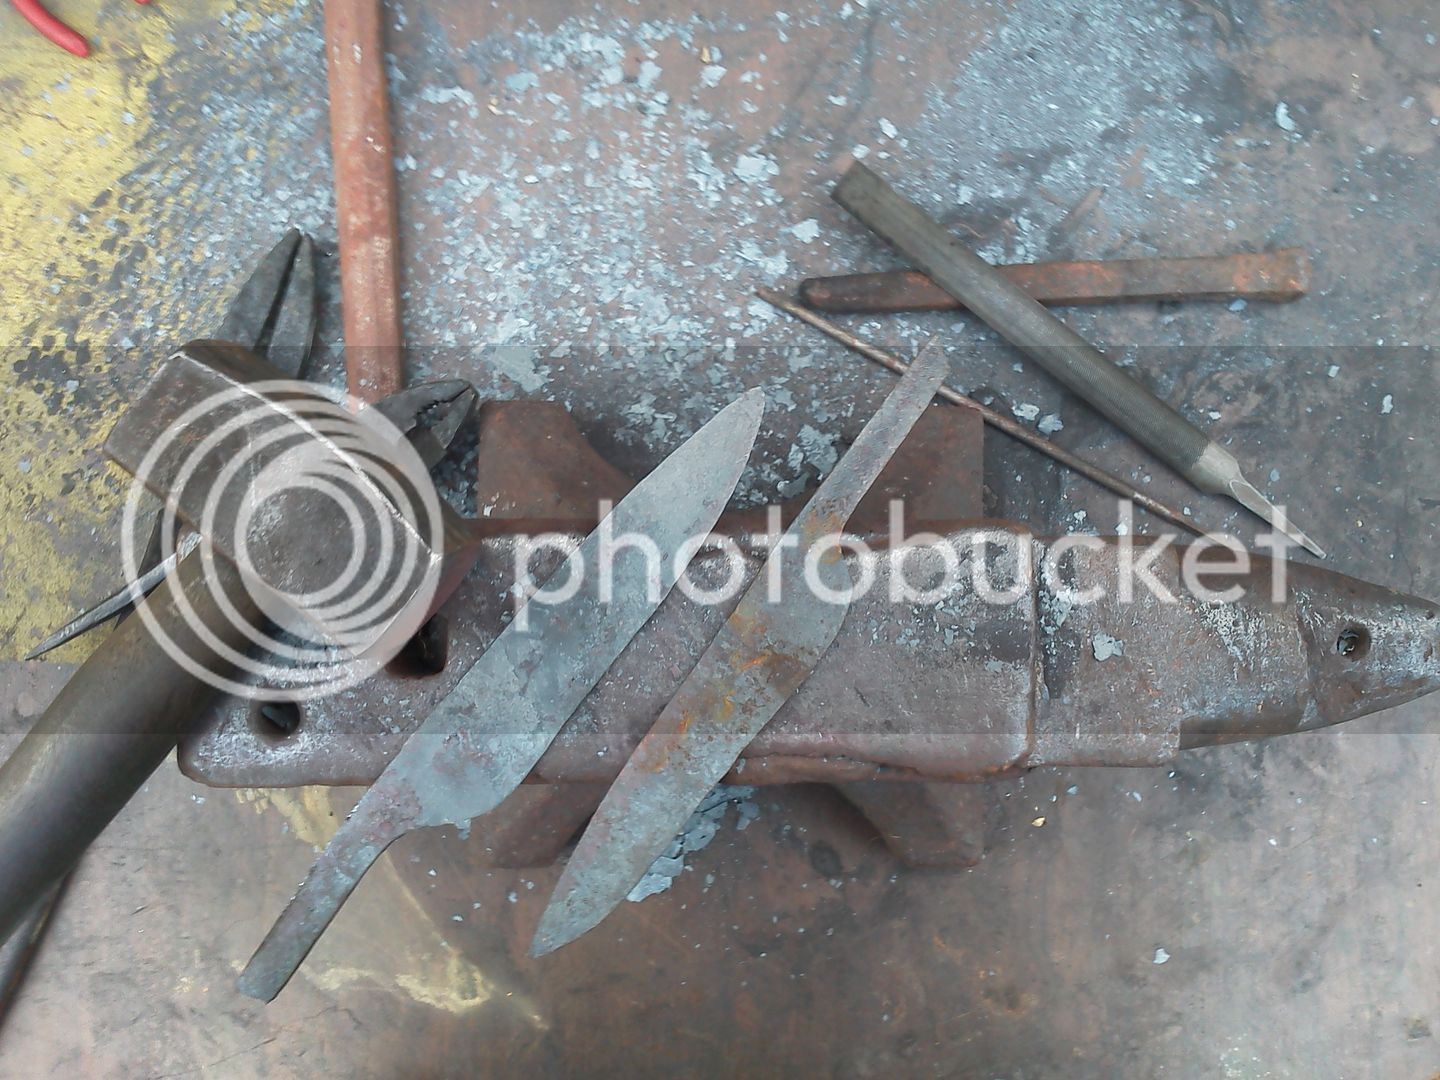
They look mighty fine to me sir! Nice shape to the blades and wide shanks on the last two for comfortable handles. I made one for my wife and it had a narrow shank for the scales and is not as comfortable for her to use as the others, even though it has a great blade shape like yours.
Treestalker
Treestalker
- Joined
- Mar 24, 2014
- Messages
- 4,051
- Reaction score
- 3,739
- Location
- Third Pond from the Great God Helios
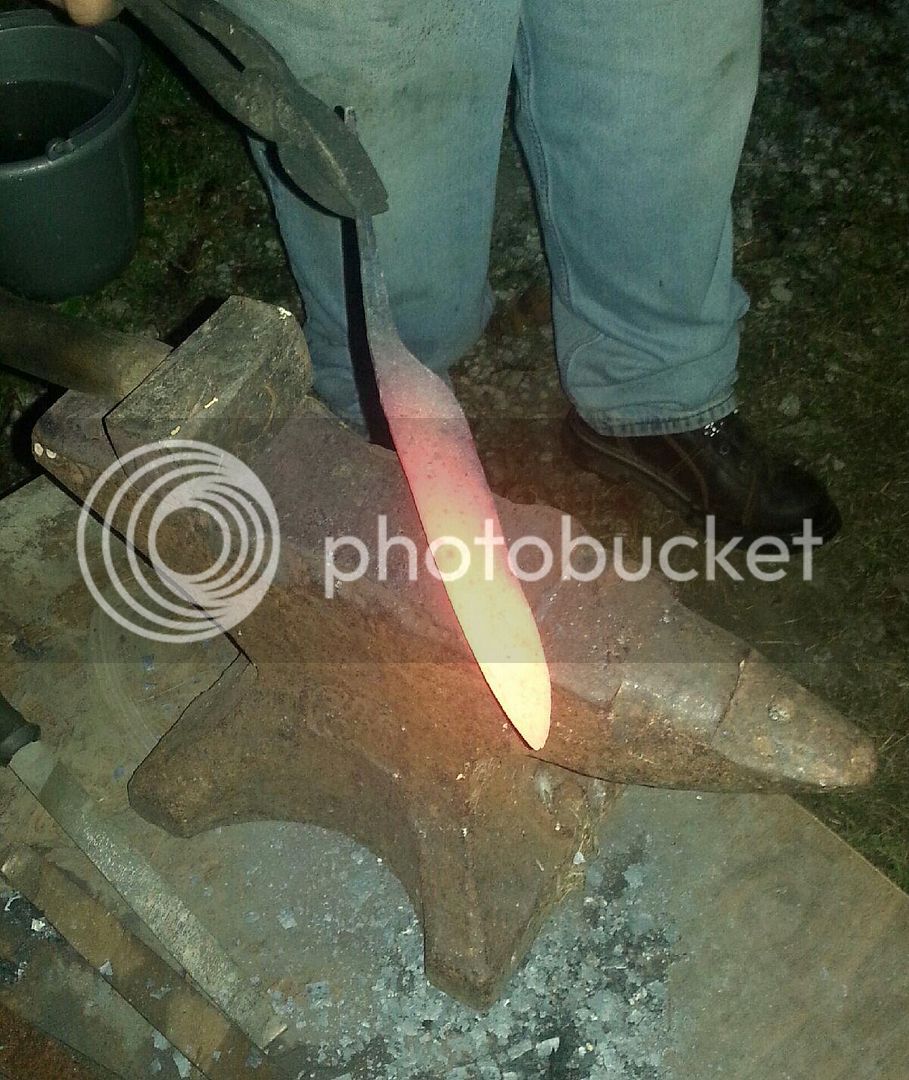
Beautiful blade shapes and nice color forging heat, beautiful pictures. Do you inlet your tangs into the back of your handles then pin in place? I used to forge my tangs centered to leave handle material on top; Most of my blades had full tapered tangs for scales. Looks like you are definitely on the true path! Please let us know what steel you use and tempering methods, etc. Thanks for sharing! :thumbsup: :hatsoff: George.
The blade that has color was a piece of 1085 that a member of this board sent to me. The other blades are all files. Wick send me a good message back in the spring about heat treating and I use the method that he shared with me...nothing special, normalizing, quenching, and then I have a small oven that I set on 425 and heat for an hour then cool (X3) and I get the straw color that is needed.
lonehunter
58 Cal.
- Joined
- Feb 11, 2009
- Messages
- 2,107
- Reaction score
- 12
Nicely done
- Joined
- May 6, 2014
- Messages
- 16,892
- Reaction score
- 15,305
Nice looking blades. Are the blades taper forged from the backs to the edges? What are the blade lengths and widths?
Gus
Gus
Canute Rex
40 Cal.
- Joined
- Apr 19, 2012
- Messages
- 387
- Reaction score
- 266
I also say "nice shape." Graceful.
One idea that will make your life easier: Finish the face of your anvil. My mastersmith kept a mirror face on his anvil and all the pro blade forgers I ever visited have a mirror finish. If you polish your anvil and your hammer then the only marks in the blade will be the ones you put there. That means a lot less grinding and filing.
I took my most recently purchased anvil to a local machine shop and had them surface grind the face and then grind the bottom parallel with it. It's not a mirror, but close enough. Cost me $100, but well worth it for the time and sanding belts saved.
Nice work JC. The blades I have forged were not worth finishing. Yours look great.
That anvil sure has a lot of character. Any idea what make?
That anvil sure has a lot of character. Any idea what make?
hoochiepapa
75 Cal.
- Joined
- Oct 25, 2010
- Messages
- 5,853
- Reaction score
- 7
I like your work. Lots of work.
Similar threads
- Replies
- 3
- Views
- 266


