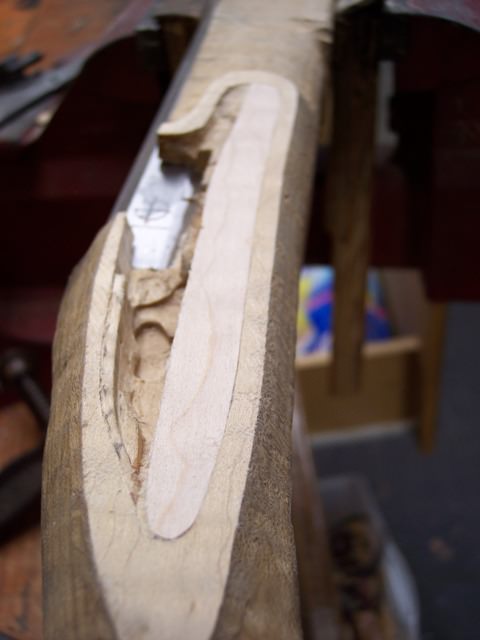
I was belly aching a while back about a precarve I bought that had the lock inlet cut too low. I lowered the barrel but still couldn't get the pan on the side flat. I was going to trash the barrel but decided to try a fix, I have nothing to lose.
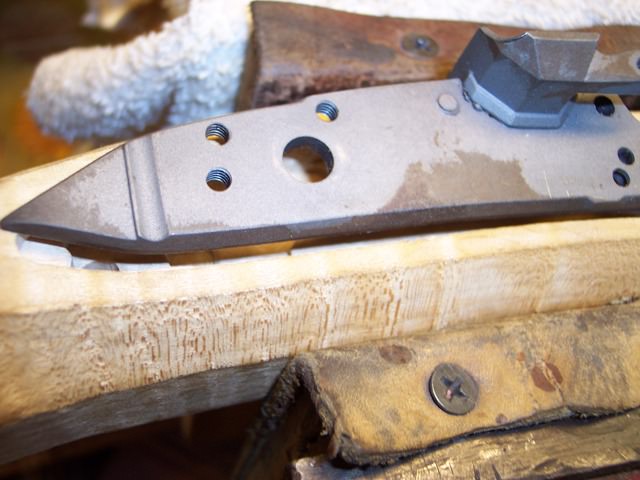
Here is the lock plate inletted to put the pan in the center of the barrel flat, a big gap at the bottom.
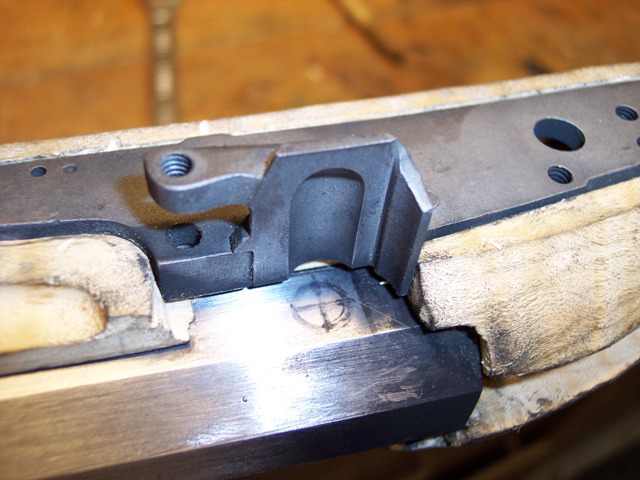
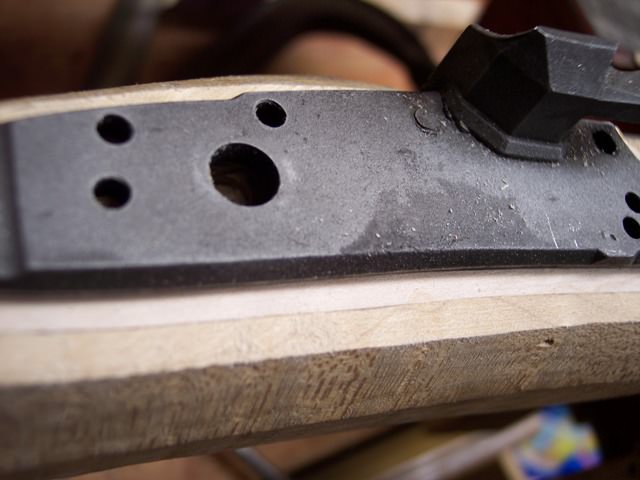
After lowering the barrel;
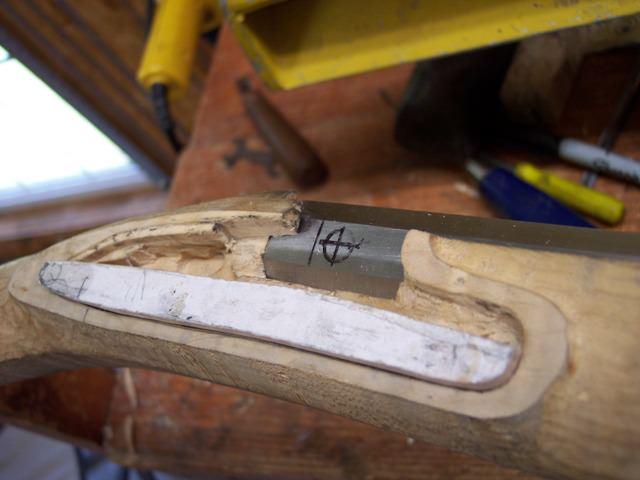
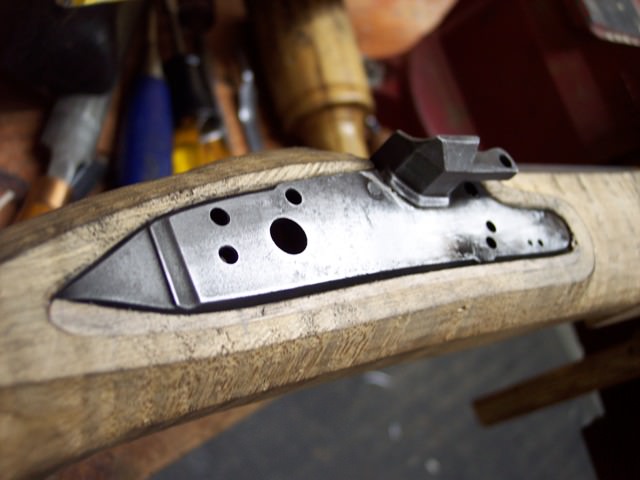
I had some curly maple that matched the lock panel curl. I spent a whole afternoon fitting a piece into the lock mortise perfectly, my first few attempts had small gaps but I finally got it right.
I used unibond 800 glue because it has dark glue joint that I can match with aquafortis and tannic acid.
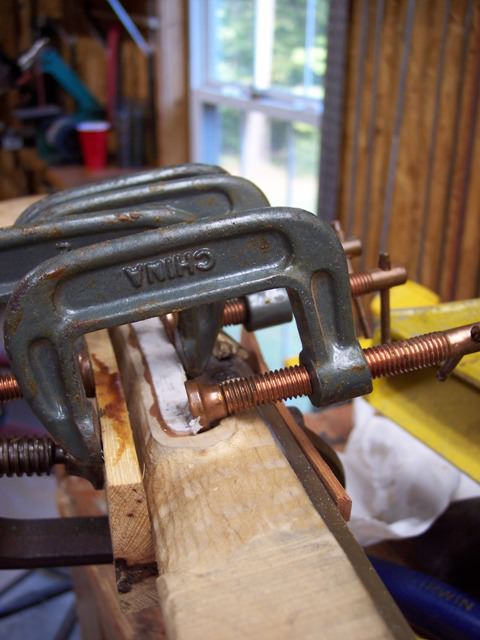
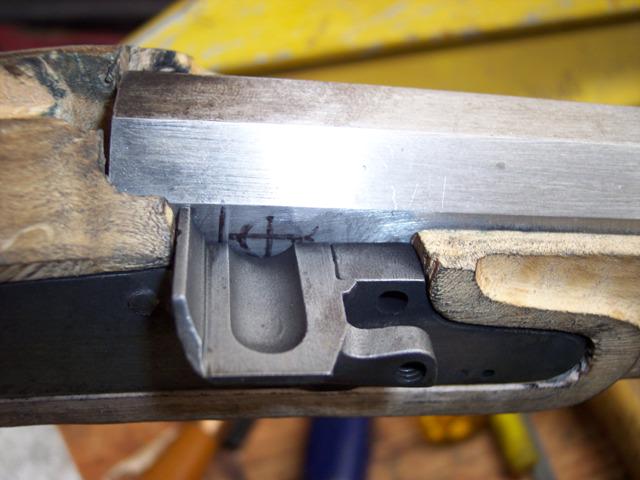
Nice thin glue line;
This might work, I like thin lock moldings, I can get right up against my glue line and have the right width for my molding without cutting through the glue line.
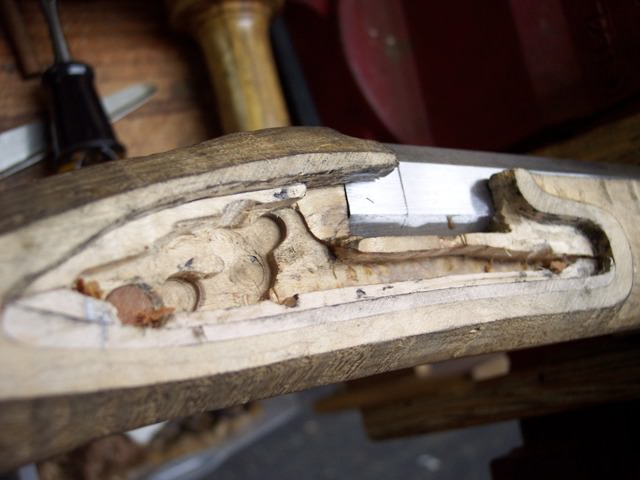
Here is the lock plate inletted to put the pan in the center of the barrel flat, a big gap at the bottom.
After lowering the barrel;
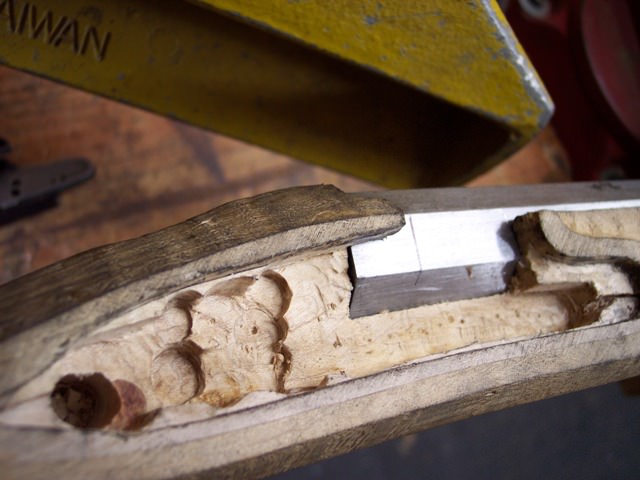
I had some curly maple that matched the lock panel curl. I spent a whole afternoon fitting a piece into the lock mortise perfectly, my first few attempts had small gaps but I finally got it right.
I used unibond 800 glue because it has dark glue joint that I can match with aquafortis and tannic acid.
Nice thin glue line;
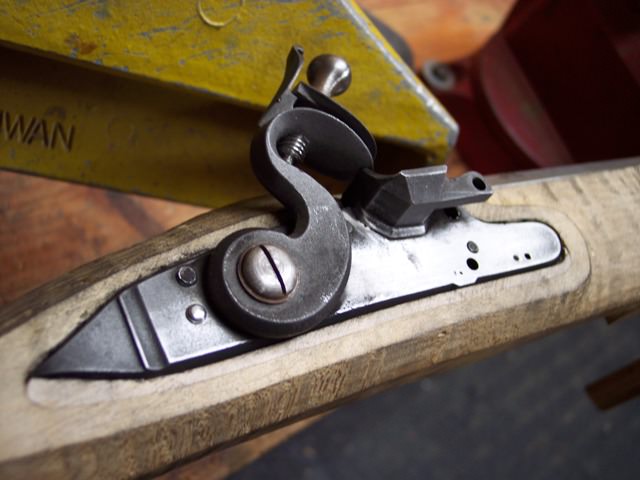
This might work, I like thin lock moldings, I can get right up against my glue line and have the right width for my molding without cutting through the glue line.
")