• This community needs YOUR help today. We rely 100% on Supporting Memberships to fund our efforts. With the ever increasing fees of everything, we need help. We need more Supporting Members, today. Please invest back into this community. I will ship a few decals too in addition to all the account perks you get.


    Sign up here: https://www.muzzleloadingforum.com/account/upgrades
  • Friends, our 2nd Amendment rights are always under attack and the NRA has been a constant for decades in helping fight that fight.

    We have partnered with the NRA to offer you a discount on membership and Muzzleloading Forum gets a small percentage too of each membership, so you are supporting both the NRA and us.

    Use this link to sign up please; https://membership.nra.org/recruiters/join/XR045103

A Tale of Two Little Rifles

Muzzleloading Forum

Help Support Muzzleloading Forum:

This site may earn a commission from merchant affiliate links, including eBay, Amazon, and others.
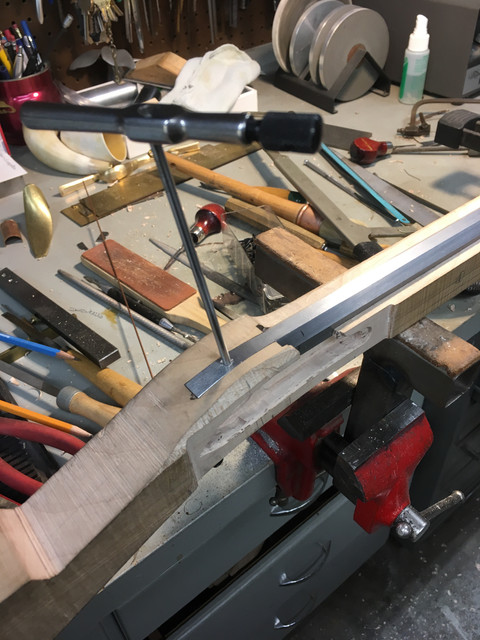
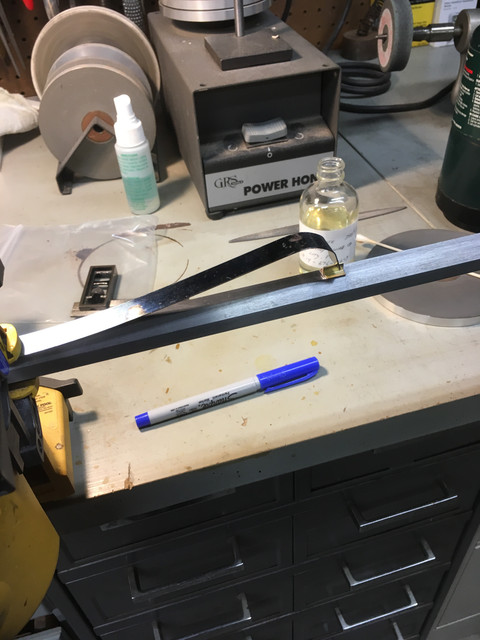
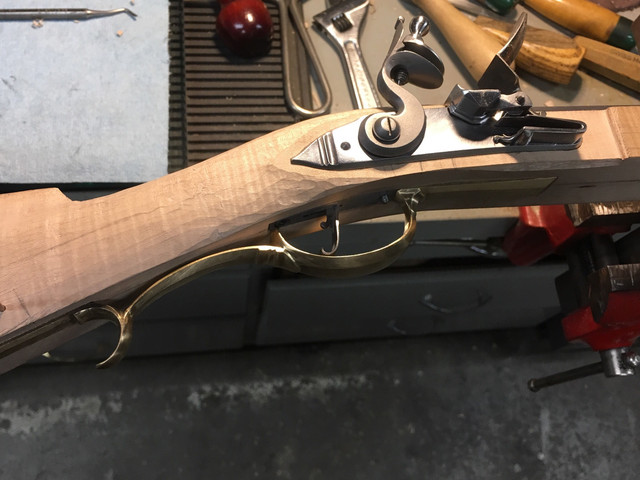
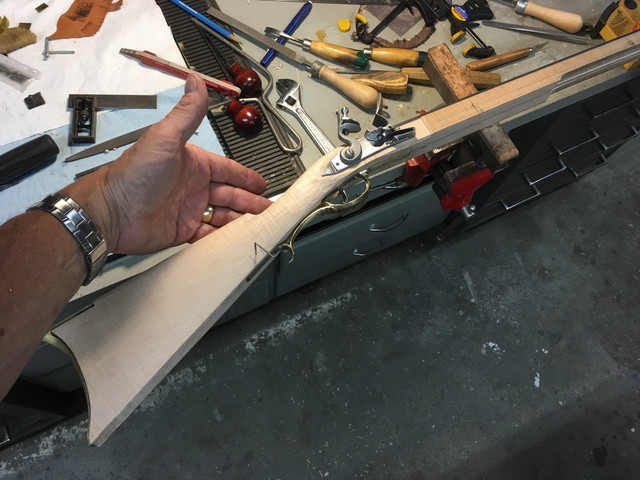
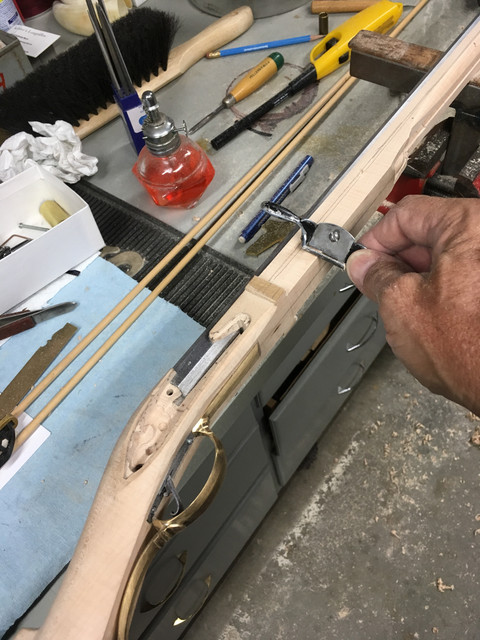
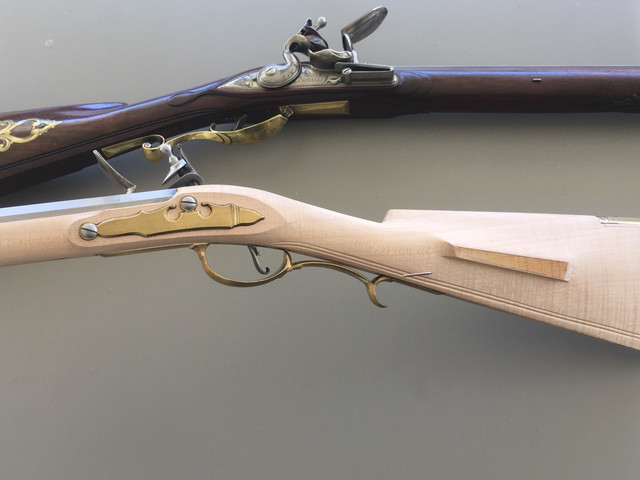
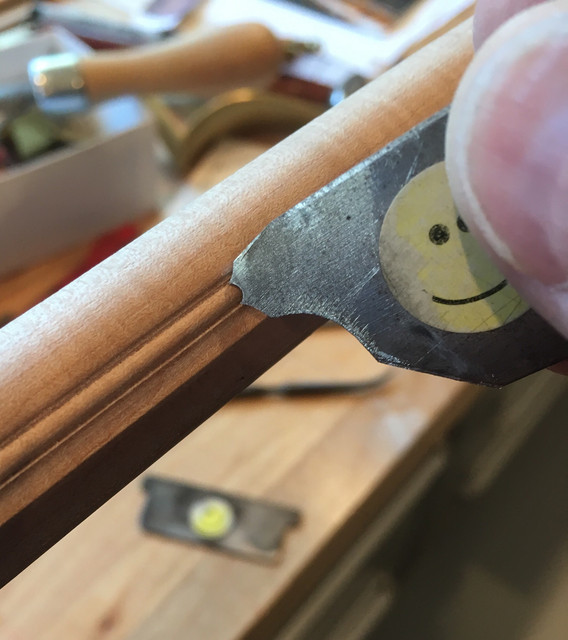
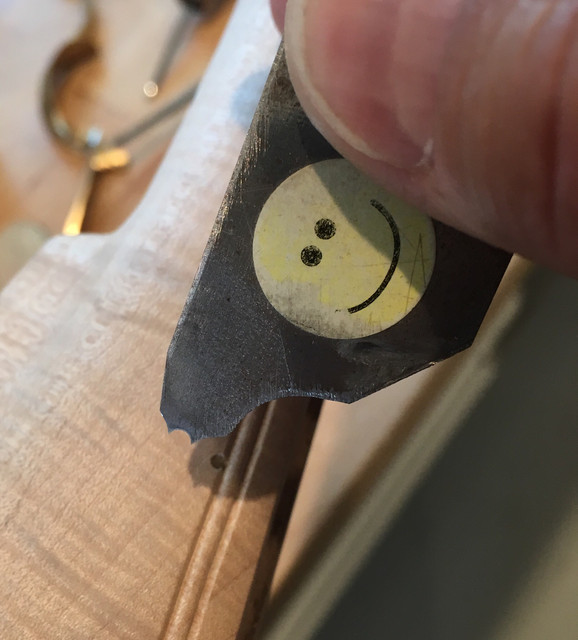
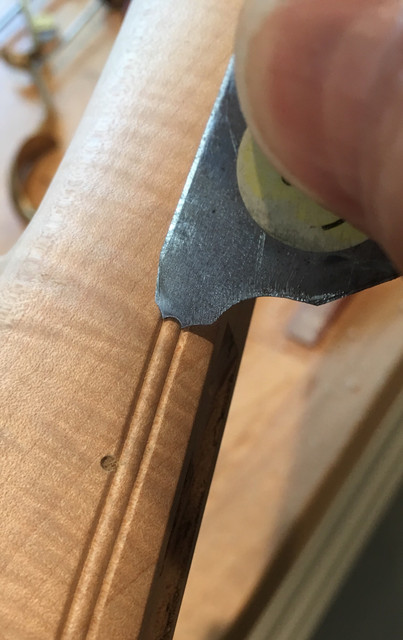
With the trigger and trigger plate installed, I could get the tang bolt hole drilled and tapped. Here I am using a long 6-32 tap. I didn't take pictures, but I also got both lock bolts drilled and tapped.


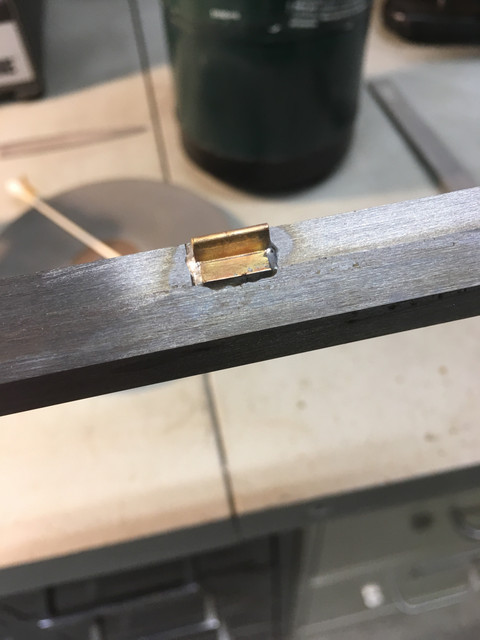
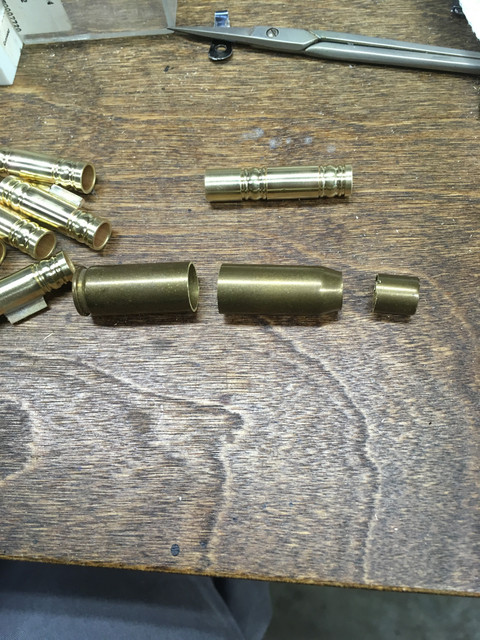
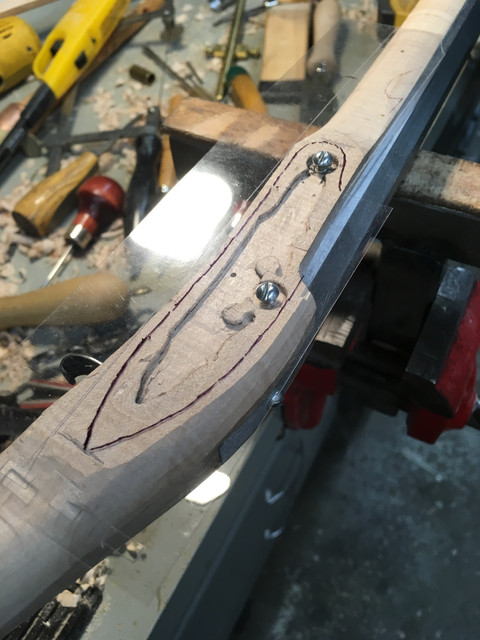
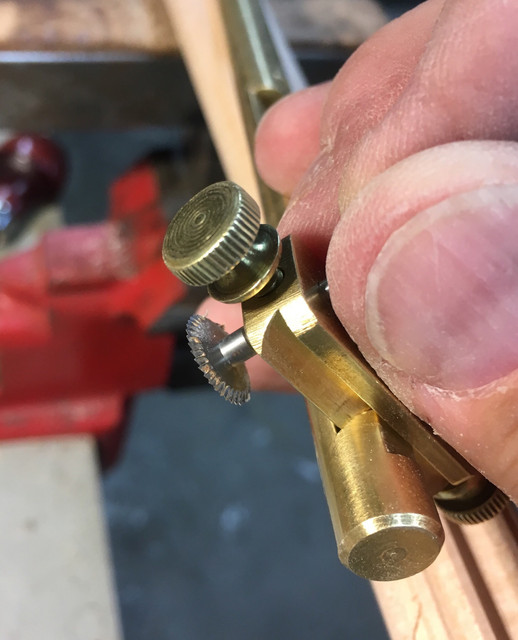
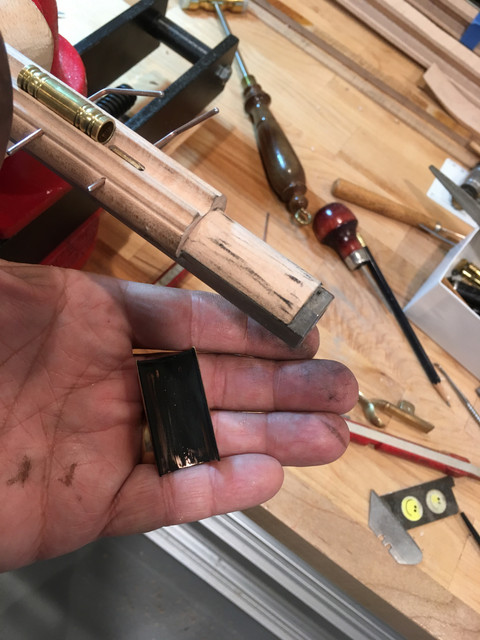
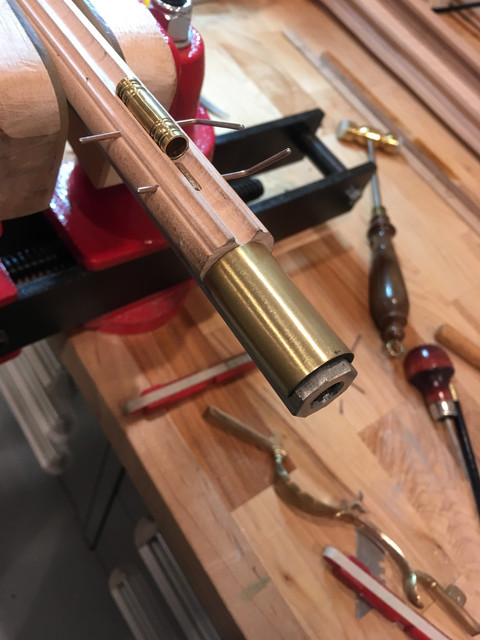
The barrel is so slender that I had to think about how I wanted to do the barrel lugs. I decided that, instead of the dovetail routine, I would just make up some tiny brass lugs and solder them to the barrel. I made them up out of 0.016 brass sheet, folded them, silver brazed the joint and then trimmed them to final size.


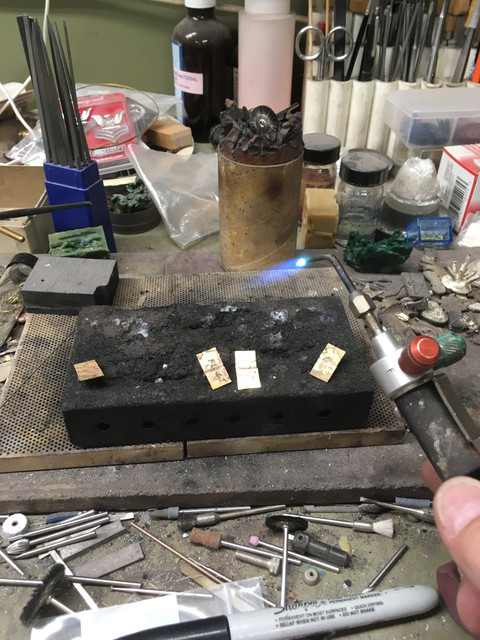
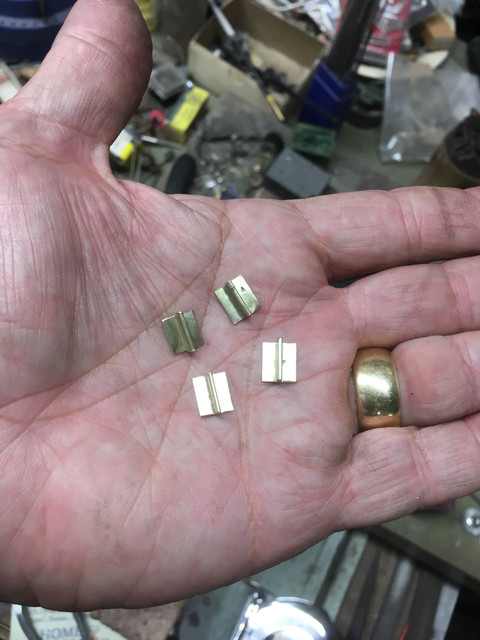
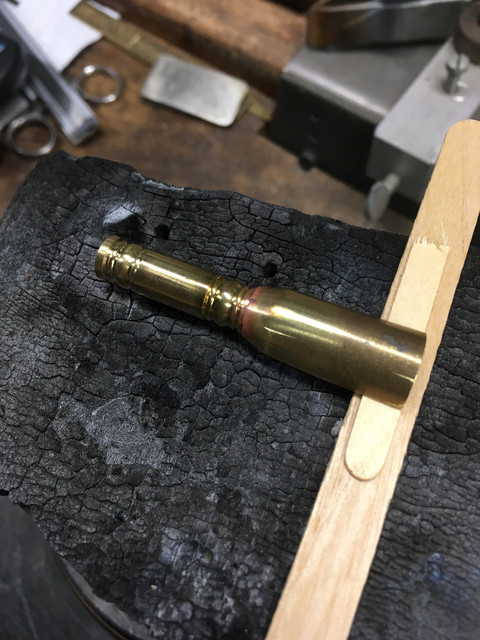
After trimming, I tinned them with Hi Force silver bearing solder (a fair amount stronger than lead solder but only melts at 475 F) and then installed them on the barrel.


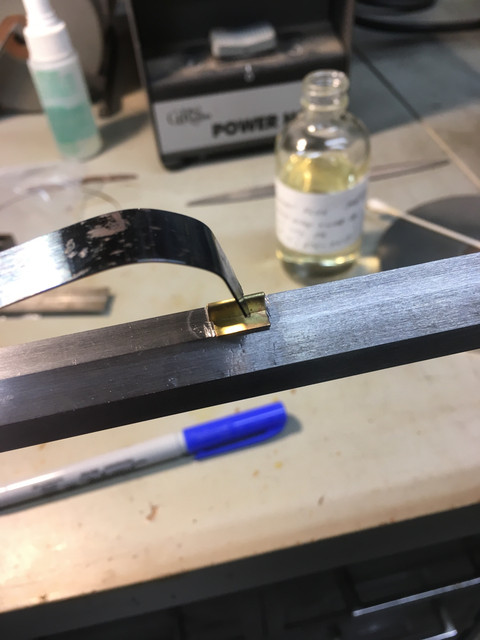
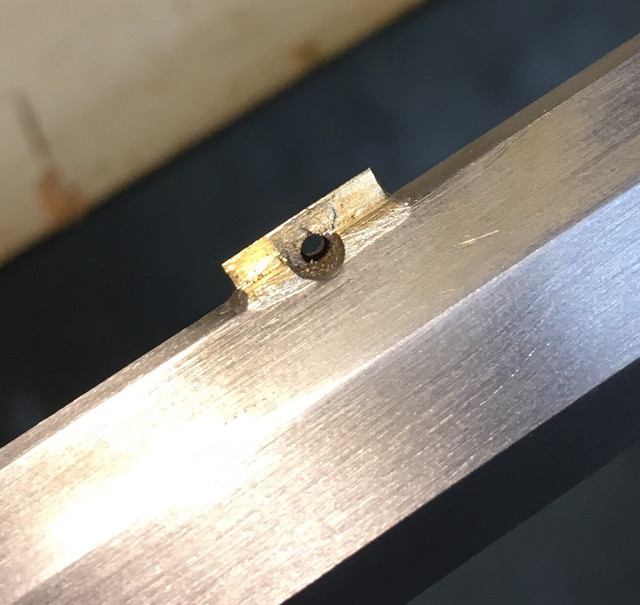
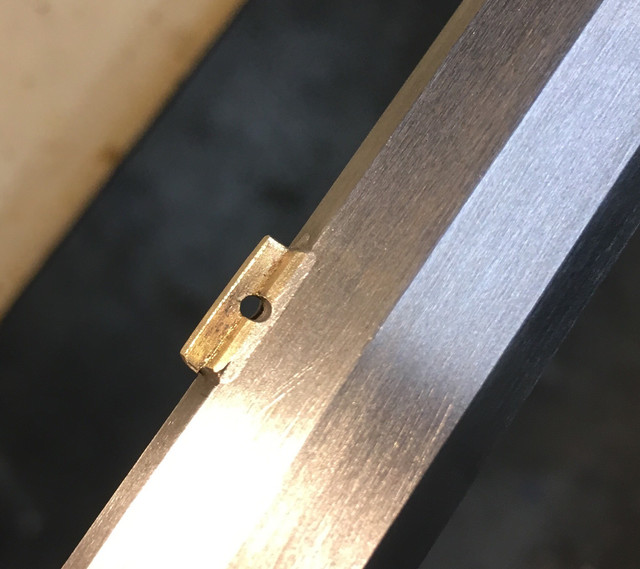
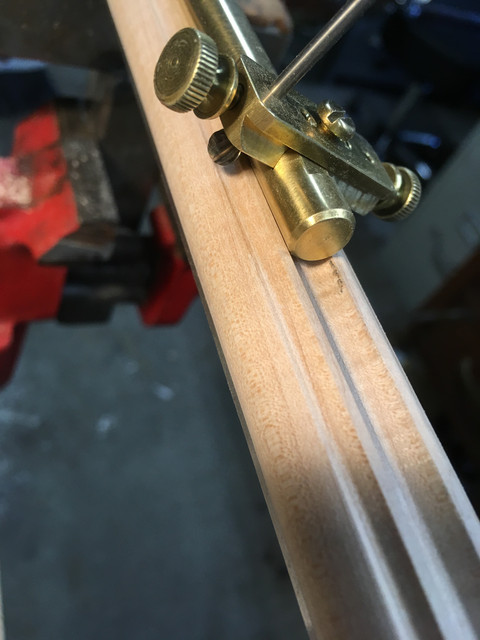
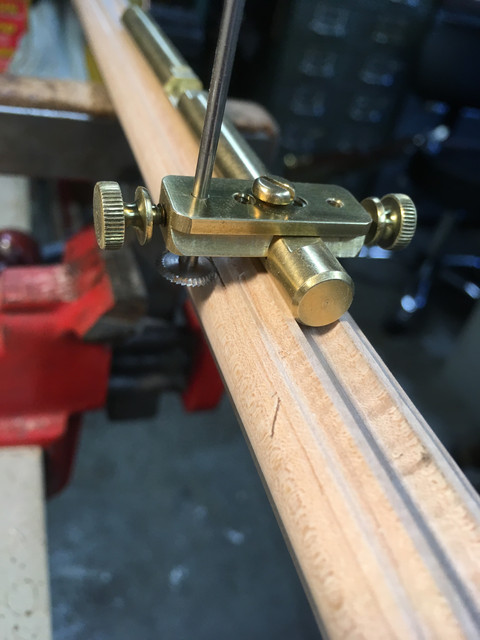
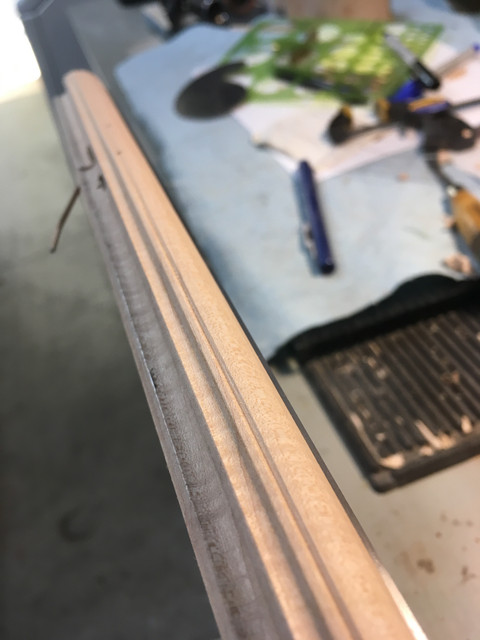
Will get them trimmed up and clean up before drilling them through the stock......And I may have a problem here. When I had Dave Rase inlet these barrels for me, I asked him to keep the web between the ram rod and the bottom of the barrel about 3/32" (0.093"). They actually came out a tad thinner so that doesn't leave me a lot of room with a 1/16" pin......we'll see how it plays out.
 
So I was preparing to drill the barrel lugs and realized that with a web of ~0.090", and with an additional 0.016" thick lug soldered to the bottom of the barrel, if I used a 0.062 pin, that would leave a lug web of .012"....if I hit the drilling right on the nose. I decided I needed a little more lee way, so I used an 1/8" end mill and notched the lug base and barrel steel back about 0.030" and then drilled the holes for the pins. Came out OK. Will need to do something similar with the ram rod pipes.


Began setting the butt plate to place... and got that chore finished......


Started a little shaping of the stock.....somewhat premature in the build to jump into removing this much wood but I was anxious to begin establishing contours

 
I figured when you mentioned the potential issue with the lugs and the web, that you had an idea for dealing with it in mind.....
Was curious what that fix would be.
I've also been trying to imagine the scale of these "little rifles," that last pic really sends home just how tiny it is.
Great stuff. I so appreciate your sharing this with us.
 
I got a little more done today. Got the trigger guard installed....


And then spent some time making the sub scale ram rod pipes. Machined all the tubes (per a previous post) and then silver soldered the mounting tabs. Here are the pipes being pickled in dilute hydrochloric acid.....(There are 6 pipes because I made two sets)


While thinking about how to form the skirt for the entry pipe I looked up and on my bench were a half dozen 30-06 brass cases. So the idea struck to just try using part of a case as the skirt...


I soldered the cut up case "skirt" to the rear pipe and it looked OK....


Finished set of pipes......


Picture with a regular size rear pipe just for comparison.....


Start of the inletting of the rear pipe.....

 
Insane skills! I'm guessing you shaped the HSS cutter to shape the ends of the ram rod ferrules? Great work sir.
 
Ram rod pipes are all installed, so I started in on cutting out a side plate. Doesn't really need to be that thick, but I had a piece of 1/8" brass plate, so I used that......I need to counter bore for the lock bolts (and then make the lock bolts) but I will start inletting the plate next.....


With the ram rod pipe drilling completed, there was no longer any utility in keeping the fore stock square. I band sawed off a lot of the excess wood and then started to shape the full length with my miniature spoke shave (one of the handiest tools I have ever used to shape a stock.)


You got some mad skills, boss! That little rifles as cute as a speckled puppy.
 
Started on the cheek piece side of the butt and then transferred the shape of the lock panel (with a sheet of clear plastic) to the opposite side of the stock.


Did most of the concave shaping of the cheek piece with a larger rasp but then, digging around in my bench drawer, I came up with a barrel inlet rasp I bought from Frank Mittermeier Inc. while I was at the Naval Academy in 1973 (another long story). I got a kick out of the "4th Class" postage......28 cents...Insured no less !!


Then I broke out my homemade molding tool (New Ram Rod Channel Molding Tool) to run a concave edge, and then a parallel bead, along both sides of the forearm. With this tool the moldings come out perfectly straight, even in depth, and it took all of about 10 minutes to put the molding on both sides of the ram rod groove.


OK.... here is the little guy I am building the rifle for. He is busy learning to drive right now but shooting will come next....


I started building this rifle in a tiny space in the garage (where I have been working for the last nearly 40 years) but have now transitioned to my new shop space. I finished the out building more than two years ago but have had to take the time to transition to the new space and try to get things organized. Here is the outside......


Some inside shots......a little messy, but then I'm working in it now...


All the benches are set on steel tool room cabinets so I finally have a place to keep all the hand tools in some semblance of order....


And I always wanted one of those really cool, wooden, machinist's tool chests. I had a fair amount of walnut handy, a couple of days to kill, and a table saw. So I made this one for myself...


Now....to get going again on the little rifle.....
Grandson is adorable.

If that shop is even "a little messy," my work space would make you lose you're mind. (And you'd probably understand why I limit the projects I attempt)
 
Just to show the scale of the rifle, here are some shots next to one of my full scale rifles......


Today I started in finishing up the contours on the forearm and butt molding with a tiny scraper.....


And I got the nose cap put to place....


Well now,,, those 1st few pics certainly put things in perspective.

Are you going to be able to shoot something that small to get it dialed in?
 
Brokennock.....I can shoot anything that has a trigger...:) I might burn all the hair out of my nostrils when I shoot it....but that will all grow back. !!

The shaping of the stock is generally done so I wanted to make and install the last of the metal parts before starting the carving. As mentioned previously, I will take designs from rifles I have previously built so I started here with a full size print of a patch box from a previous rifle I did and then scaled it down to fit this little rifle. I cut out the printed photo of the patch box and then rubber cemented the paper to sheet brass. The parts were then cut out with a jeweler's saw and the details cleaned up with needle files and a dental hand piece. I will make the hinge as a separate piece and then silver braze the hinge to the door and top piece. The parts are almost ready to inlet except for contouring the ends where they meet the butt plate and bending them them to fit the shape of the stock first.


Latest posts

Back
Top