


Phil Coffins
69 Cal.
Got my 2019 made Uberti in the mail yesterday. Looks very nice out of the box but before even cocking it I did a complete disassembly. Fit and finish inside and out is quite good with nearly no machine marks. The base pin to barrel length is just right although the hole in the barrel assembly is a bit large. Timing and lock up is right on with just a bit of creep to the trigger. I did find a burr in the hand channel which prevented reassembly. A few passes with a jewelers file fixed that. Shooting today at 25 yards yielded groups of 2" wide by 4" tall with the nearly none existent sights. Point of impact is 16" high. Point shooting at 10 paces grouped were I was looking never bring the pistol above my waist. Cap jams are common and I believe is mosty due to the vent in the nipples. I have given thought to making a 1860 style front sight for it to put it more to point of aim. Over all I'm pleased with what is my latest project gun.

 IMG_0453
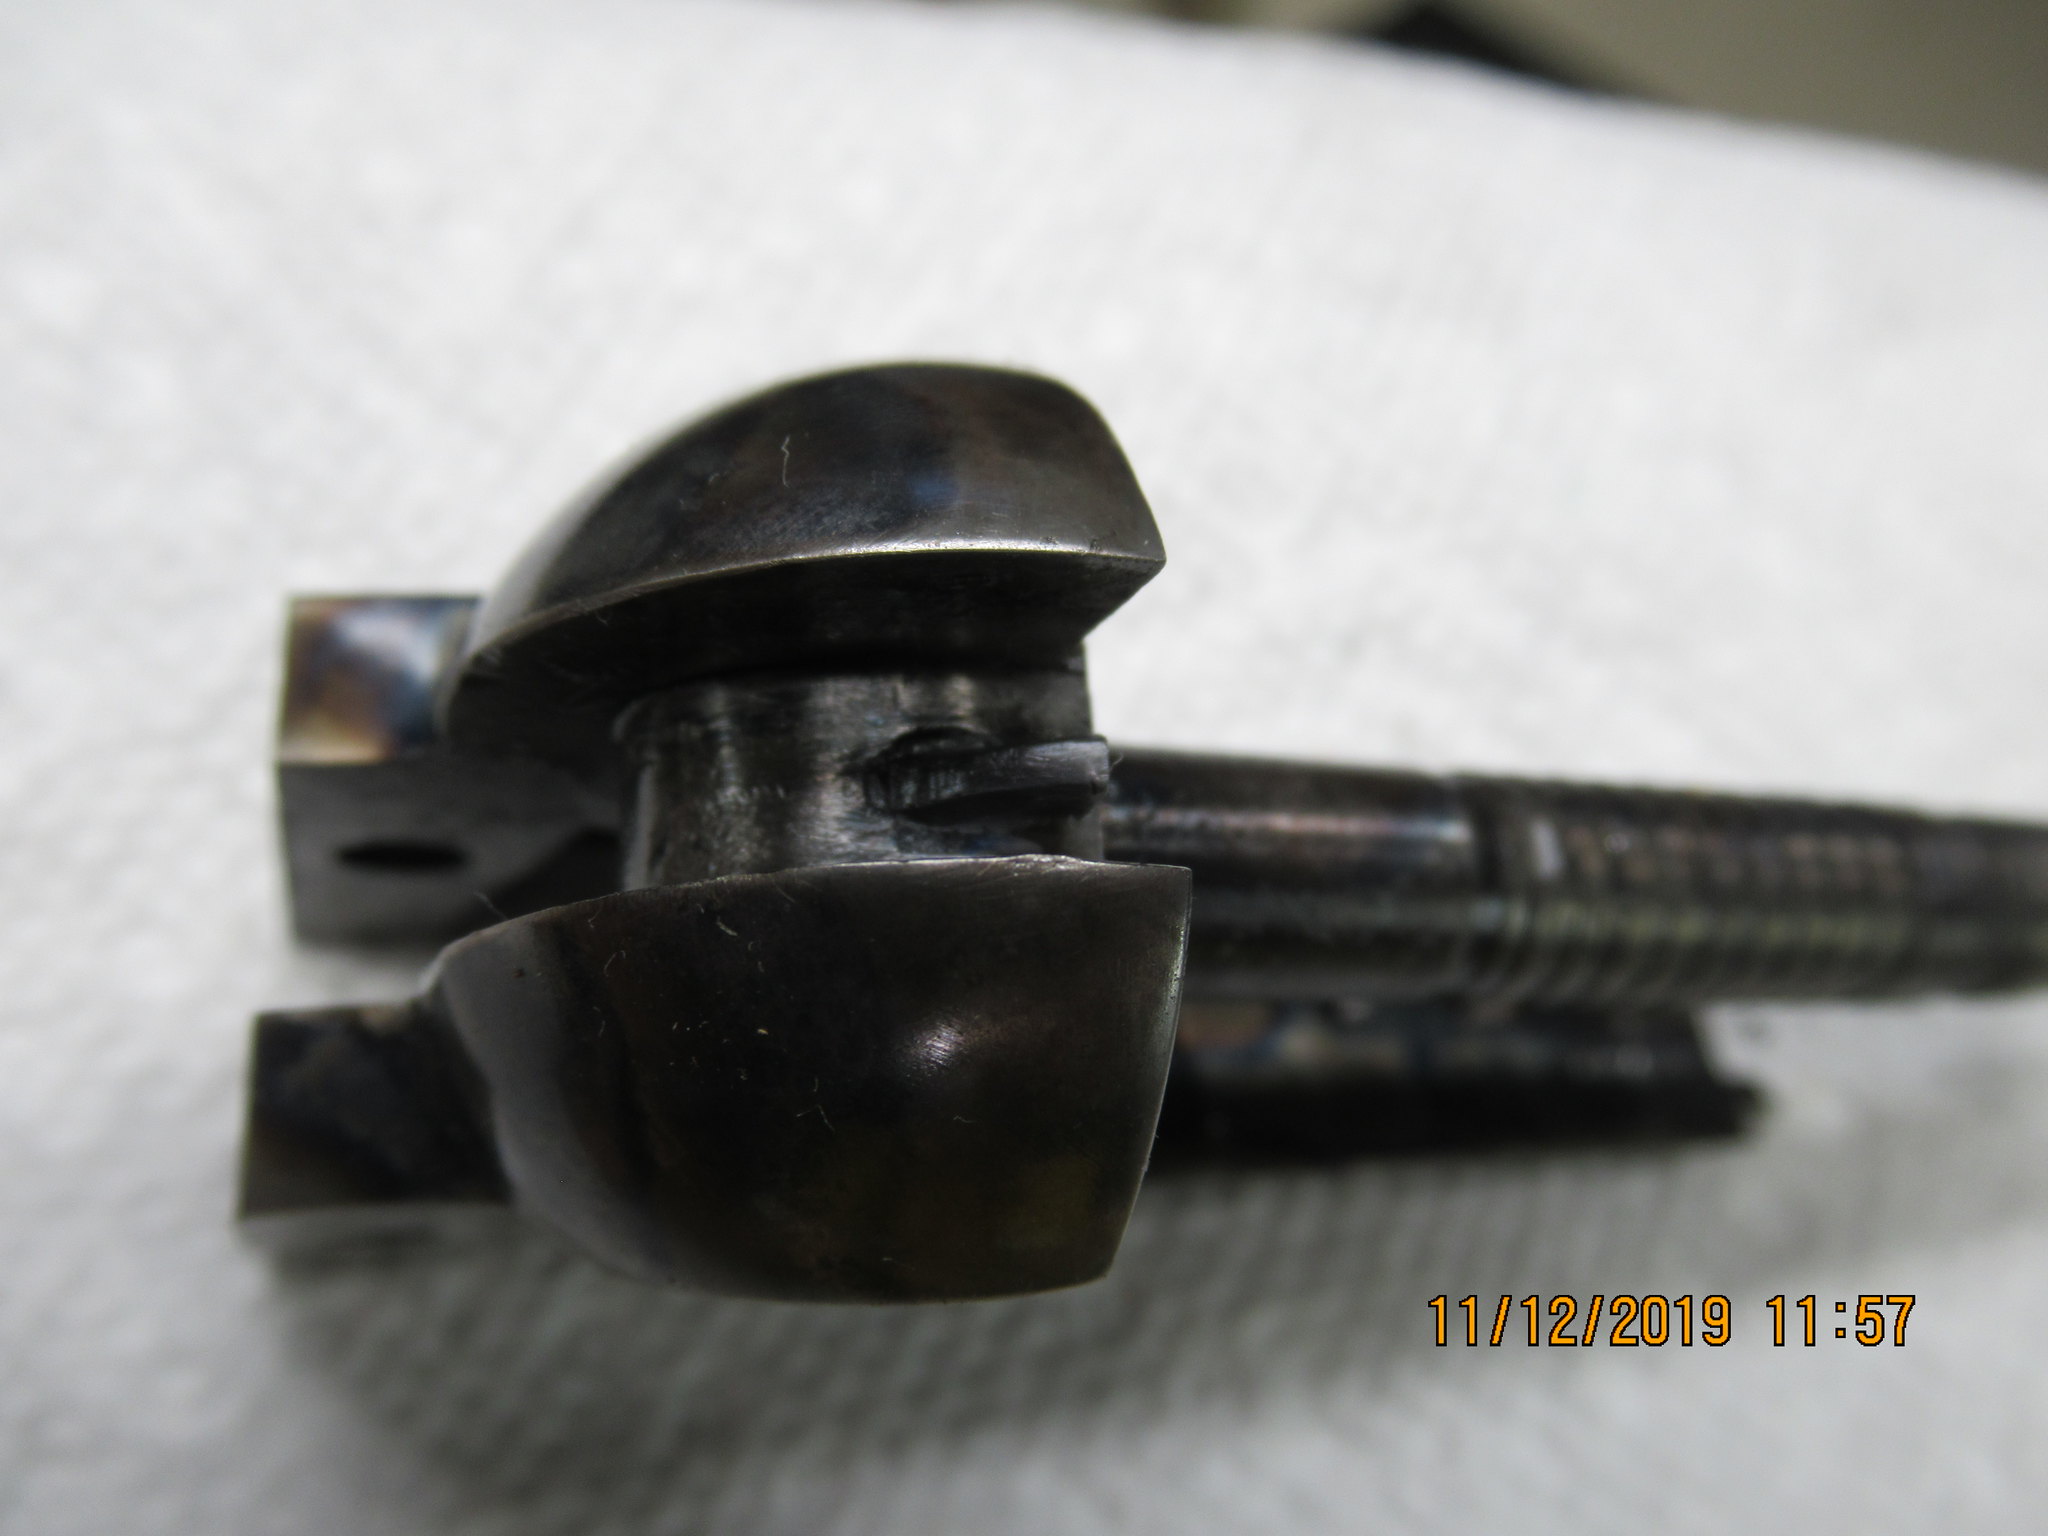 IMG_0457