• This community needs YOUR help today. We rely 100% on Supporting Memberships to fund our efforts. With the ever increasing fees of everything, we need help. We need more Supporting Members, today. Please invest back into this community. I will ship a few decals too in addition to all the account perks you get.


    Sign up here: https://www.muzzleloadingforum.com/account/upgrades
  • Friends, our 2nd Amendment rights are always under attack and the NRA has been a constant for decades in helping fight that fight.

    We have partnered with the NRA to offer you a discount on membership and Muzzleloading Forum gets a small percentage too of each membership, so you are supporting both the NRA and us.

    Use this link to sign up please; https://membership.nra.org/recruiters/join/XR045103

Lyman pistol build

Muzzleloading Forum

Help Support Muzzleloading Forum:

This site may earn a commission from merchant affiliate links, including eBay, Amazon, and others.

Phil Coffins

69 Cal.
Joined
Dec 7, 2017
Messages
3,393
Reaction score
9,784
Location
Colorado
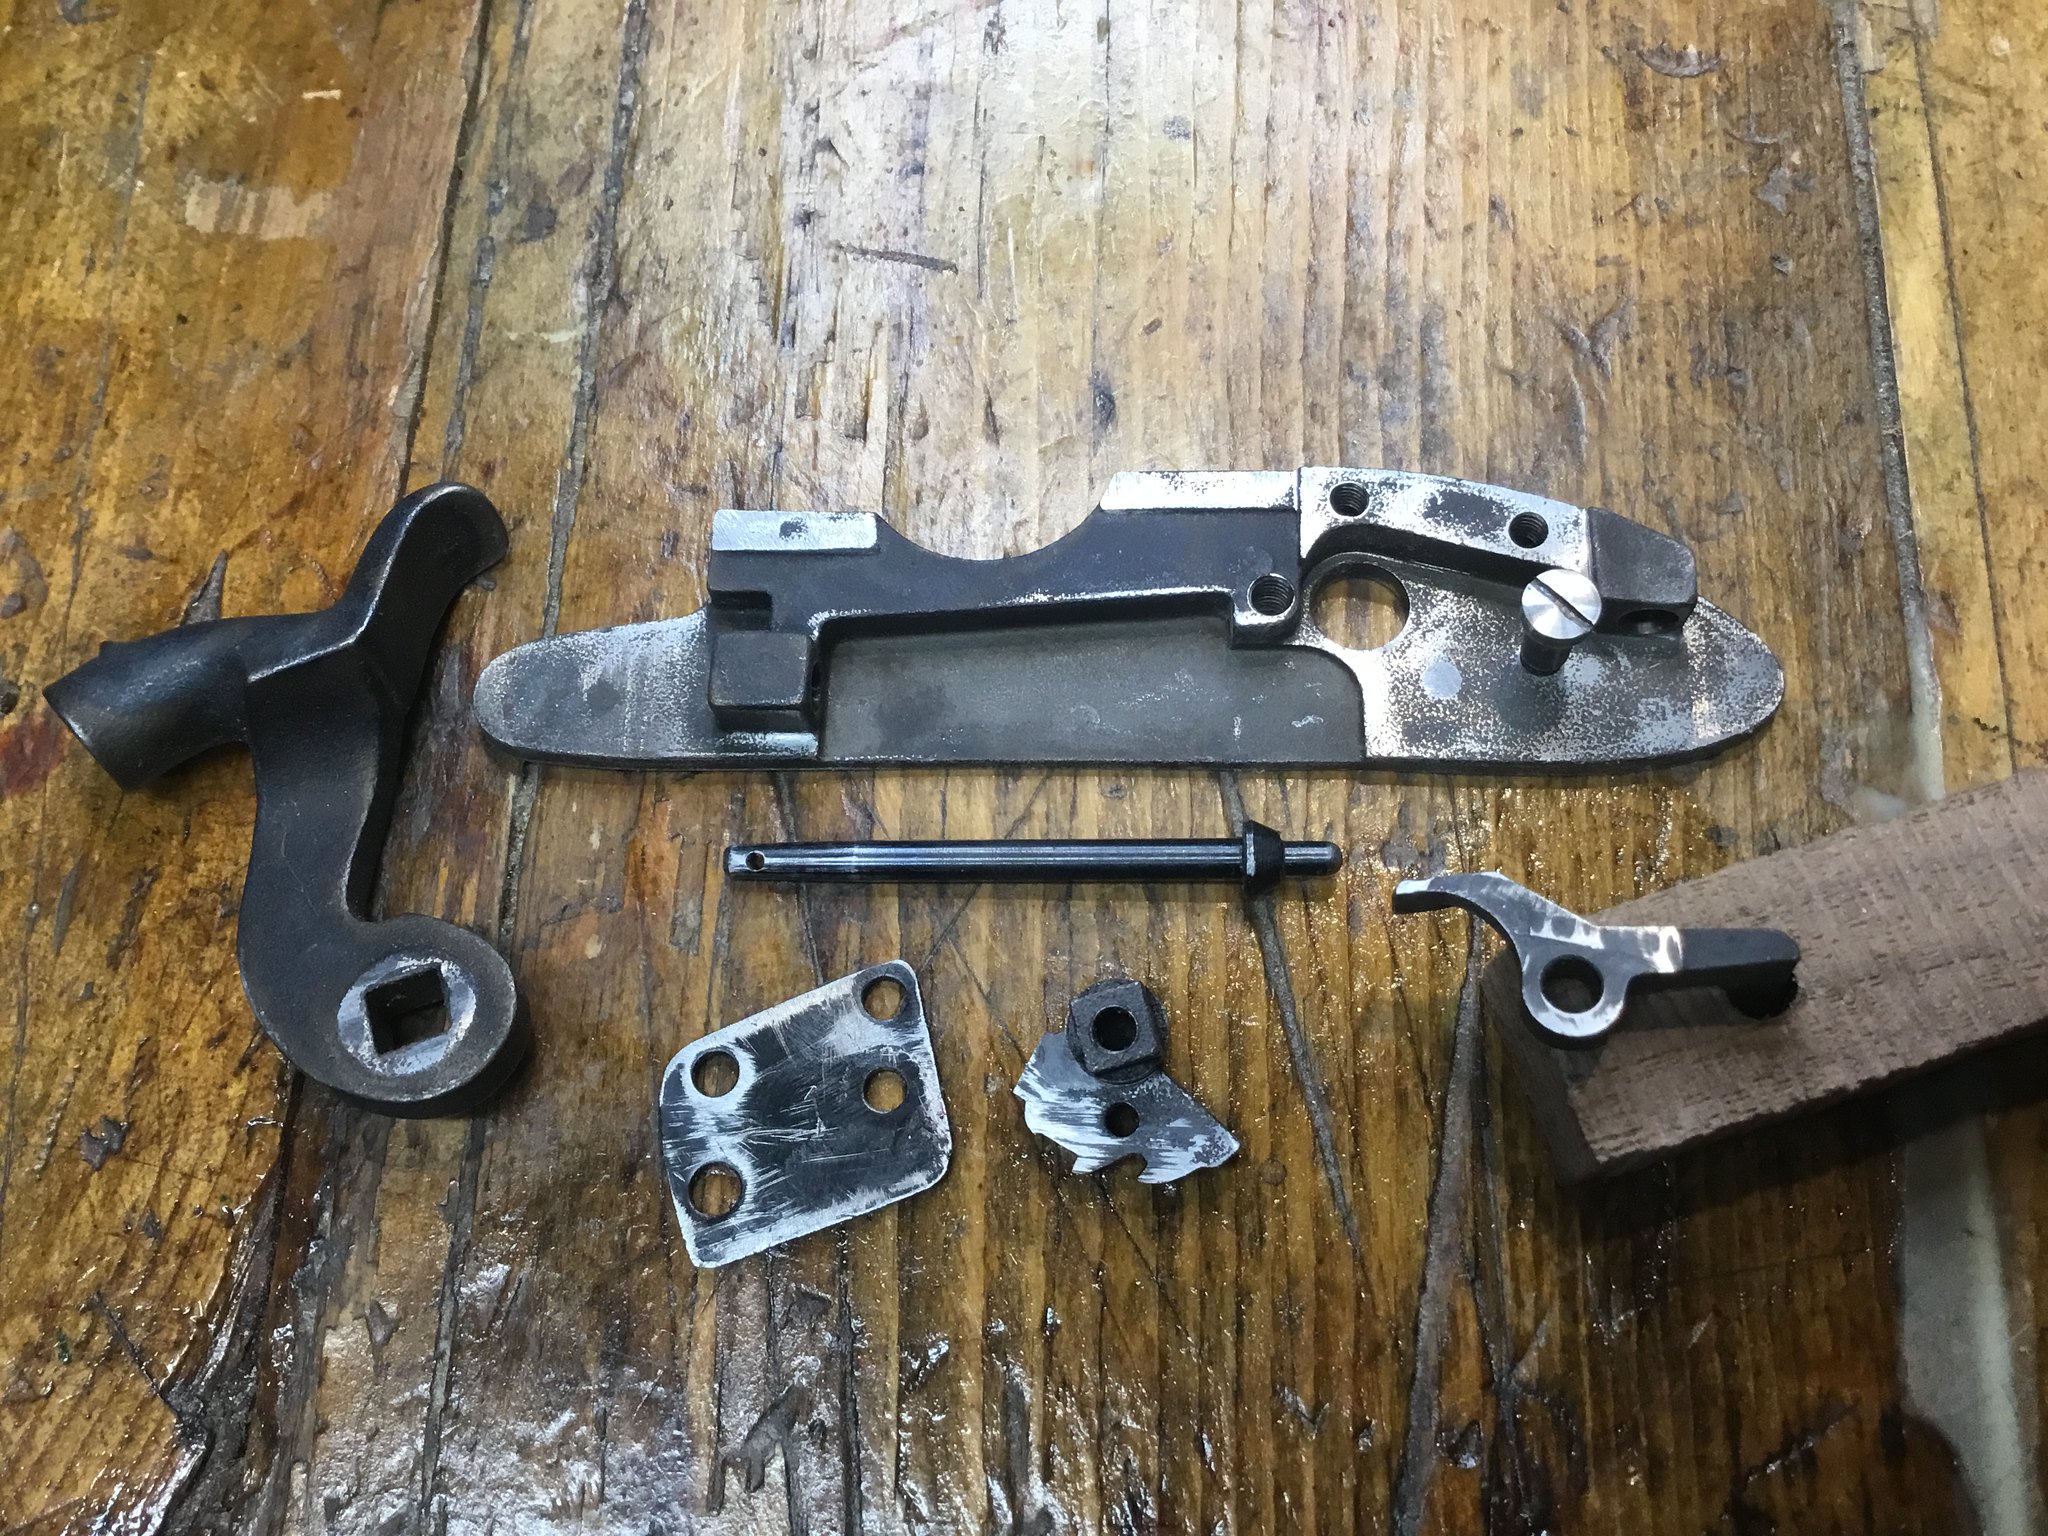
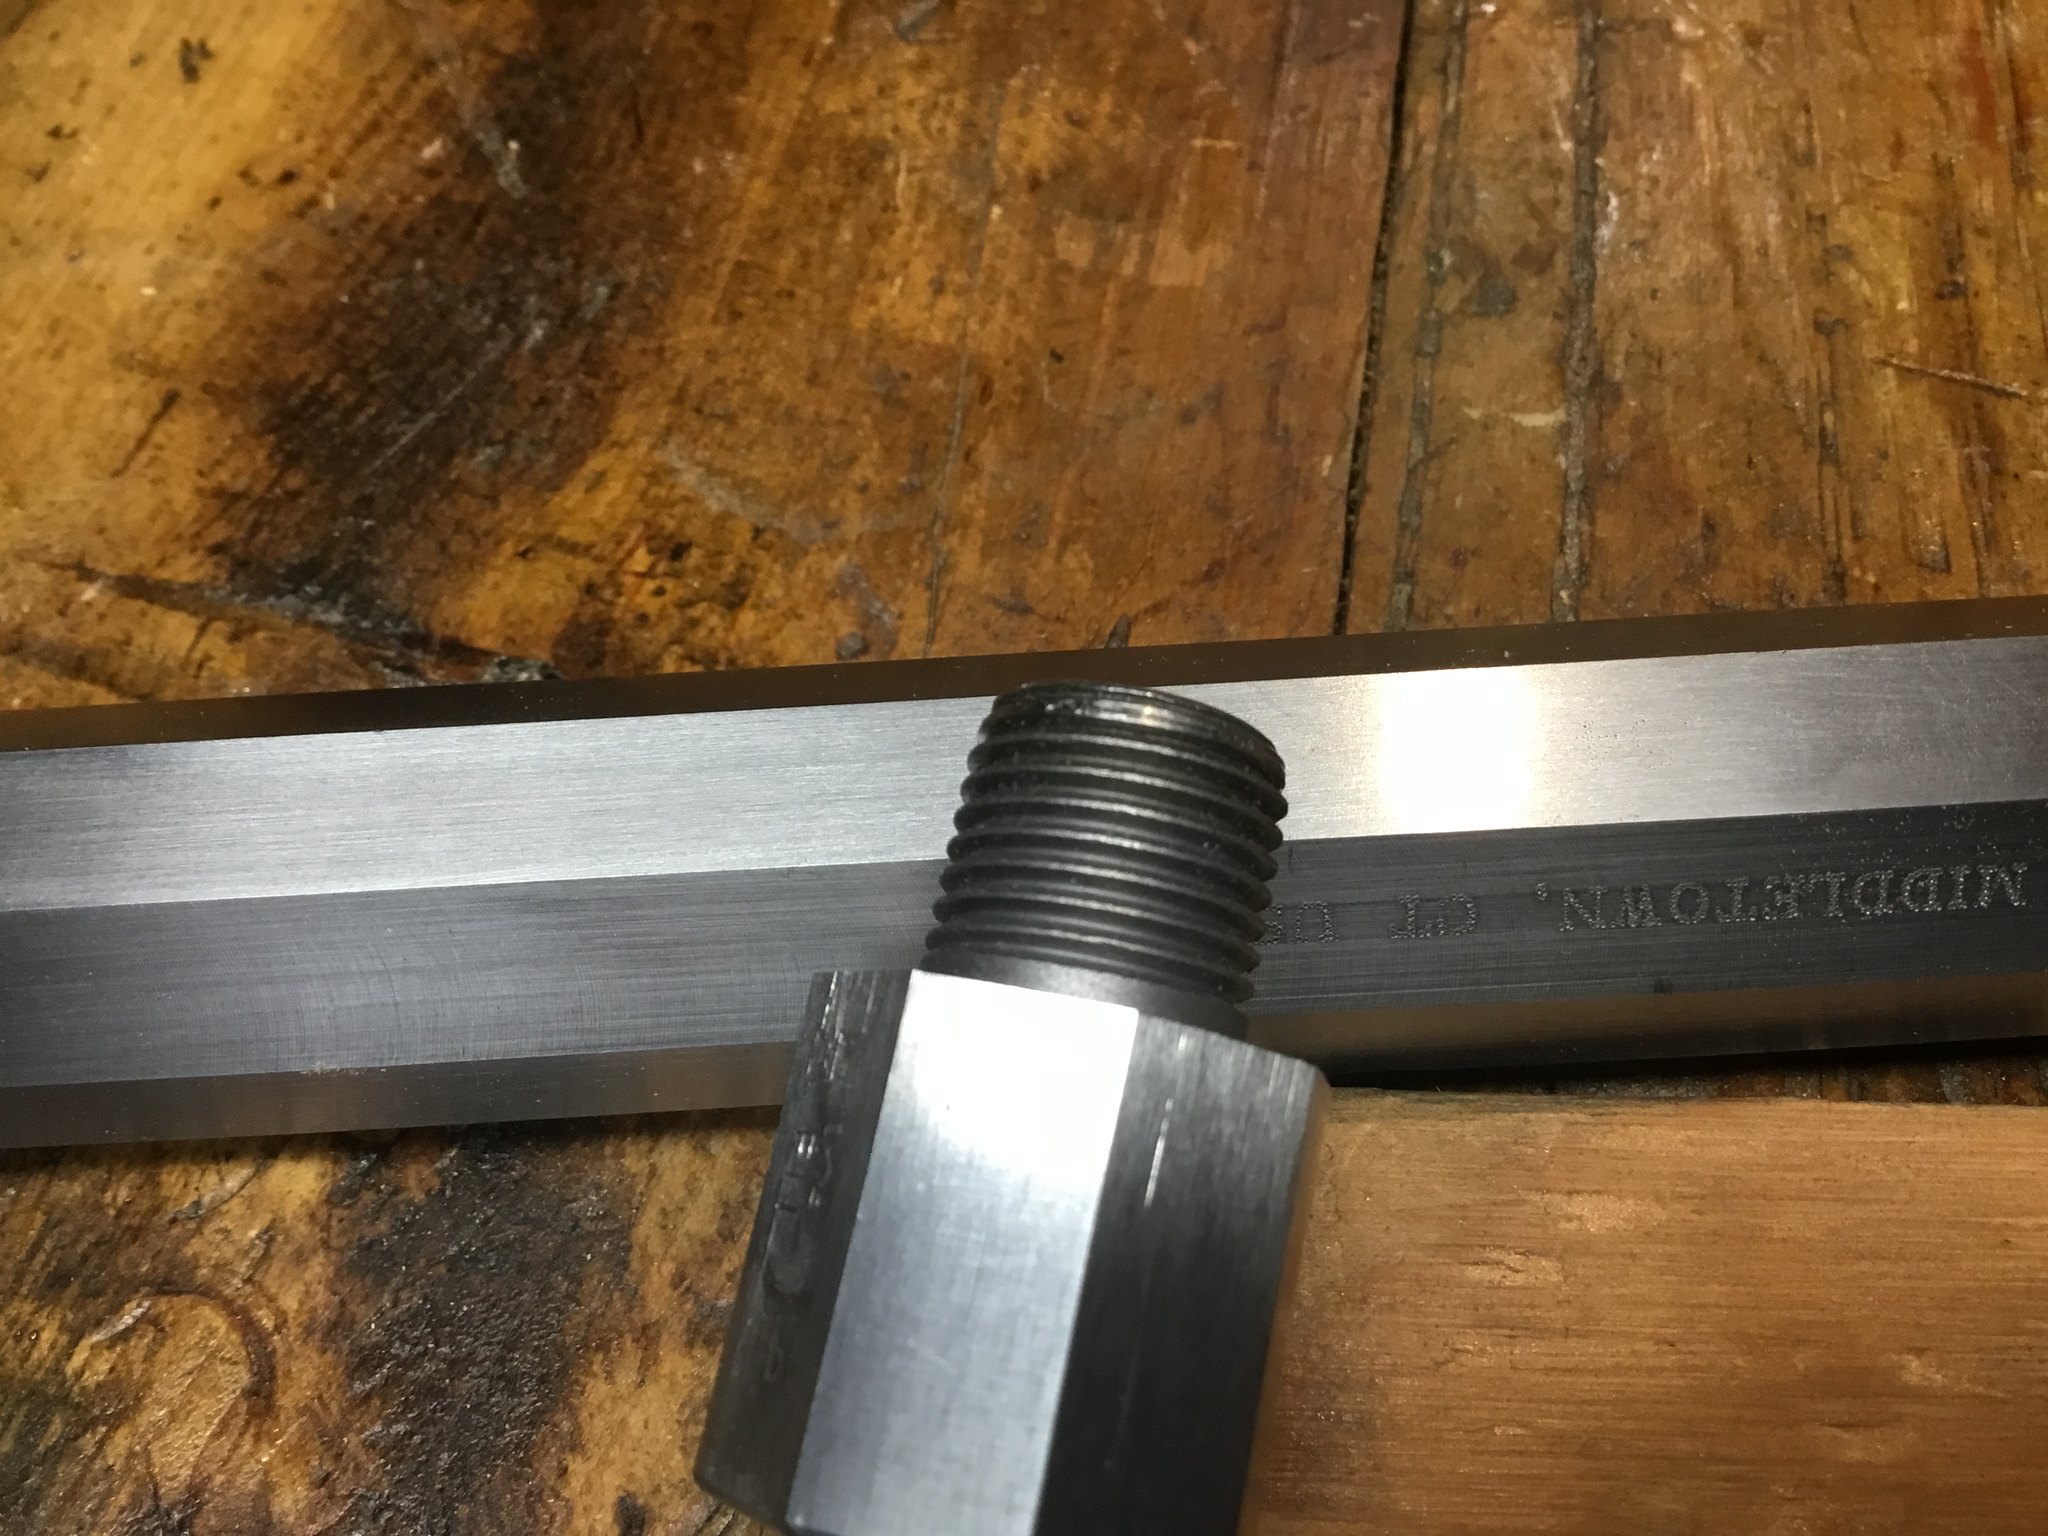
The Lyman pistol is a good easy one to build and shoot. It also has many points that can easily be refined, here’s some of them. After inspecting all the parts the metal parts need cleaned up and de-burred. Then I recrowned the muzzle and plugged the screw in the breech. The breech was also reshaped to suit my taste. The tang needed only a tiny bit of inletting to have it seat back onto the wood. There’s a lot of wood to remove all the way around. The trigger set very low in the wood and removing that made a neater job of it.
F2B45227-4150-4CBA-B681-21A76096CC92 by Oliver Sudden, on Flickr
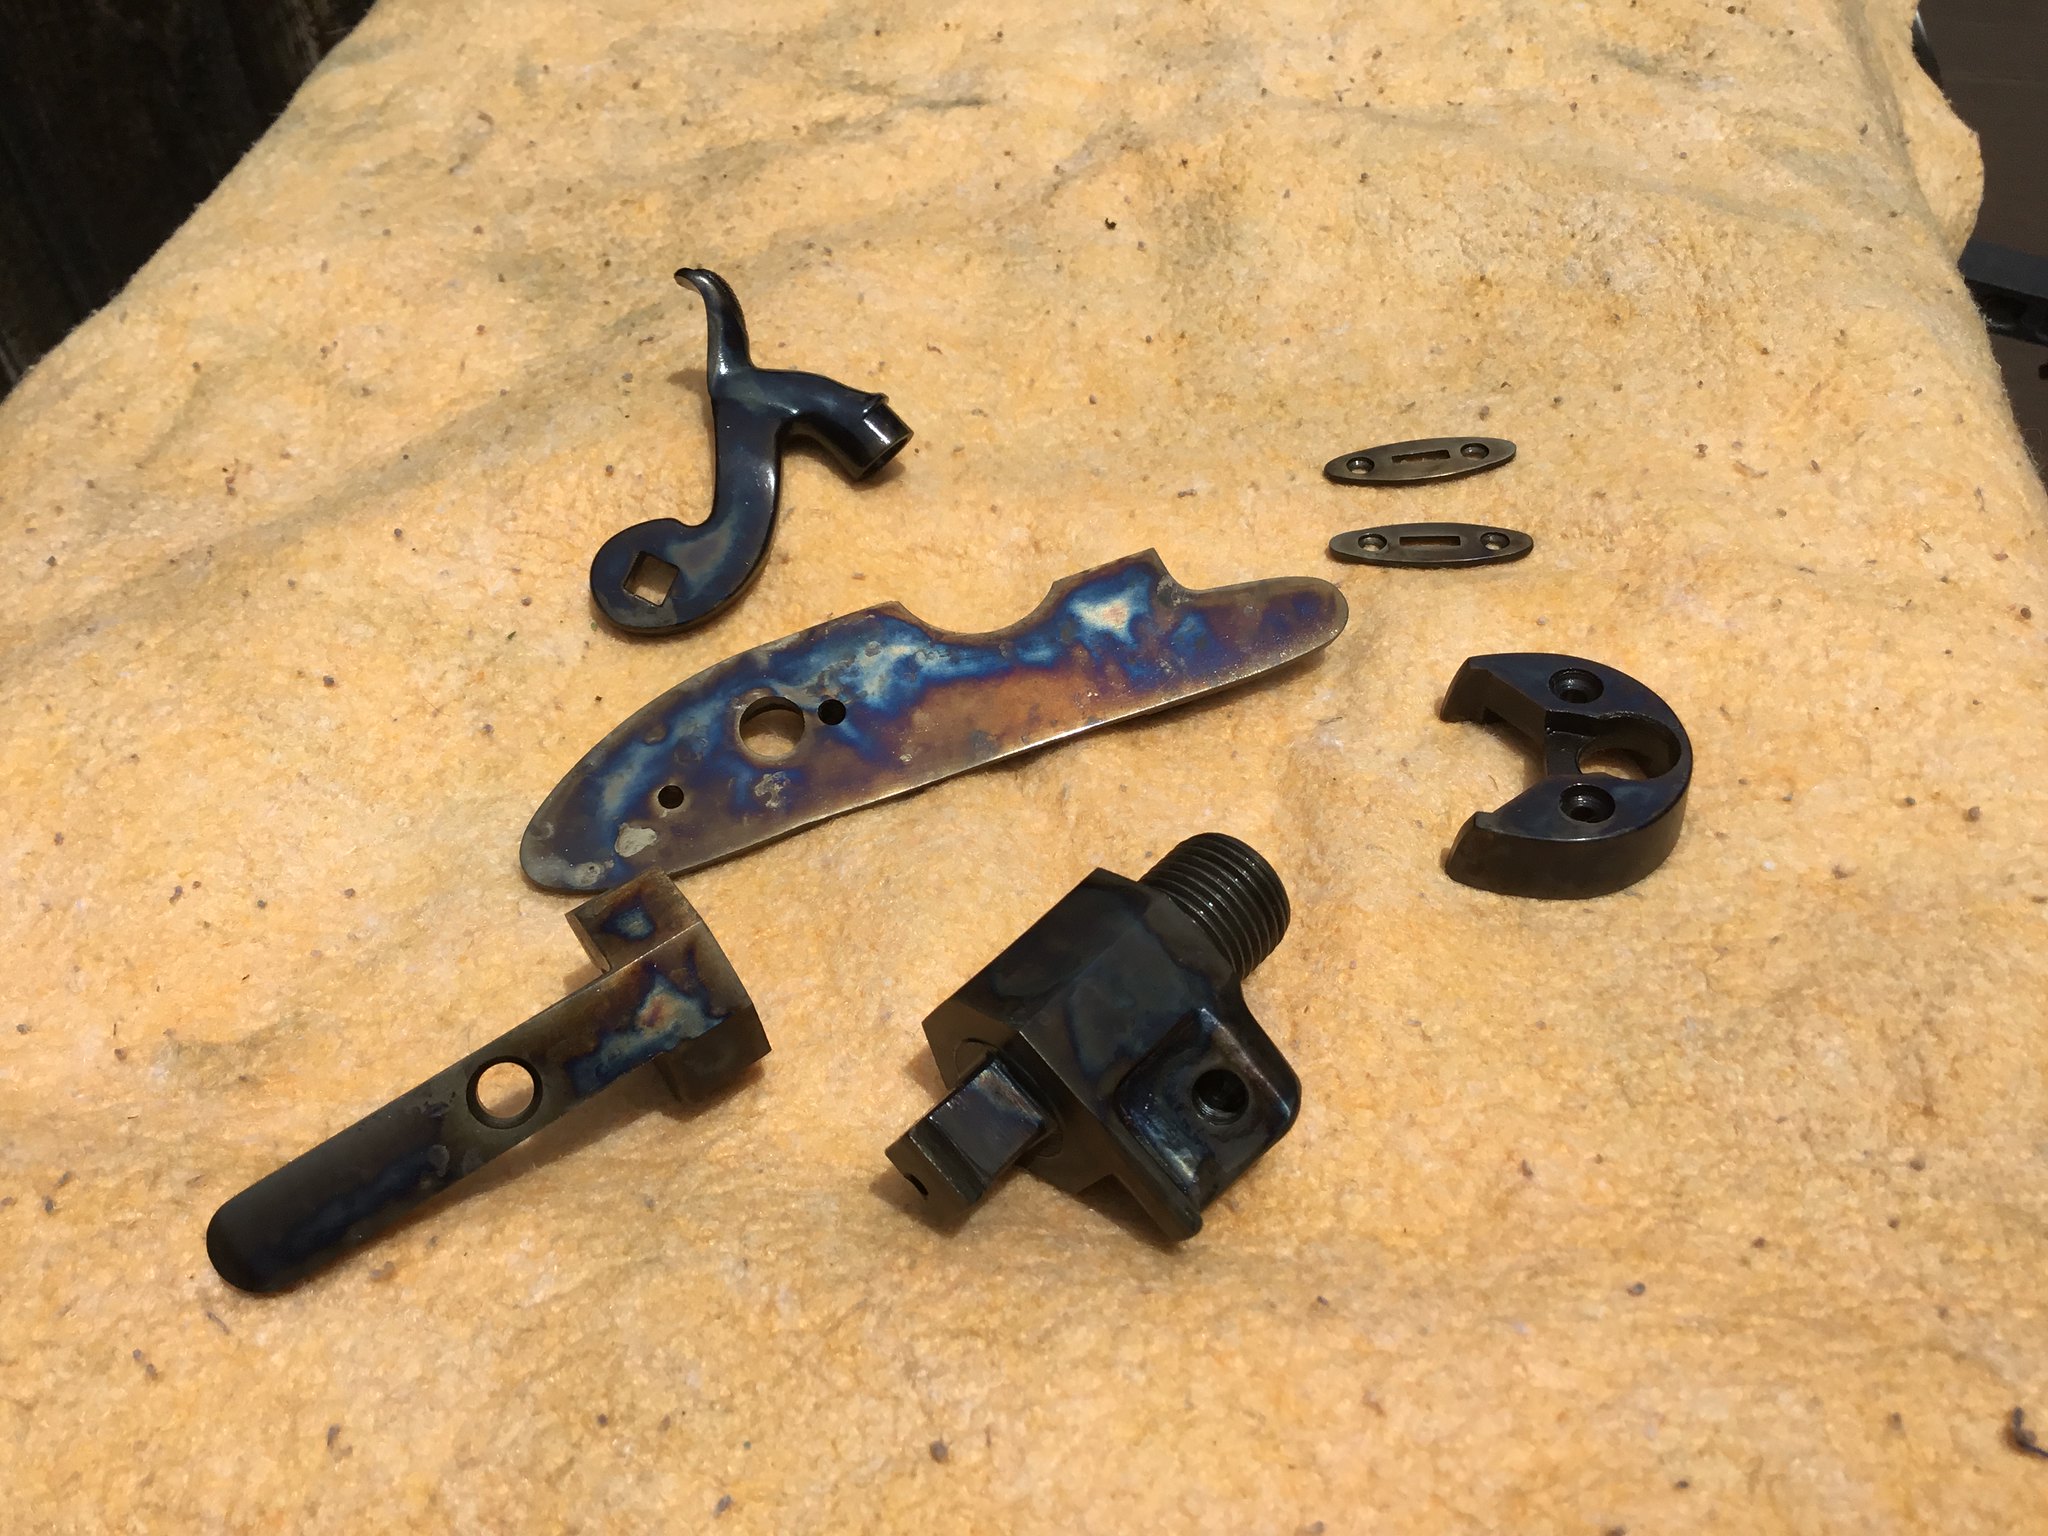
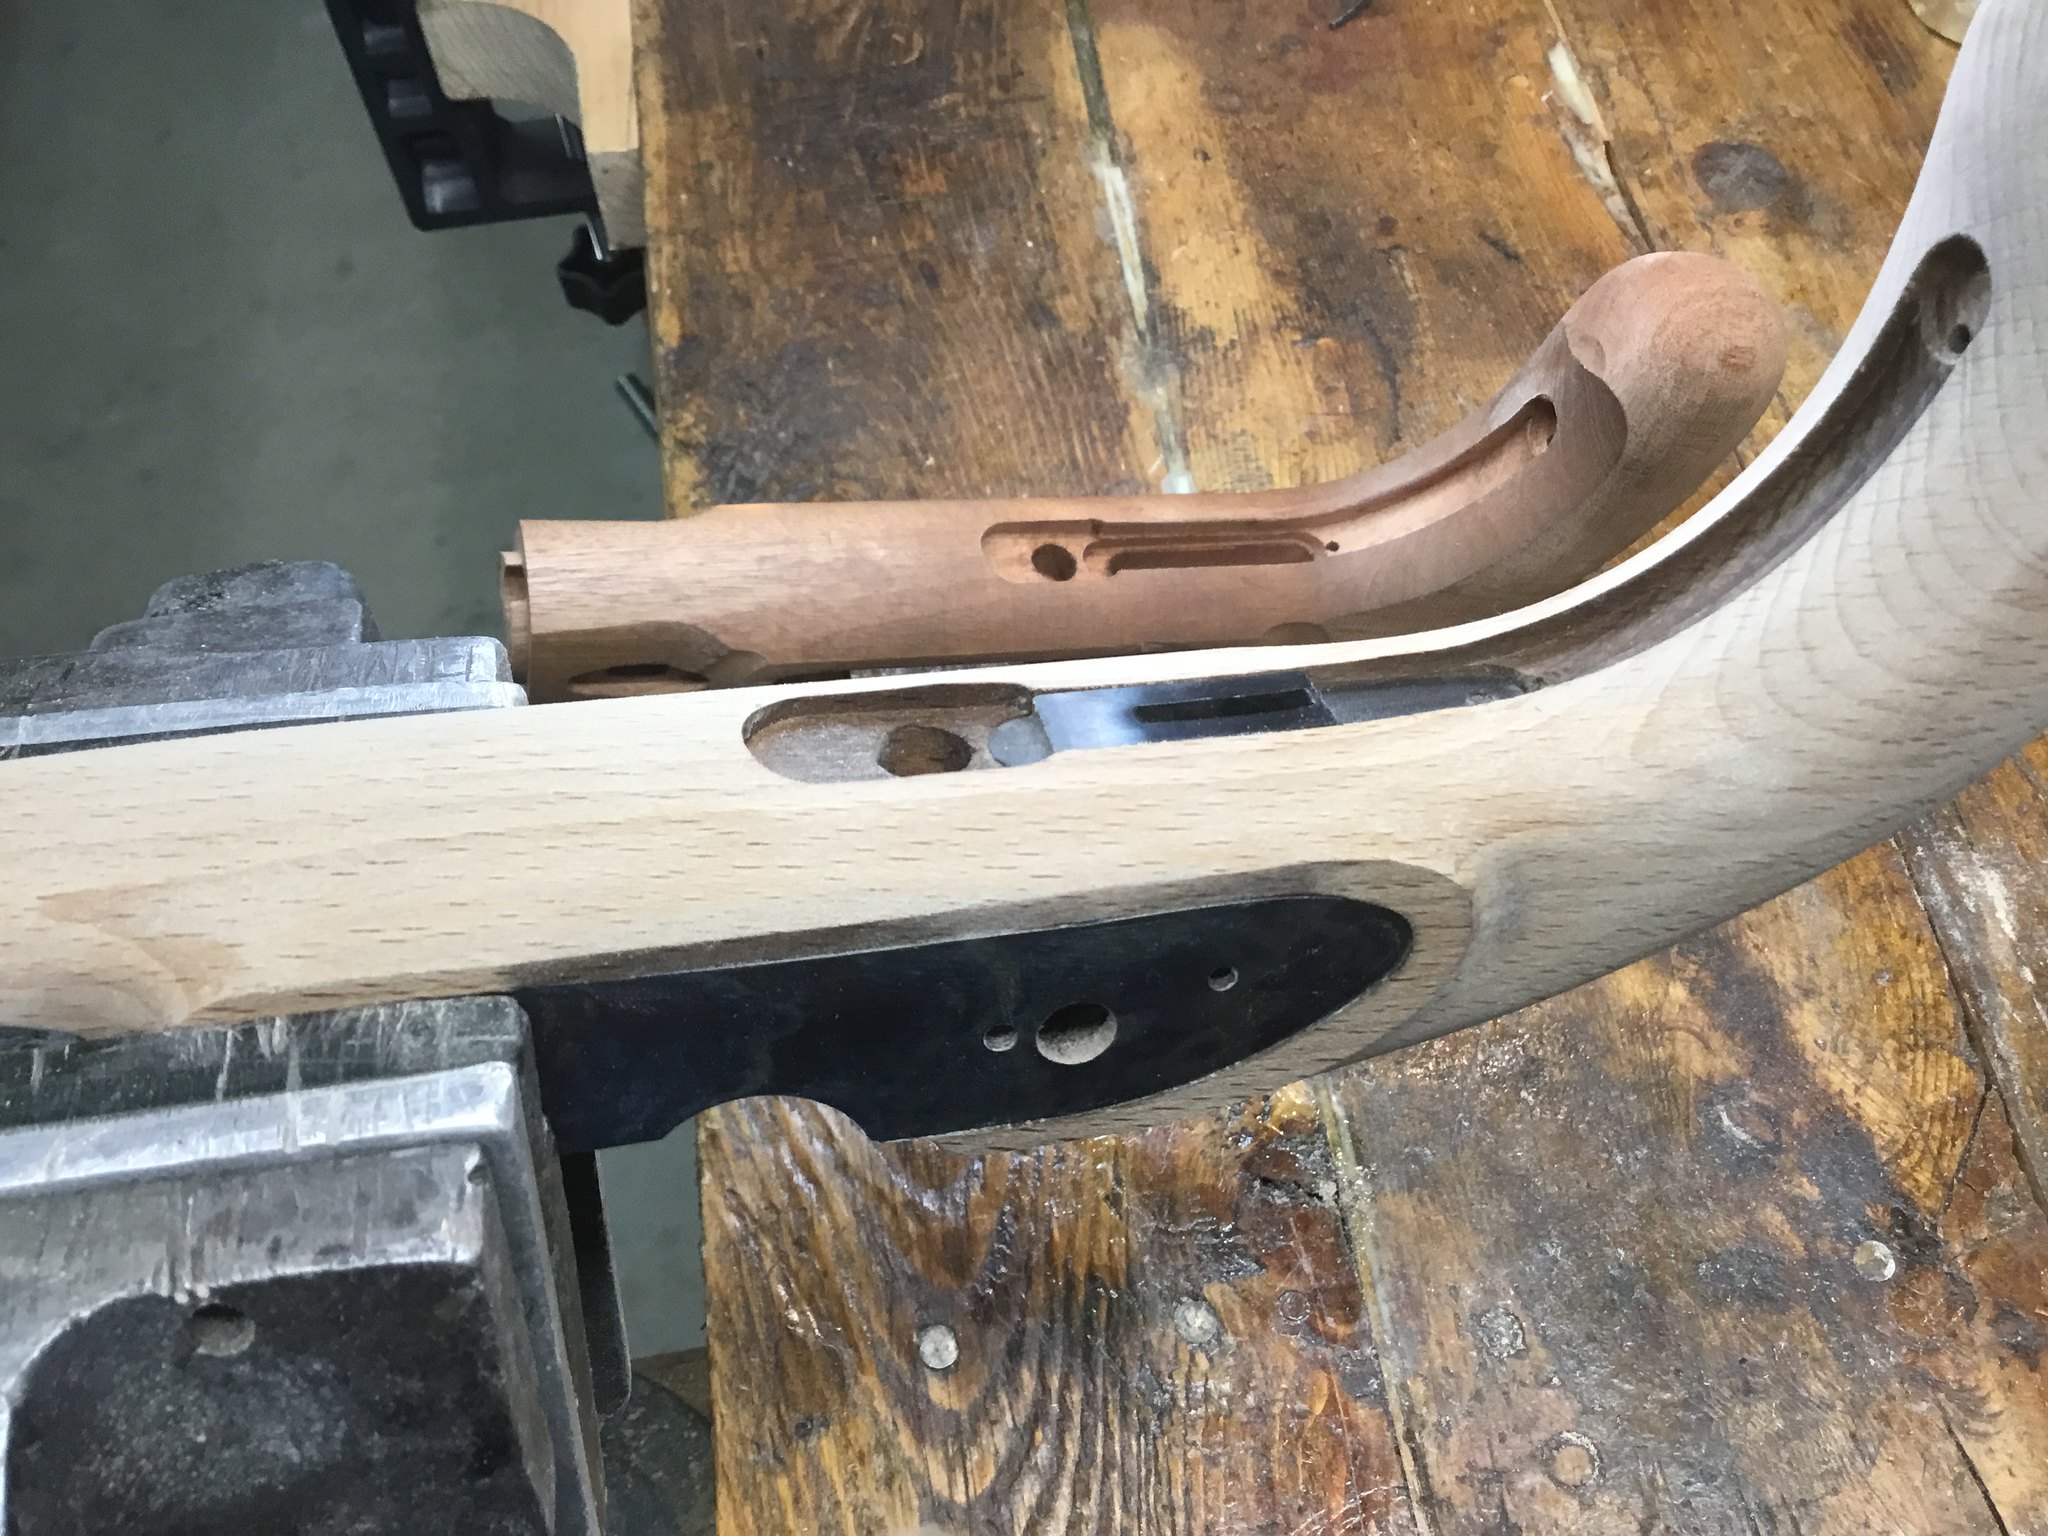
The tang set at angle and to deep so a pea sized bit of filler squared to up. Then wood was removed down to it and shaped to trim this area.
96572B0E-72B3-4DFF-B349-D63AF3634B20 by Oliver Sudden, on Flickr
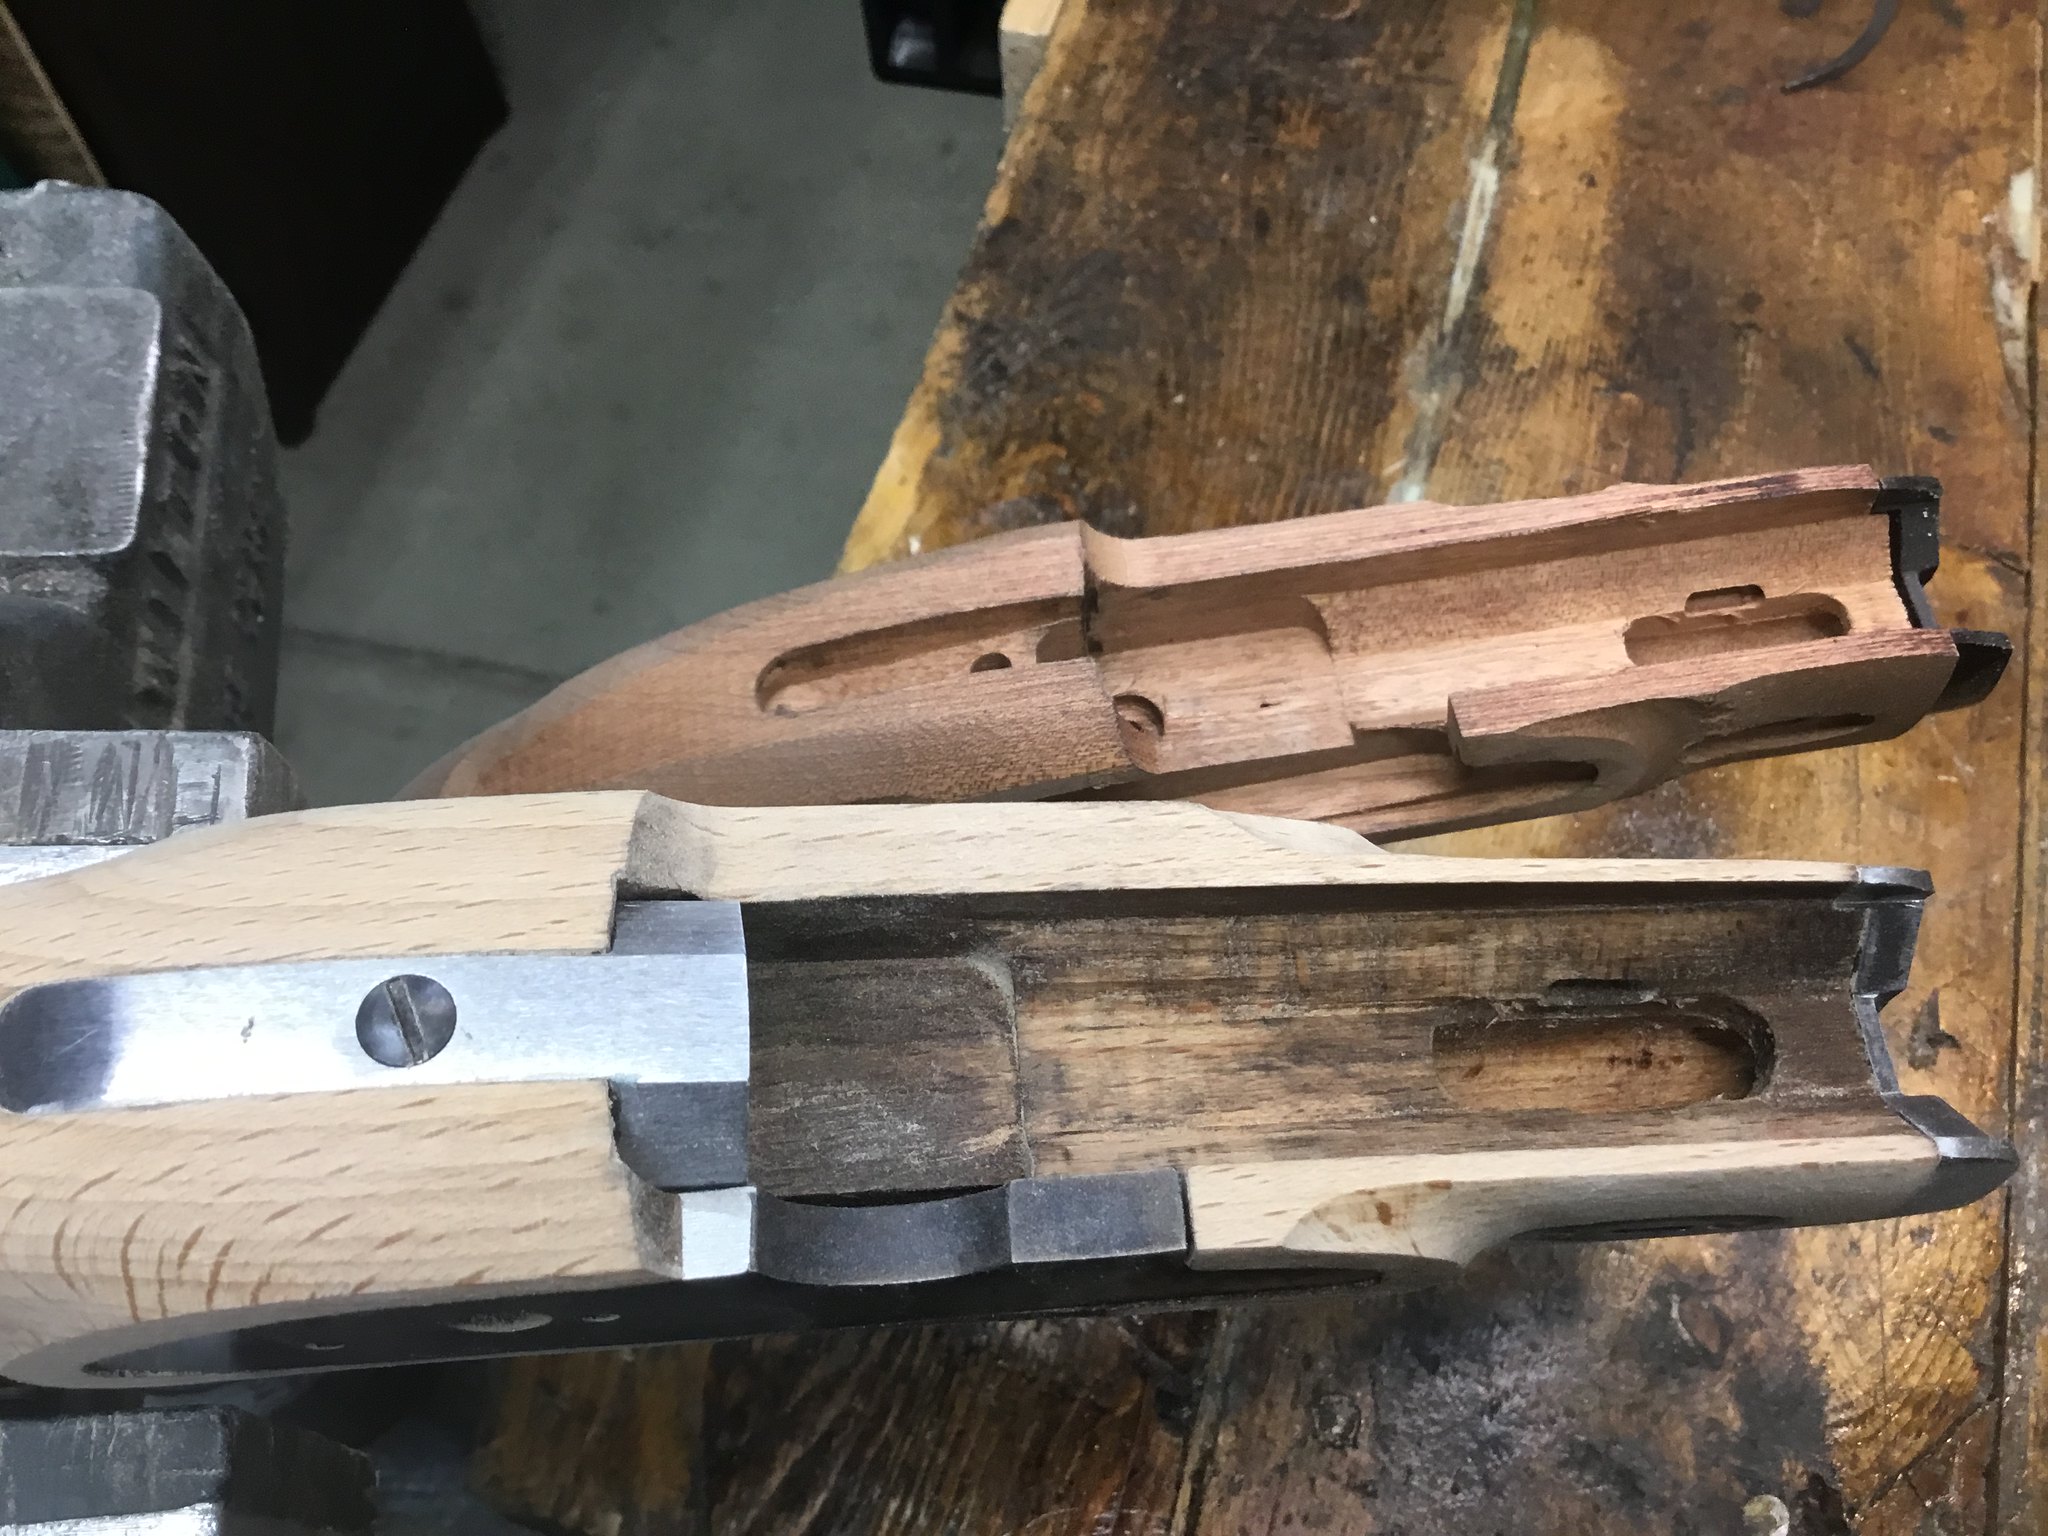
The forend wood is trimmed down to the level of the escutcheons and narrower at the barrel. The nose cap evened up also.
5D81B7E1-3464-4E45-B3CE-ADED1B9AEF1B by Oliver Sudden, on Flickr
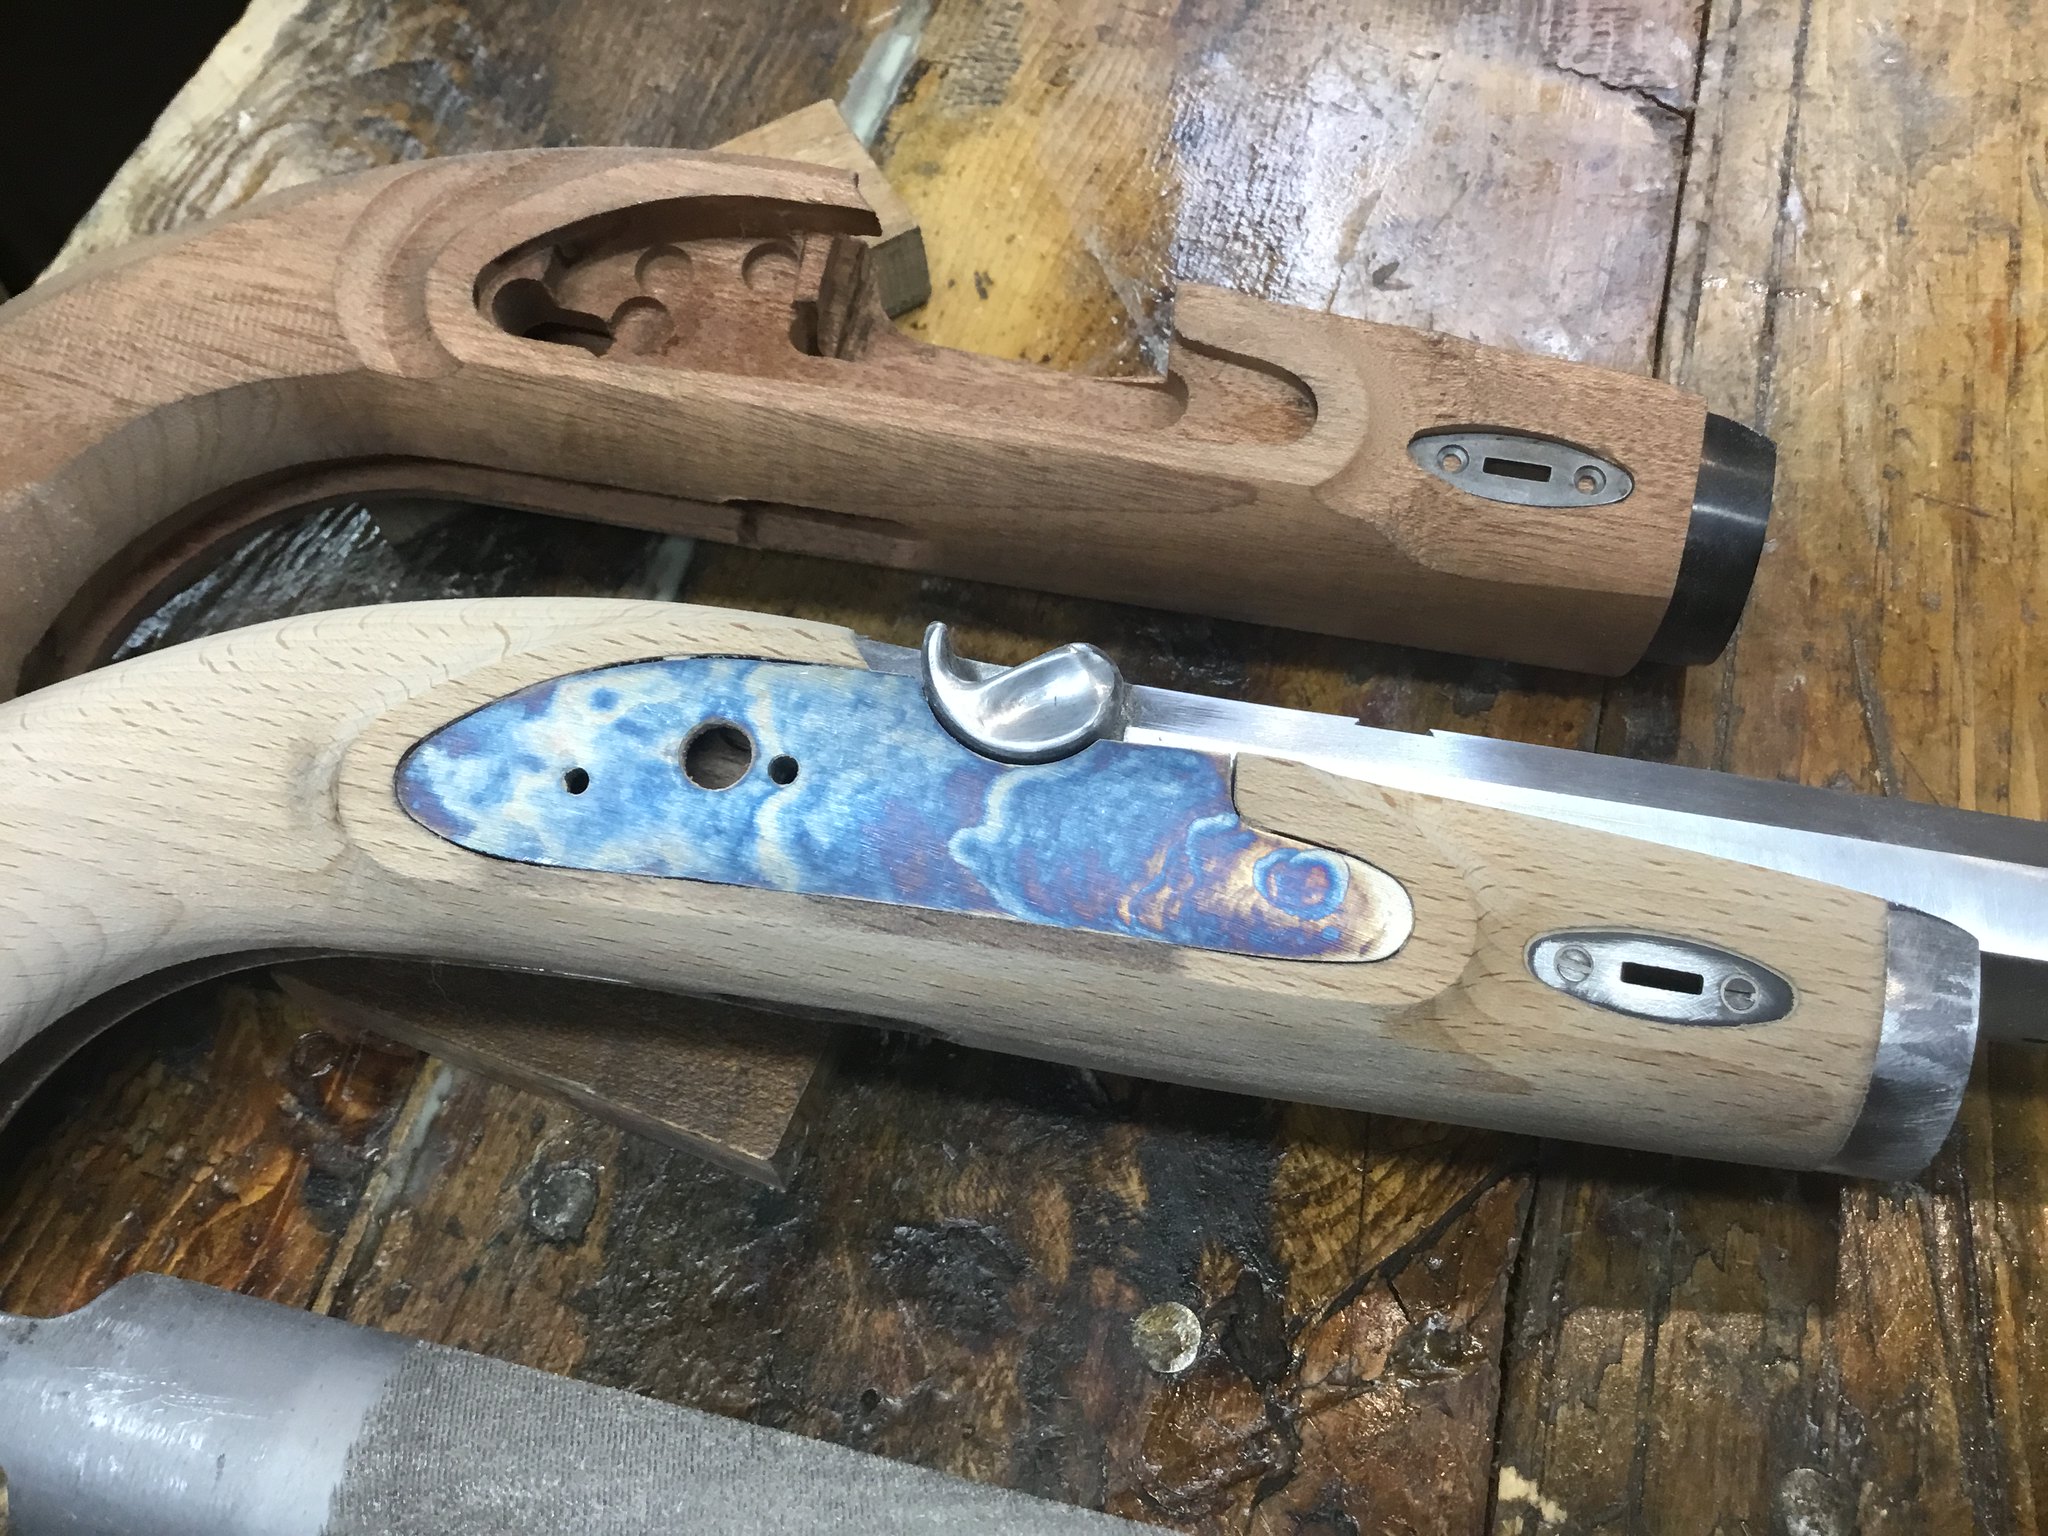
Next the lock panels are trimmed and reshaped as well as the wrist. The standard Lyman feels square in this area and I prefer a more oval shape.
D8F7C0C3-03A8-476C-9233-857D13F7572B by Oliver Sudden, on Flickr
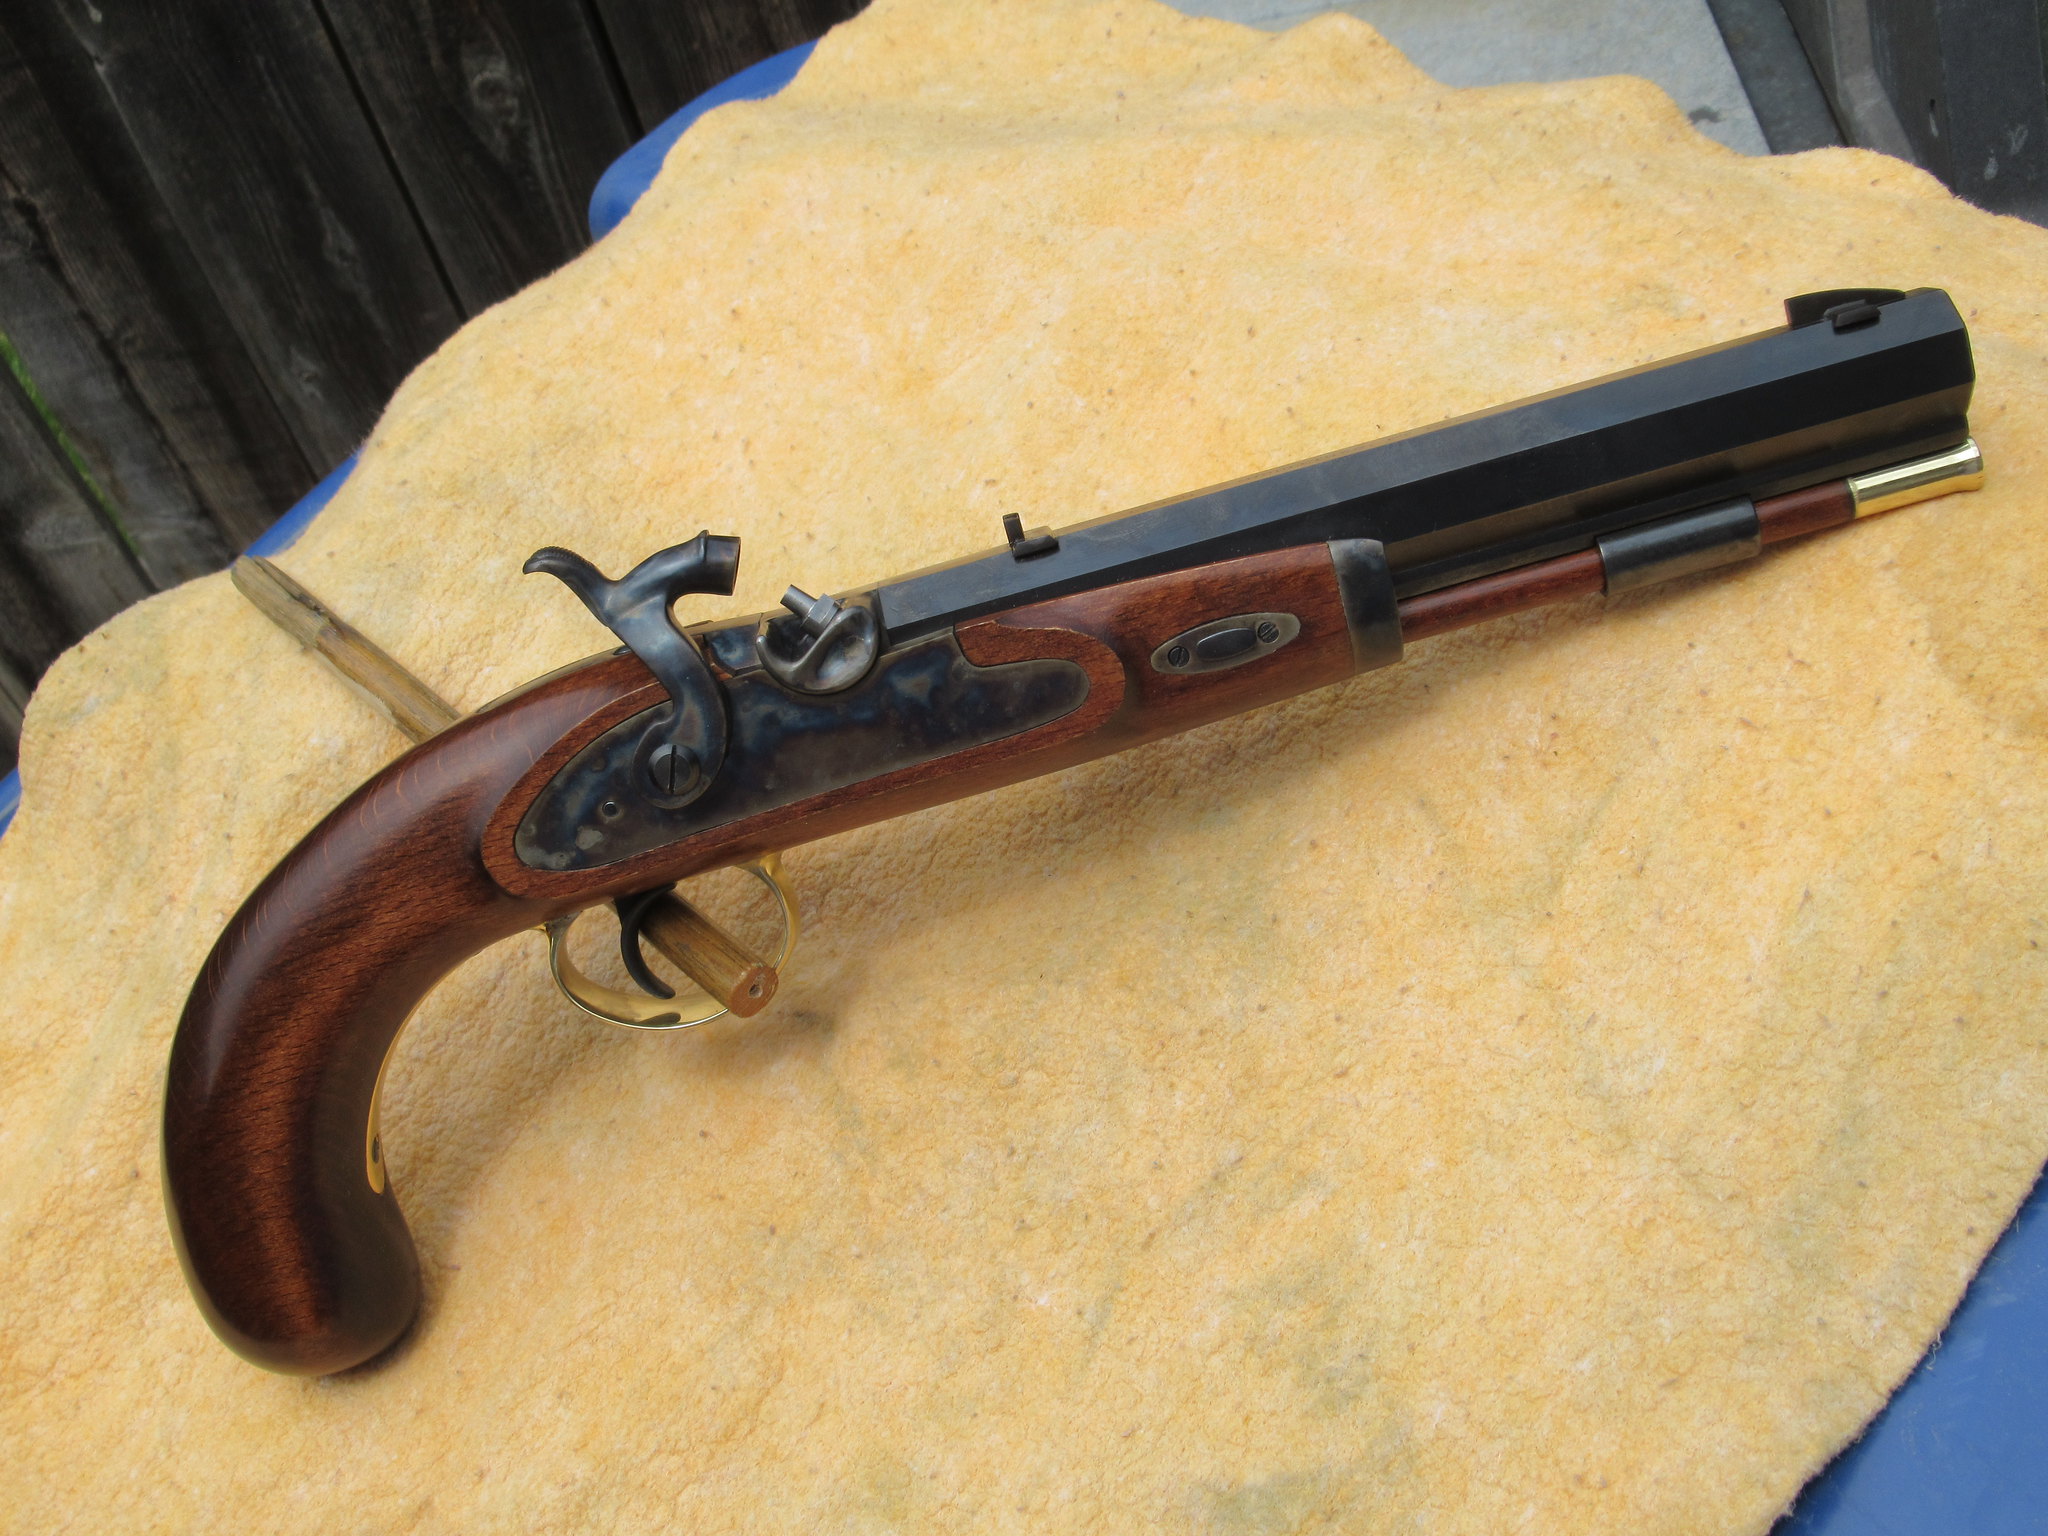
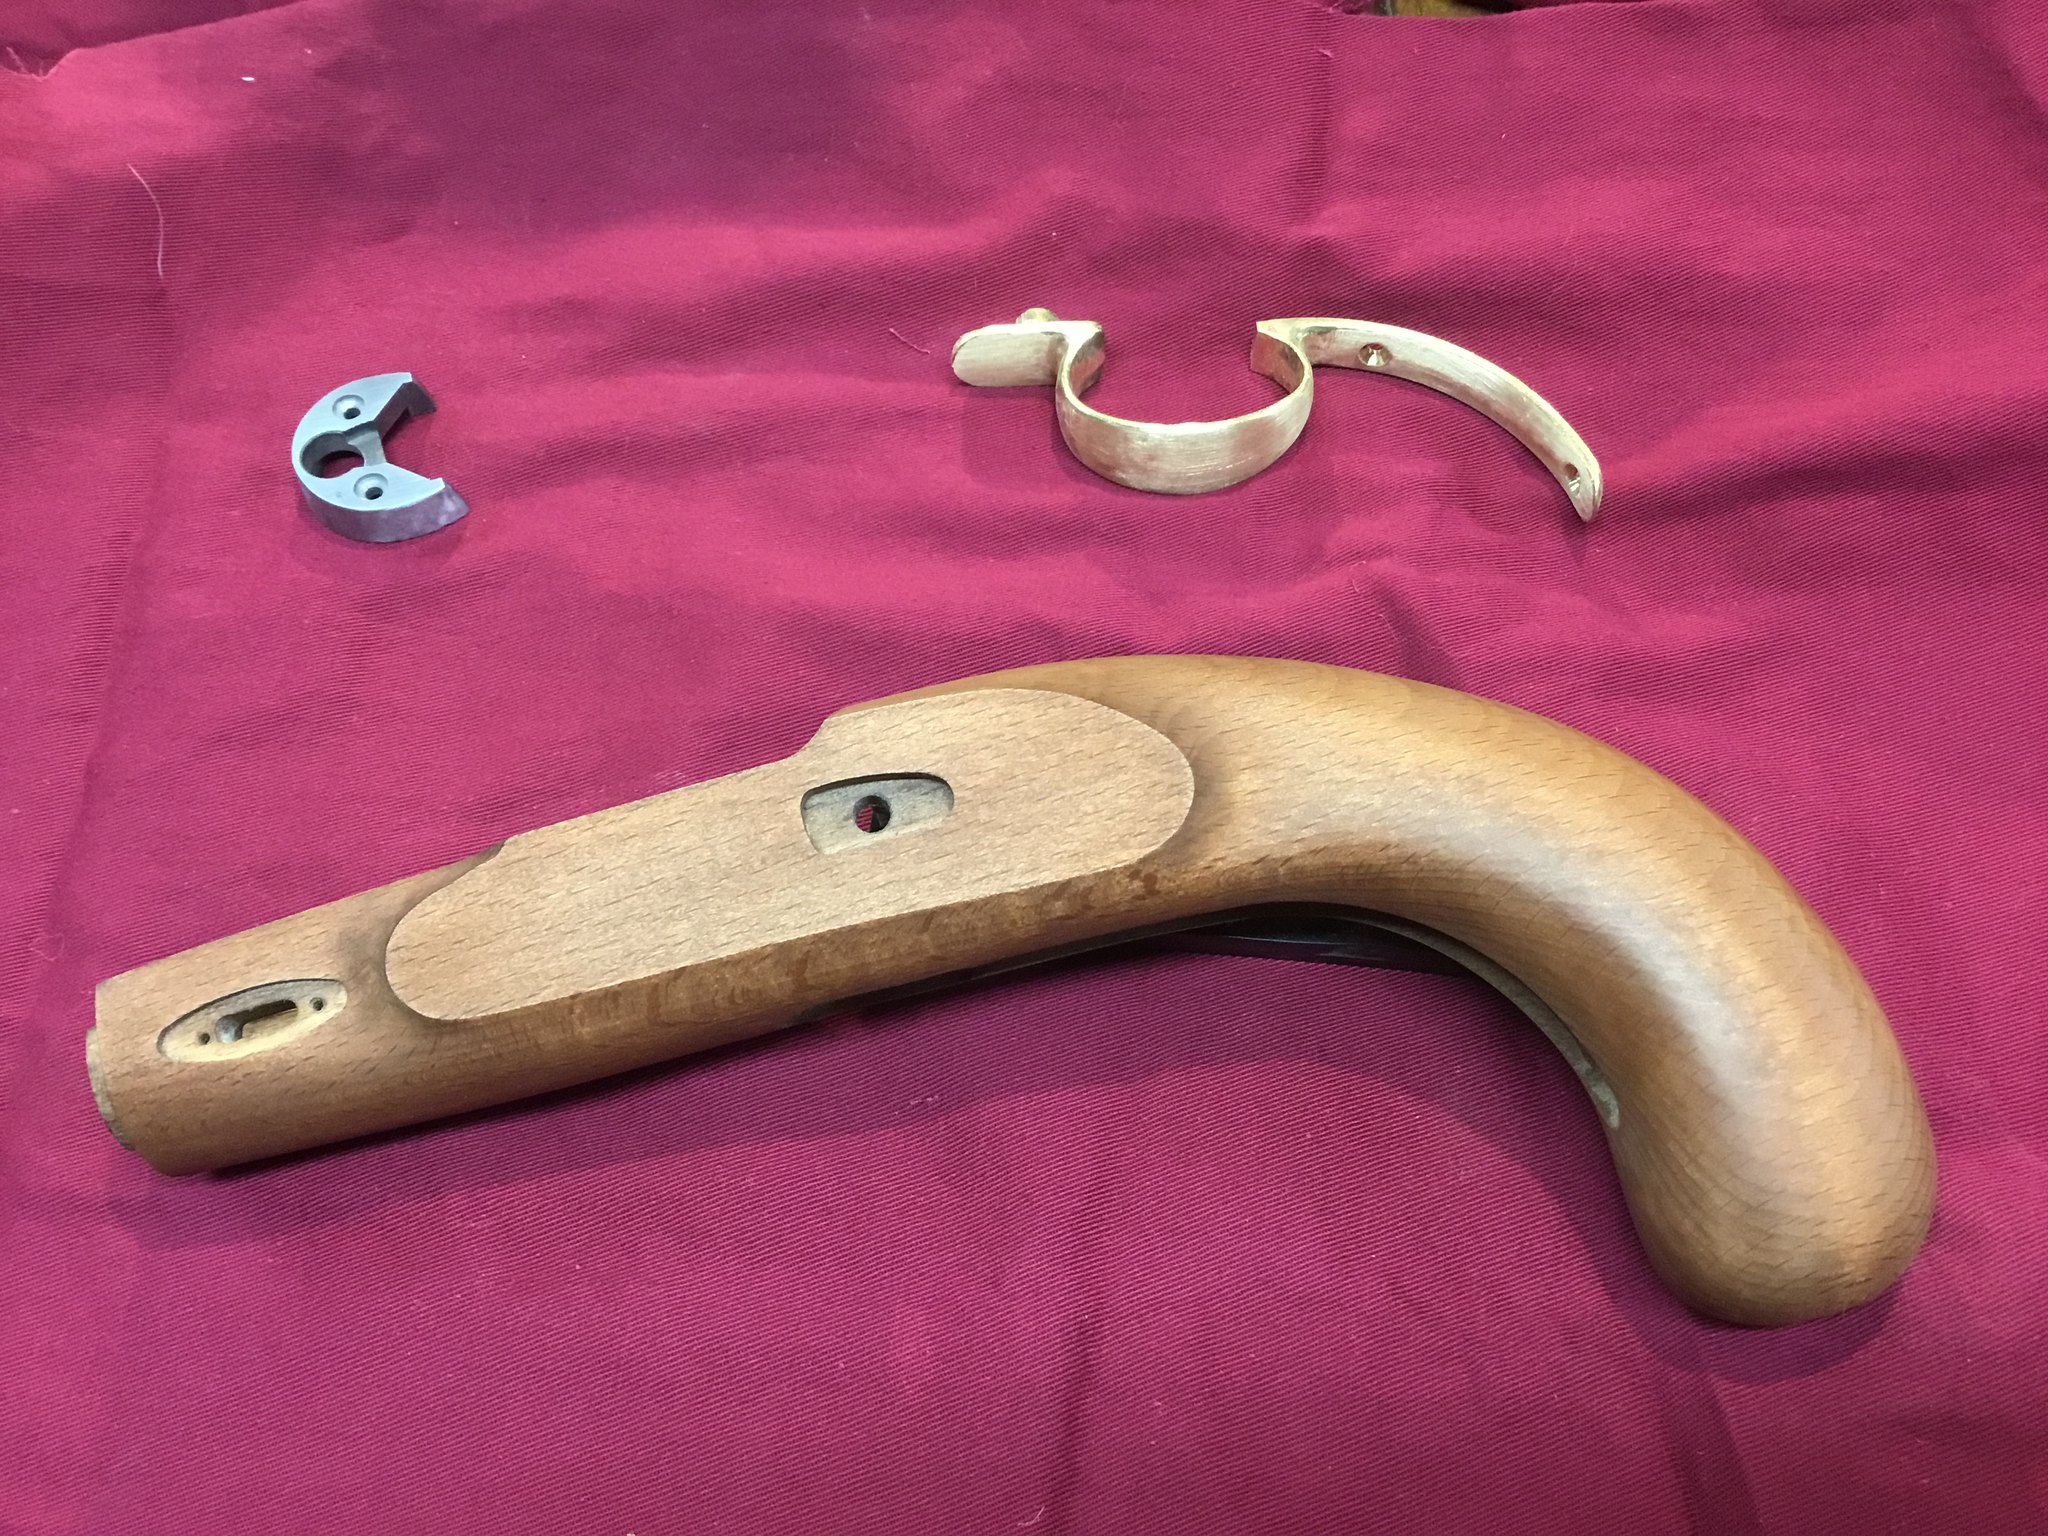
Its still a bit rough but all the heavy work is done.
 
With the shaping and 220 grit sanding of the wood done the stain is put on then 320 sanded back. This helps me see any short coming in the shape and quality of the stock. Next staining will be a bit darker then the finish will begin. Soon the metal finishing can start. With the help of one of our members a couple of chemicals have been ordered. If it works it gives a dark blue like charcoal blue.
723A5B54-B2B5-4088-ABEA-81DDEE2E59B7 by Oliver Sudden, on Flickr
 
Today the more enjoyable part has started, metal work! The lock has been deburred and now the lock plate and hammer is in the oven for annealing. Once cooled the casting lines and rough surfaces on the hammer will be cleaned up. Then these and the nose cap, breech plug and tang will be color case hardened. The key needs slotted for a keeper and other details attended to.
89057C0A-CA4F-44C1-9271-6A8445AAB3C5 by Oliver Sudden, on Flickr
You are an artist indeed, nice work as usual.
 
Rusticbob, you’re to kind. All these details are simple to do and anyone that looks can see what’s needed. Some of the real talented fellows on this site may get a giggle from these kit builds but their art work should inspire us all to up our standards. Refining the blank page of these kits is all I care to do these days. All the tools that has piled up in my home needs something to do as well. I would encourage anyone to spend a bit more time to do good work rather then try to get done as fast as possible. The finished piece will be around much longer then the few extra hours it takes.
 
Today I removed the breech to do some detailing to it. Some will find it interesting that the threads are 16X1.5 MM and rather long. The chamber in the breech holds 23.5 grains of 3fg so I would consider that the minimum powder charge to have the ball seat on the powder. The treads had bottomed out and became galled went installed by the factory. These will be dressed and the chamber will be polished before finishing.
4A370437-B763-4D81-9ADB-FEF51CBE56D9 by Oliver Sudden, on Flickr
 
The color case hardening was todays effort. It was hard to get a true photo of it but I’m happy with how they turned out. Before caseing the parts were annealed then lock plate needed flatting and the hammer twisted to a line with the nipple. Then all the casting lines and rough surfaces polished to 400 grit.
2DD8D152-D362-45B0-AE71-F1BEE191C7B2 by Oliver Sudden, on Flickr
 
Phil, thanks! You're driving me crazy as I always wanted to get one of these. They look great with the sort of custom stuff you've done. Are these kits currently available? I have to check. Great posting, I'm sure many guys will be viewing. Have a great Summer.
 
The color case hardening was todays effort. It was hard to get a true photo of it but I’m happy with how they turned out. Before caseing the parts were annealed then lock plate needed flatting and the hammer twisted to a line with the nipple. Then all the casting lines and rough surfaces polished to 400 grit.
2DD8D152-D362-45B0-AE71-F1BEE191C7B2 by Oliver Sudden, on Flickr
What did you use/what was your method for the color case hardening? (Pistol looks great!)
 

Latest posts

Back
Top