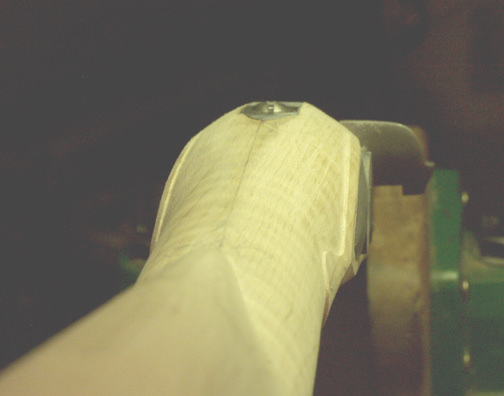
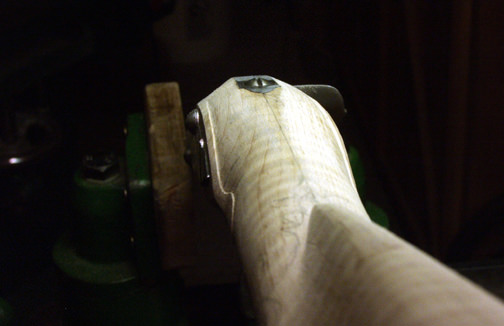
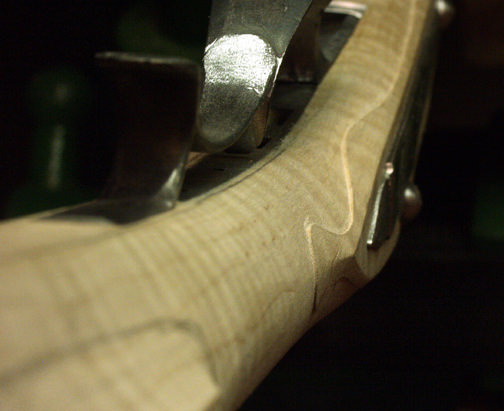
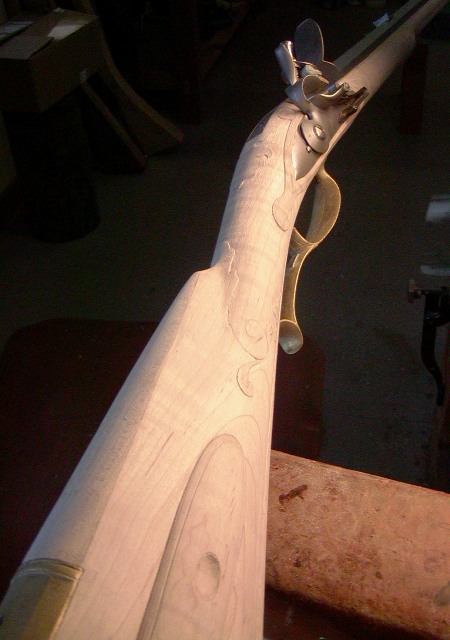
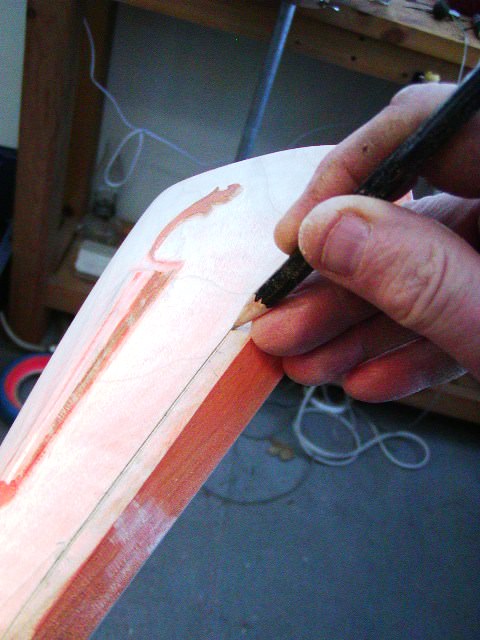
After fitting on the patch box lid and most of the hardware (the trigger/guard will go on later), I started carving the apron areas around the barrel tang and the lock panels, as well as behind the rear entry pipe. (As discussed elsewhere, I am thinning the wrist a bit by use of the tang carving.) These will be simple and hopefully add just a nice sense of flare to the rifle.
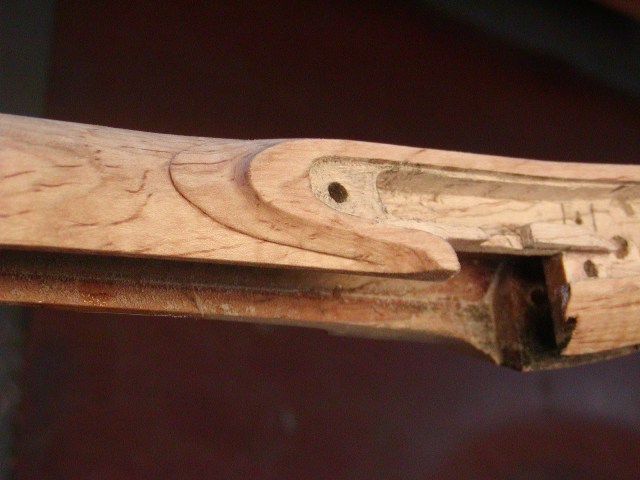
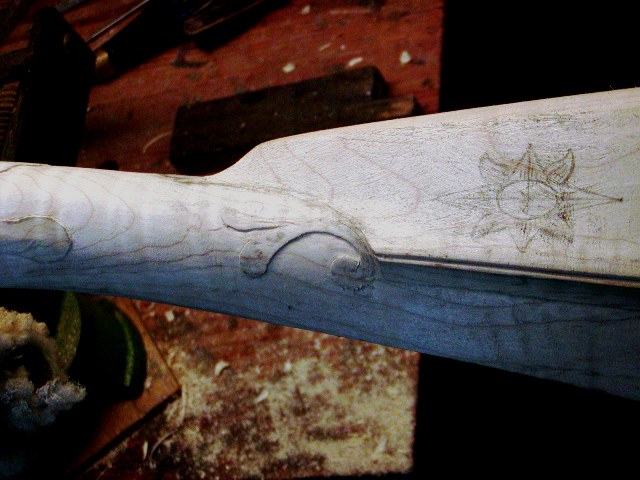
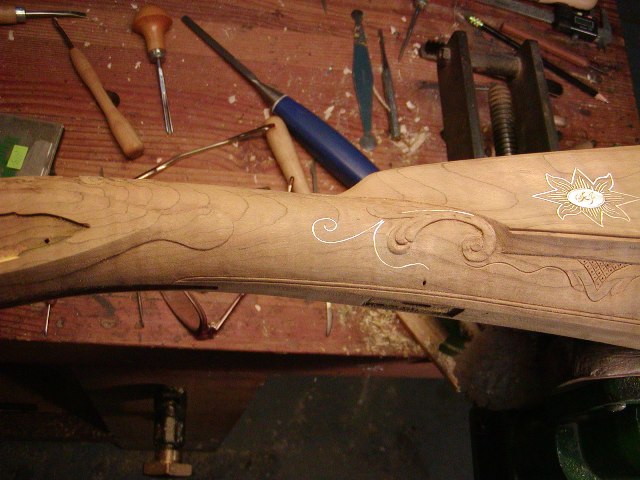
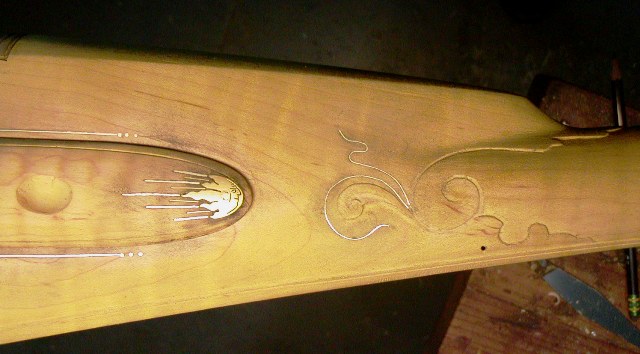
I have the lower wrist area carving drawn on and hit that next The beefy cheek piece will get a brass star inlay on it and some yet un-designed carvings behind and around it.
I completely loose sense of time doing this stuff. It's blissful (most of the time).
I have the lower wrist area carving drawn on and hit that next The beefy cheek piece will get a brass star inlay on it and some yet un-designed carvings behind and around it.
I completely loose sense of time doing this stuff. It's blissful (most of the time).