- Joined
- Nov 26, 2005
- Messages
- 5,016
- Reaction score
- 9,959
Hi,
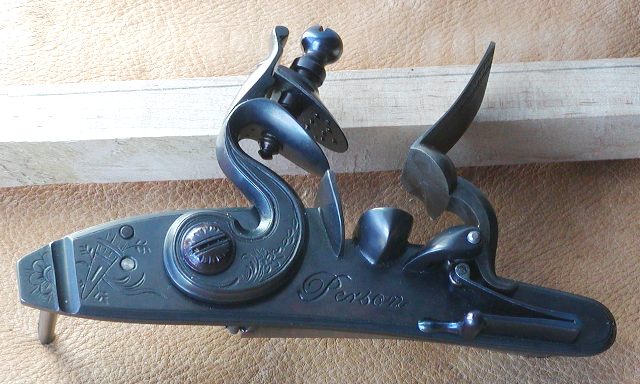
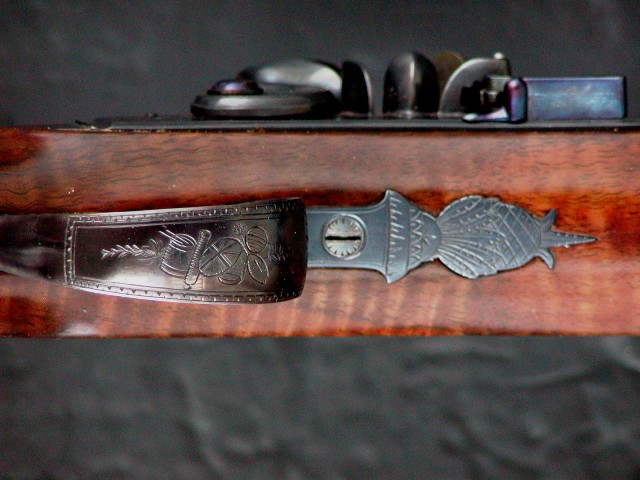
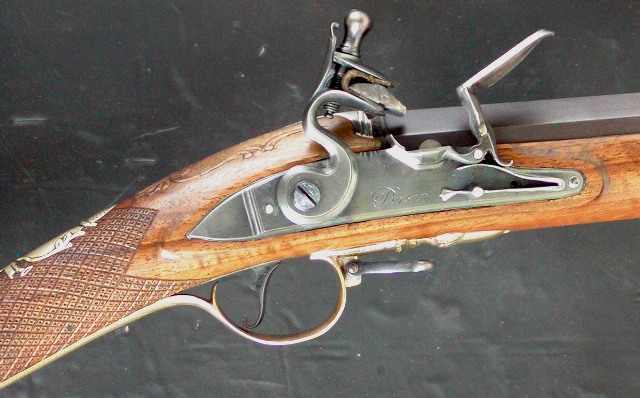
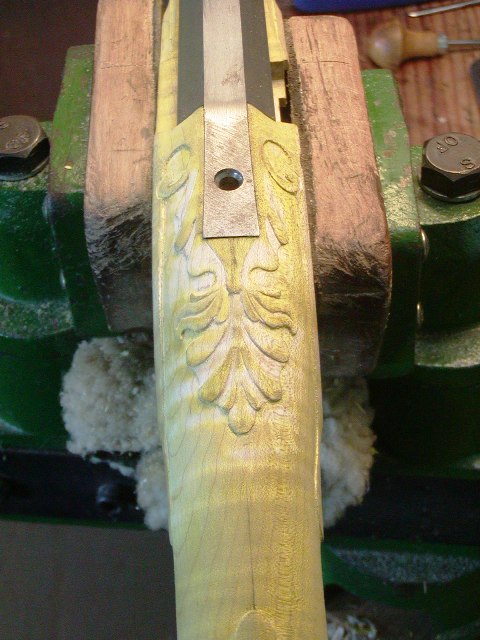
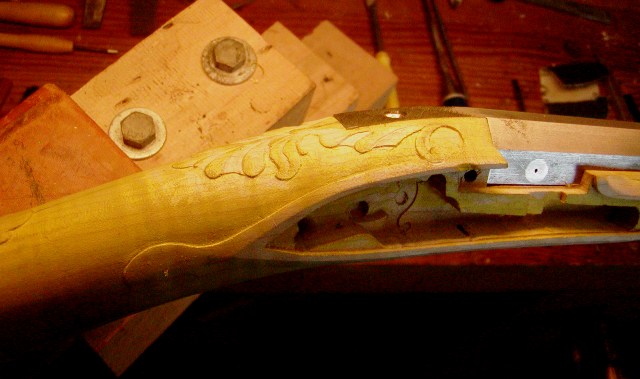
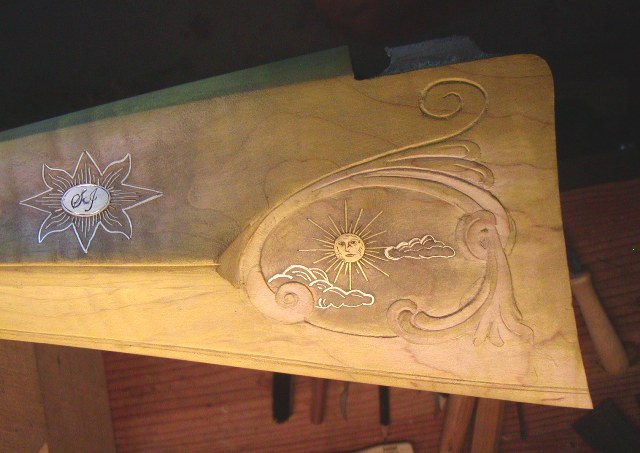
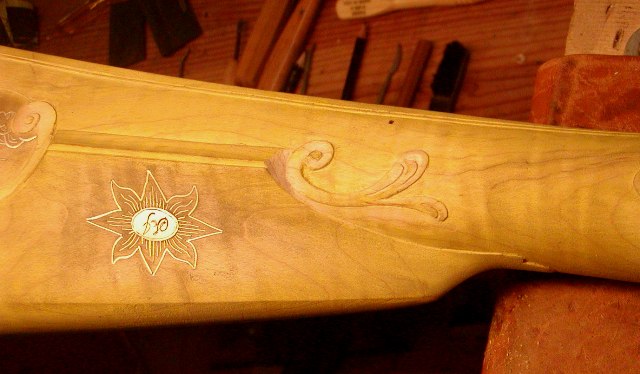
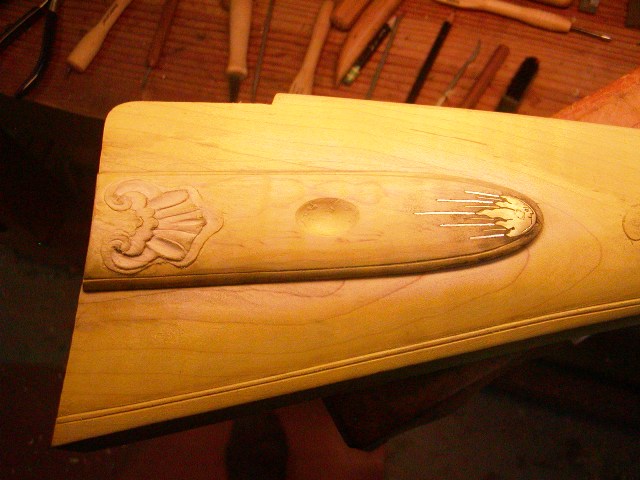
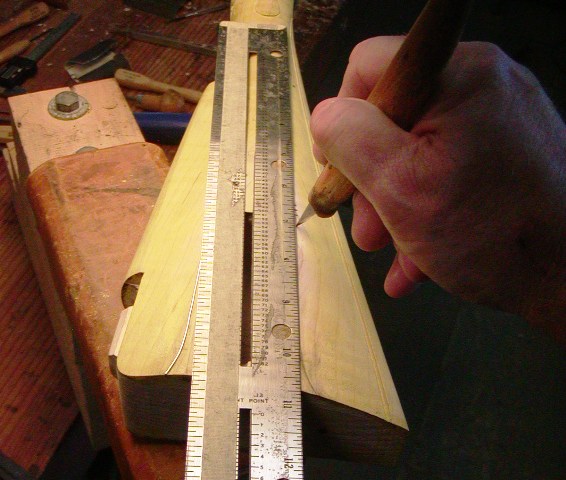
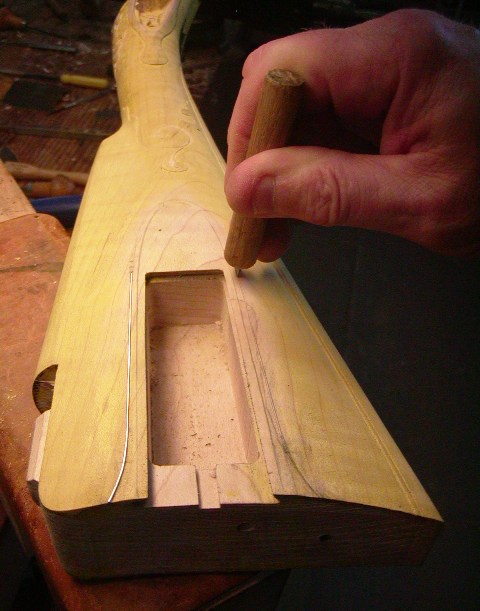
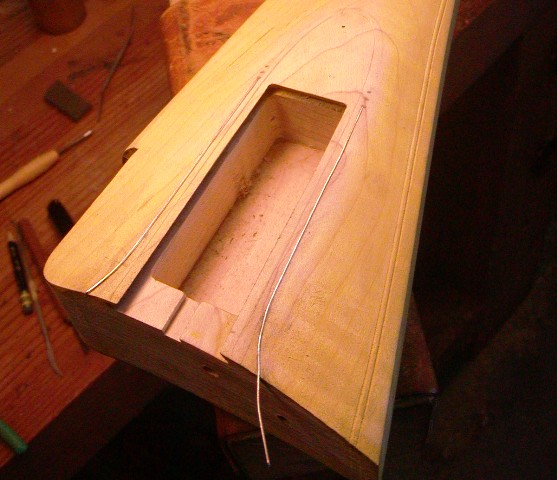
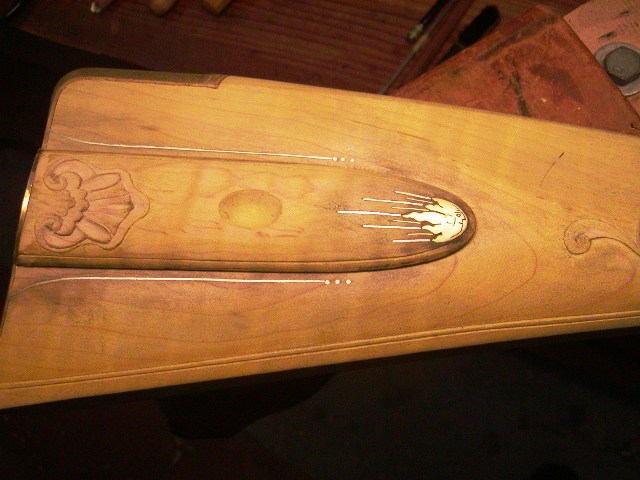
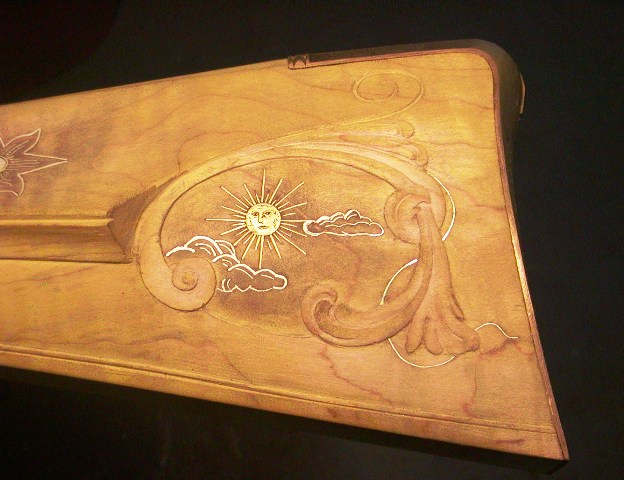
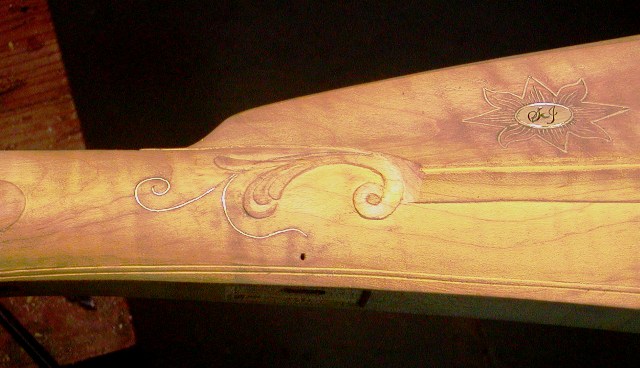
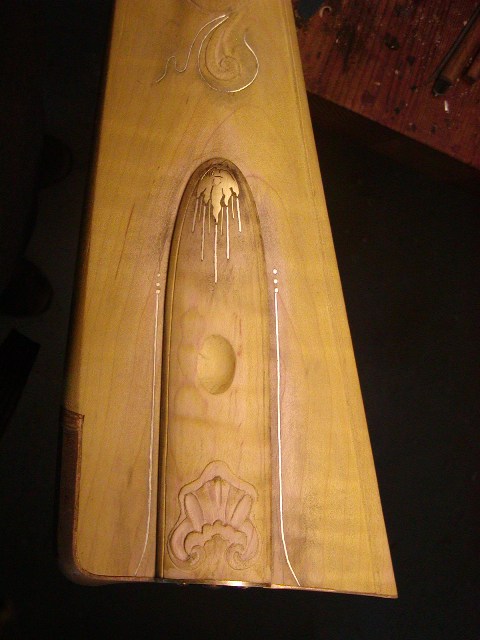
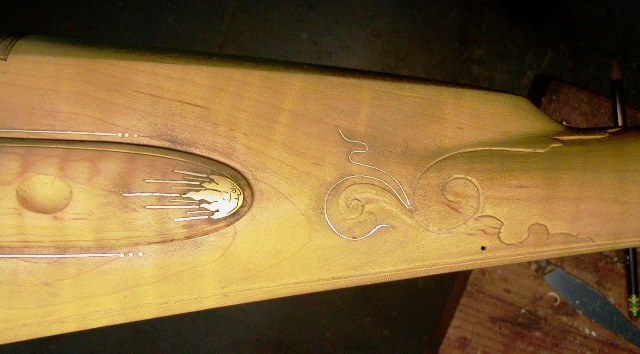
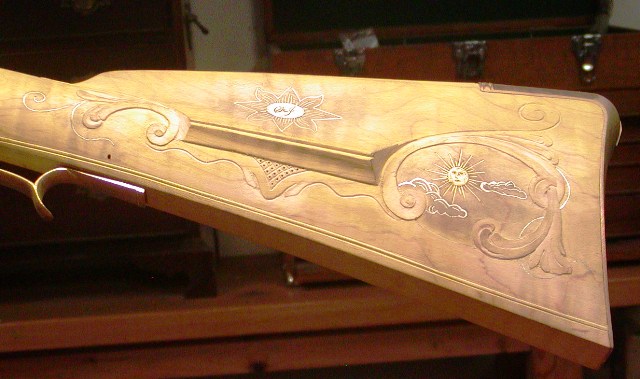
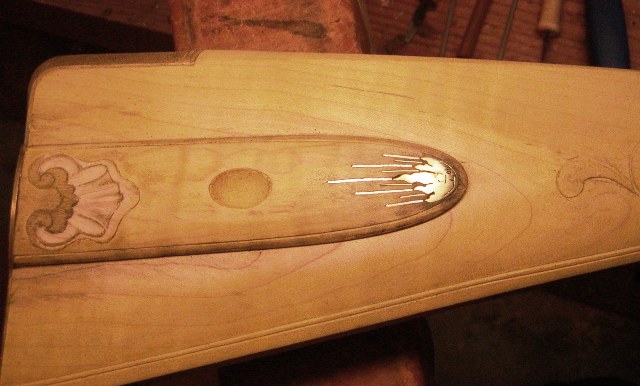
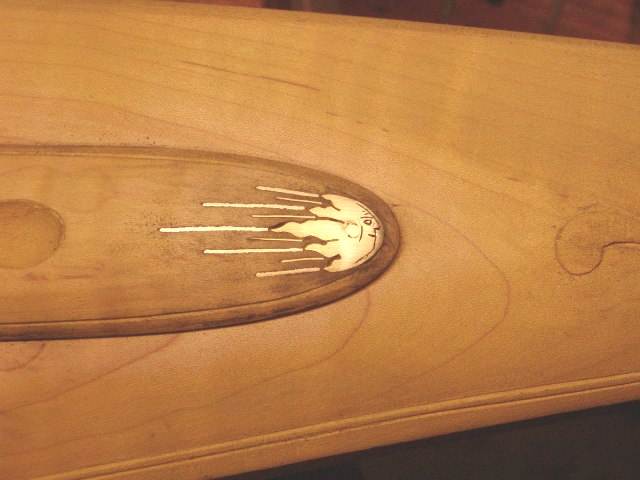
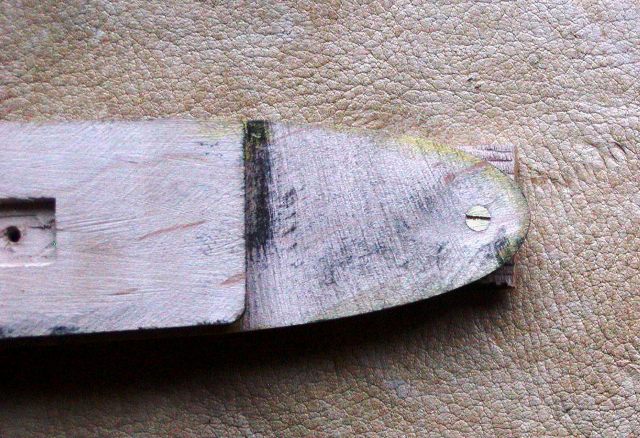
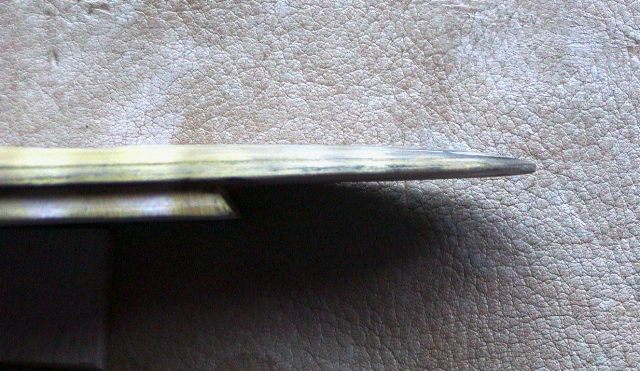
I had a great day doing folk art. I love the naïve nature of good folk art but I don't like crude. Crude has no appeal to me whatsoever and good folk art is not crude. I inlet a brass "comet face" in the tip of the patch box lid. It was a challenge because the lid is thin and fragile at that point. It just took scary sharp tools, a light touch, and patience. I glued it in place but also riveted it with a tiny brass wood screw. I drill the hole just large enough so the wood screw threads into the metal inlay. I counter sunk both sides of the hole and peened the end of the wood screw into the counter sink in the brass inlay. I engraved the comet face with a simple folk art depiction of a face. Then I inlayed silver and brass wire to create the fiery trail of the comet. I am beginning to carve the details in the carving on the patch box. The design is Moravian inspired and owes a lot to a rifle by Allen Martin. When starting to carve details on a rifle, I always start with the wood patch box lid if it has one. Sometimes I get rusty in my skills because of the long intervals between carving on guns so I figure if I forget stuff or am rusty, I can always make a new wooden lid if I screw it up. Fixing mistakes on the stock is much more difficult.
dave