Hi,
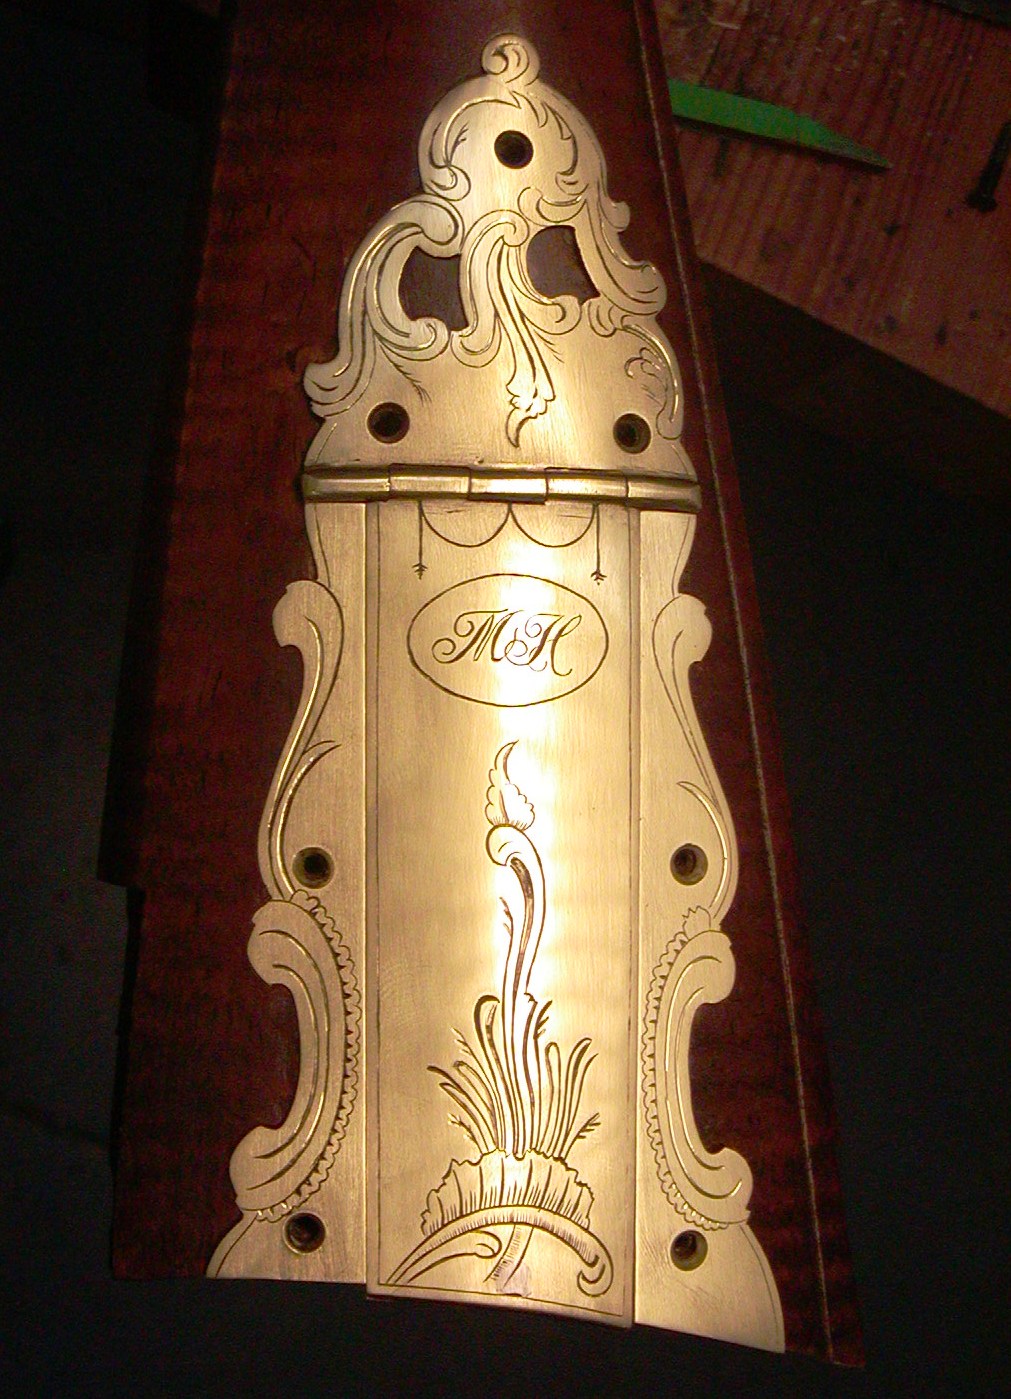
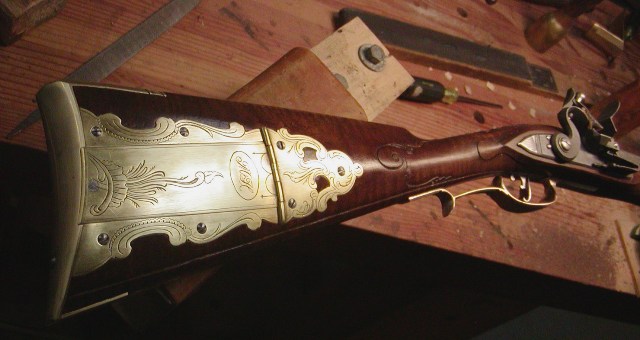
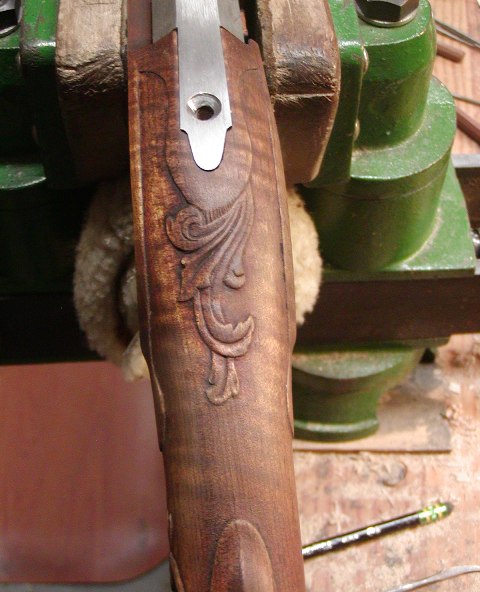
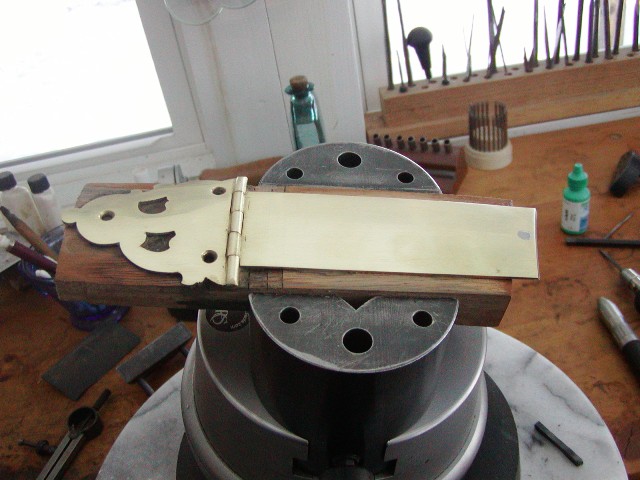
I am back from my trip. I started engraving while the stock is drying. I am copying the engraving on the original rifle, flaws and all. I started with the patch box. First, I attach it to a slightly curved piece of wood with simple wood glue. Then I polish it with sandpaper dipped in water and eventually fine stones dipped in parafin oil. The paper is always backed with a flat piece of wood to avoid rounding edges.
Next, I clean the surface with acetone and coat it with Tom White's "Transfer Magic" solution, which is mostly a thin lacquer.
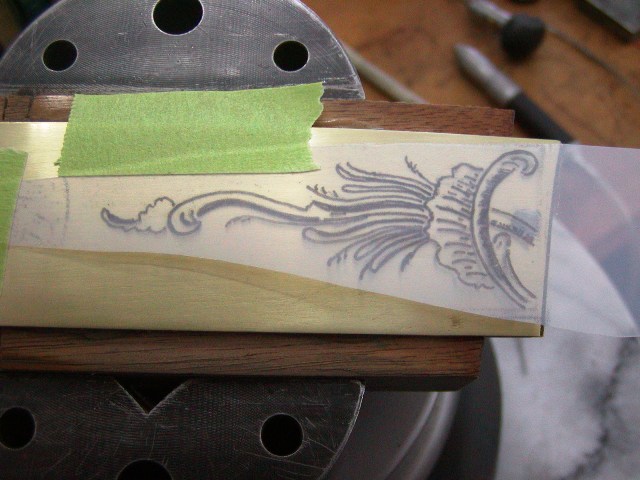
I scanned a photo of the patch box and brought it into PowerPoint on my computer. I scaled it up to fit the full sized patch box, traced the engraving with a pen to make it darker, and printed the image on inket jet transparency sheet. I made 2 copies and they were flipped to print mirror images of the original.
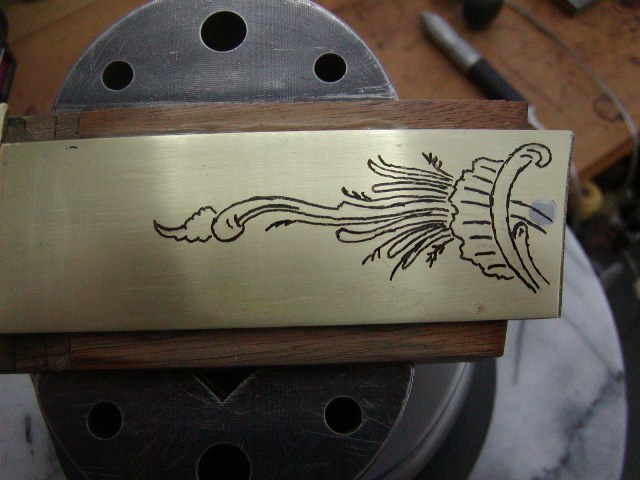
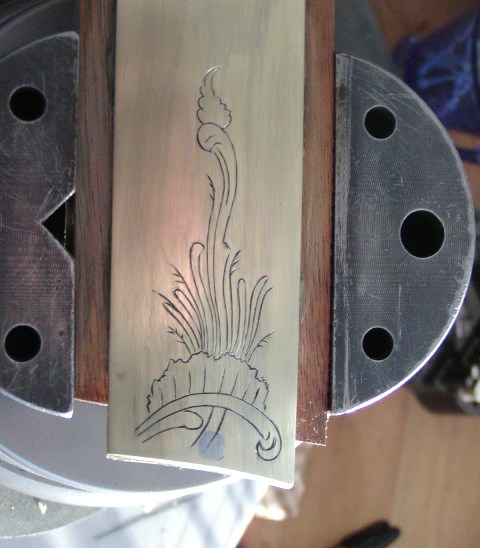
Then the portion of the design I want to engrave is cut from the sheet and taped in place on the patch box. I then burnish it down hard with a hardwood dowel shaped like a dull pencil. The image transfers to the metal but in this case it was light. Using a pen, I simply darkened the lines on the metal.
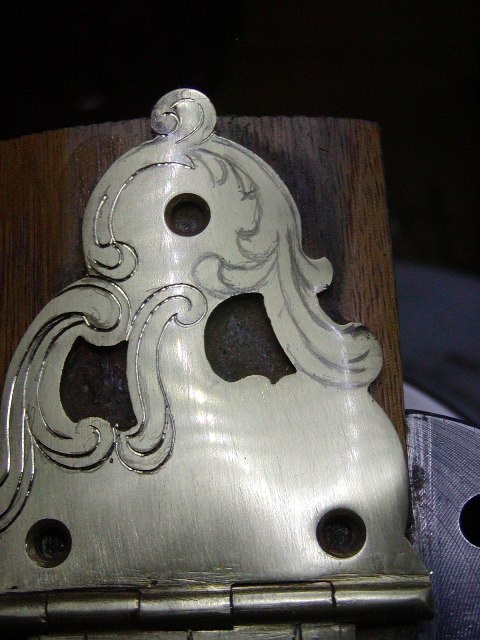
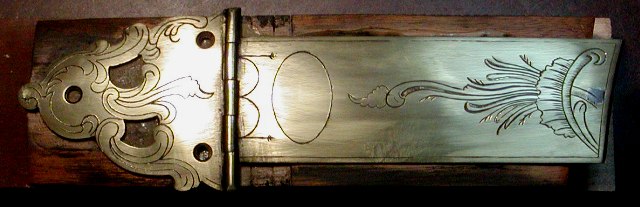
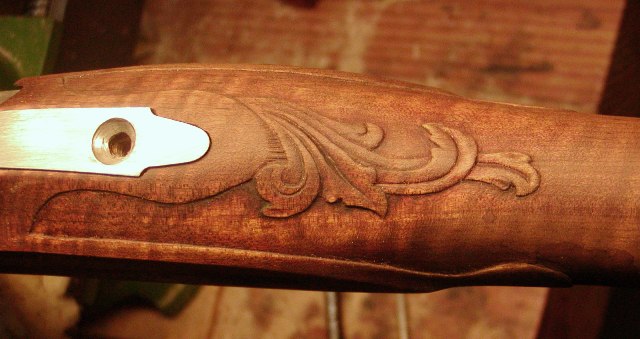
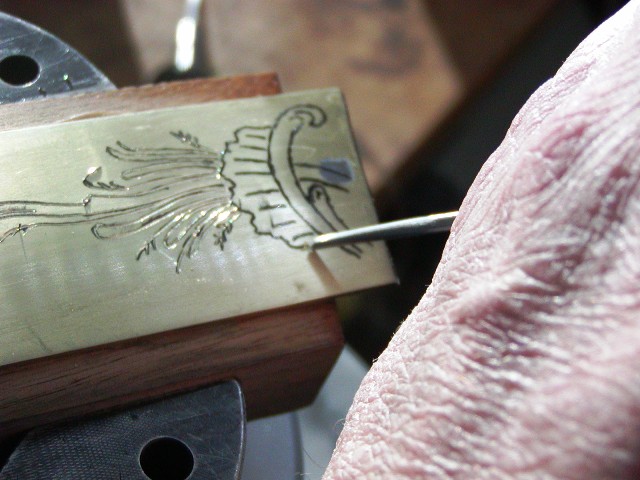
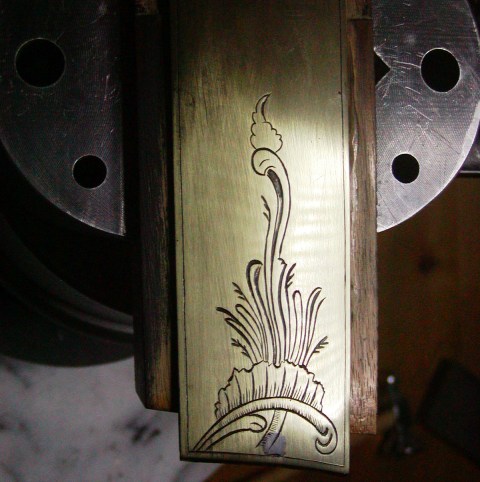
Using a square chisel (graver) and chasing hammer, I cut the outline of the design. After that I went back and smoothed lines and curves, added details, shading, and relief. The result looks very similar to the original photo, warts and all.
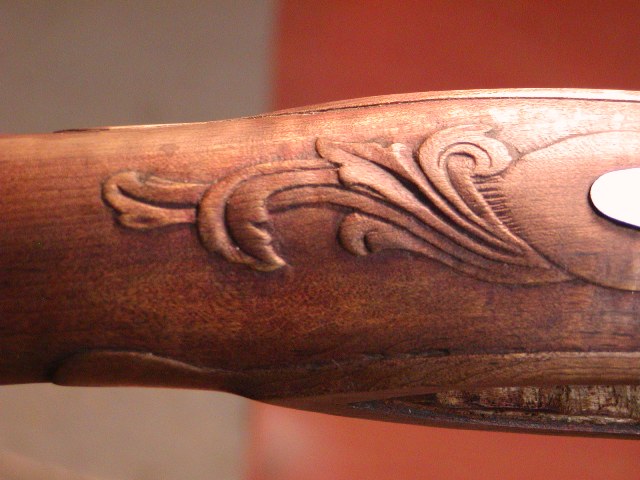
Haines was a pretty good engraver but none of the old makers was up to modern standards. I rubbed some inletting black in the cuts to highlight them. Tomorrow, I'll go back and clean up a few rough spots and then move on the the other sections of the patch box.
dave


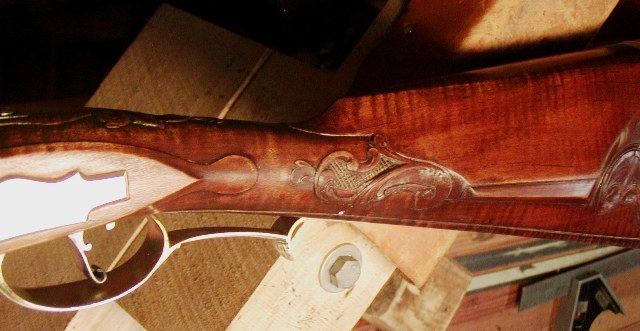
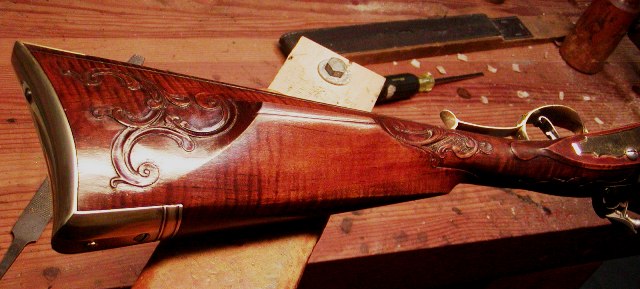
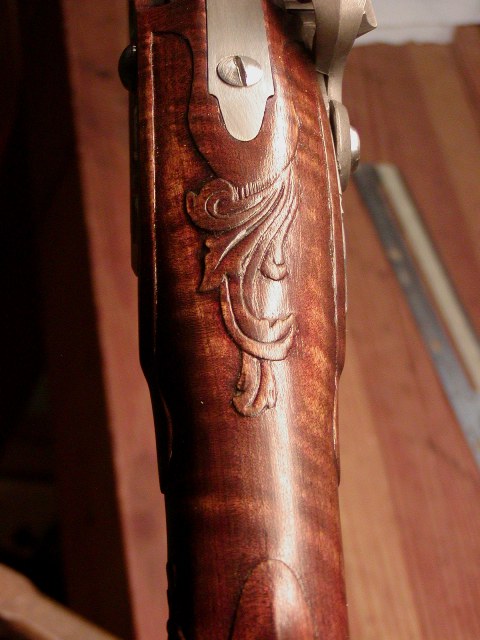
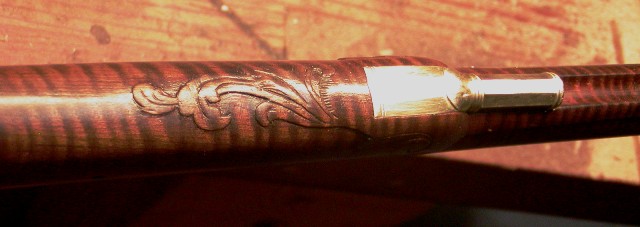
 Sometimes a stock with a lot of curl can "clash" with detailed carving, but this one is looking great together.
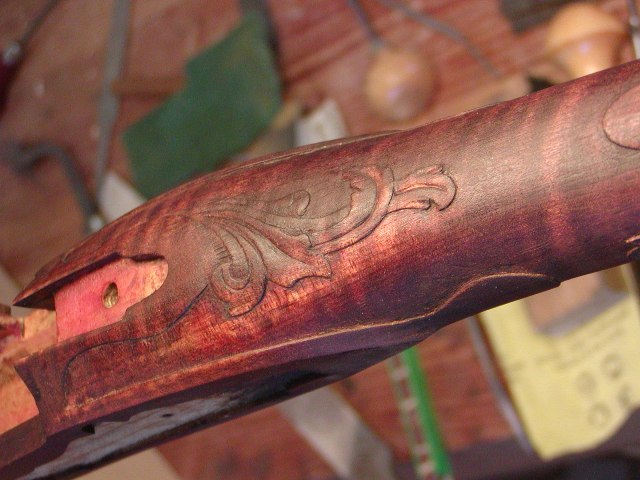

")