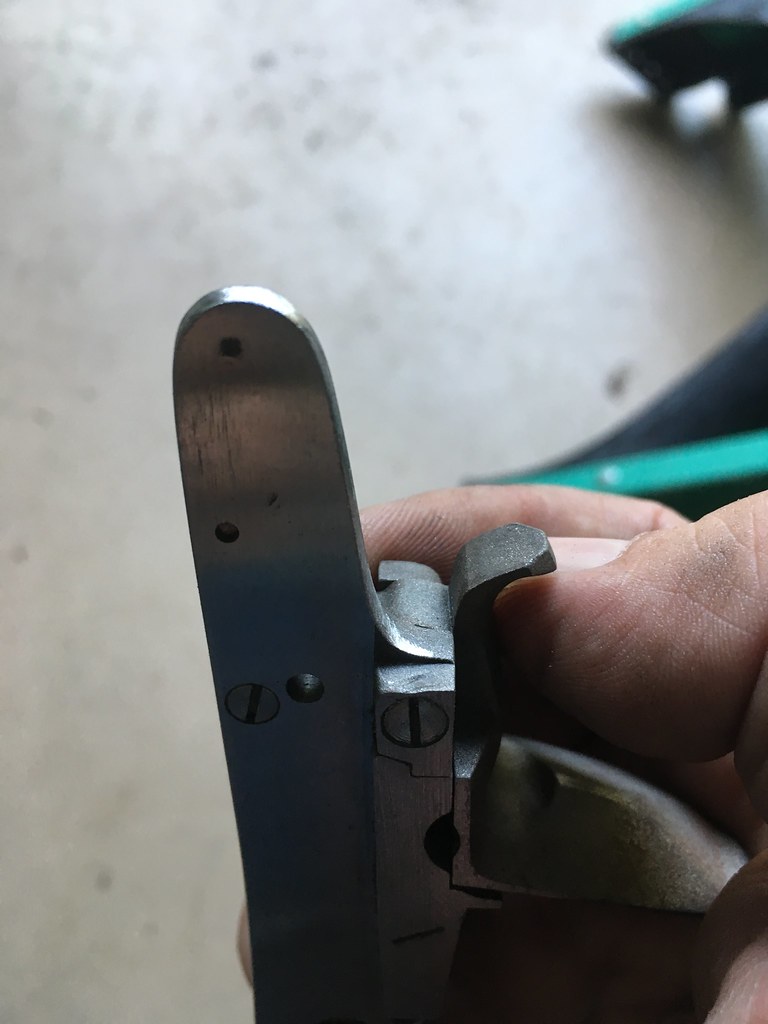
I would like to see a picture of the touch hole in relation to the pan. It looks like the tang only needs to go back about a 1/16 of an inch. It may be something that wouldn't be detrimental to the touch hole / pan relationship. Of course I see the tang bolt is already in and i am sure it is lined up with the trigger plate, so it may make the most sense just to fill it.
Bingo!!
Petes...
There is no difference in the final fitting of a $10,000 rifle and this $5-700 kit. They all finish pretty much the same. This means to get superior results you have to do careful and superior work to finish it.
While "Gunstocker in a Tube" has it's uses I don't think you are there yet.
1. Get some JB weld or other epoxy.

(Yea I know but hold on...) A Torch,flux and some plumbing solder will work just as well as the epoxy, anyway, solder or epoxy, you'll need a propane or MAPP torch.
2. Glue or solder the hooked tang to your barrel like it would sit in the stock...the goal is to have the barrel and tang in one piece. (trying to fit the little part by it's self is more than aggravating)....fit the tang and barrel as one piece for now. After the solder or epxy sets..go back and file off the excess.
3. File a "draft" on the tang....
 Untitled
 by
Travis Brown, on Flickr
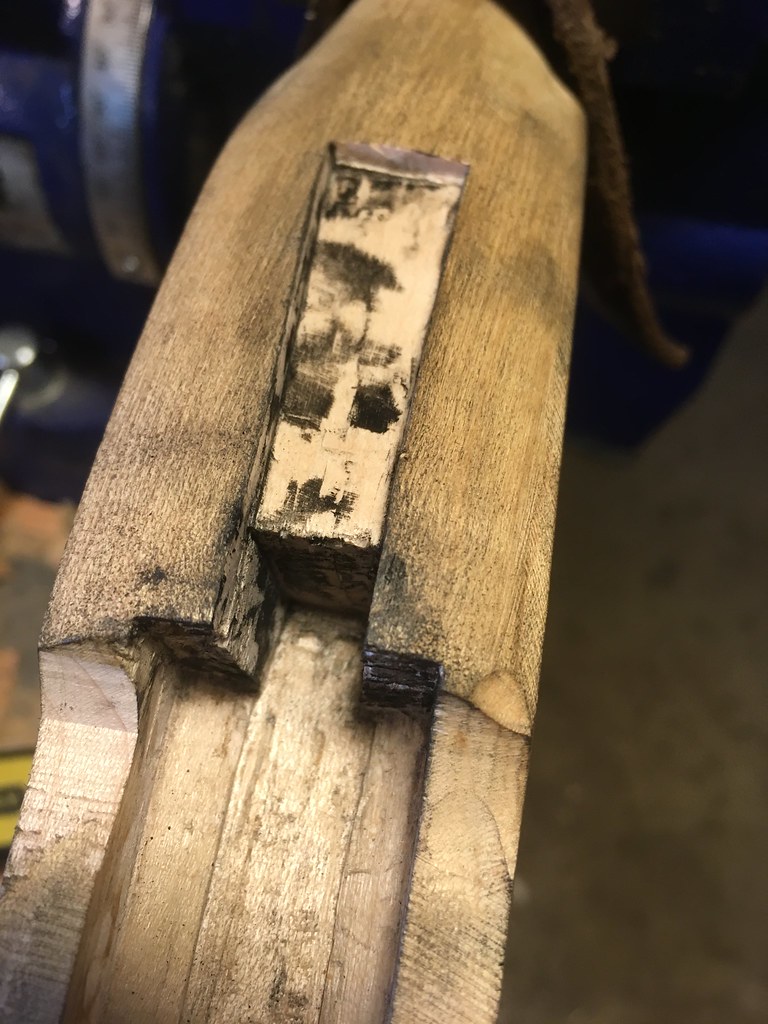
You should have something that looks similar to this. Look at the far end of the tang you can see the angle of the "draft" filed in. The top of the tang ot the surface that shows is left...The part that contacts the wood the wood in the inlet is filed smaller.
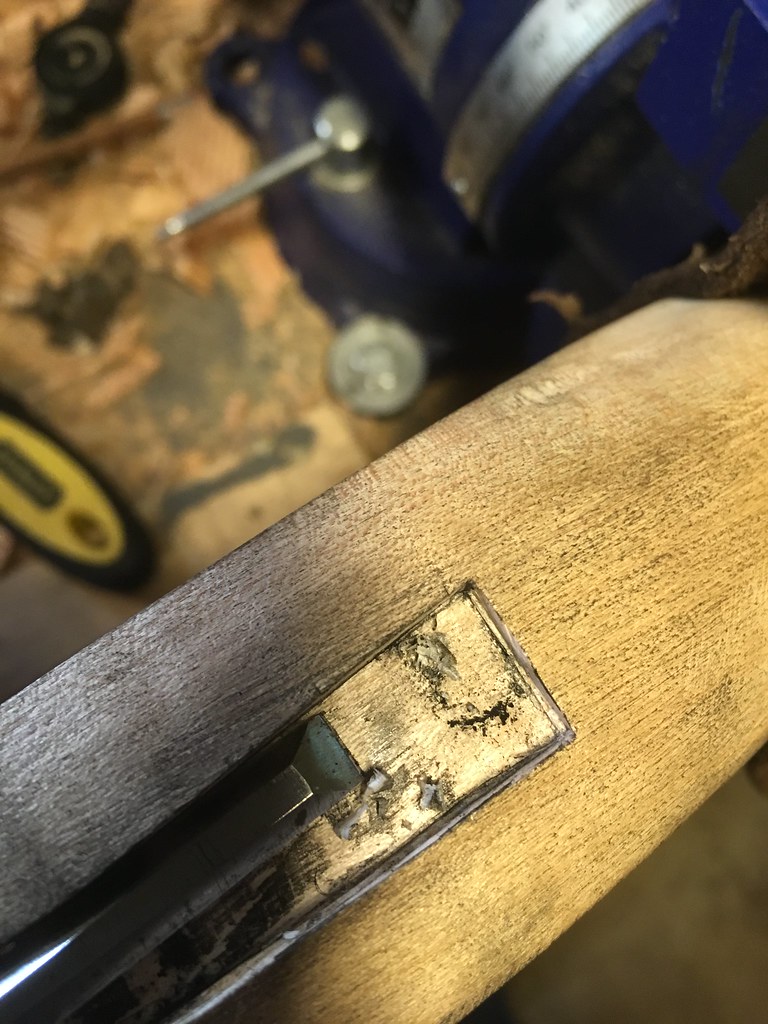
You are not filing the steel to fit the wood, You are filing the steel to make fitting into the wood easier. Next photo is a lockplate with the draft filed on it...
 Untitled
 by
Travis Brown, on Flickr
Now you can hold onto the part...
4. Set your stock in a padded vise that's mounted solid...
5. With a candle...Soot the tang and barrel breech. Lip stick and all that baloney...forget it..just use a candle it's easy and it works well on that white wood....
6. Fitting...
Your tang and barrel is one piece. You may want to try and dry fit it before you soot it to see what's going on. With the stock mounted solid and secure, hold the barrel above the channel, slide it back so the rear breech face of the barrel (glued on tang) makes contact with the breech face of the stock. Hold the barrel and tang above it's inlet. Ease it straight down. Likely the tang will want to rest proud if the inlet...Let the tang rest there..try to hold the barrel straight above it's channel (you may have to put something in the barrel channel to help support the barrel....Mark around the tang with a sharp pencil to see what need to be removed.
You can do the pencil mark above or do the soot to start with ...it's up to you.
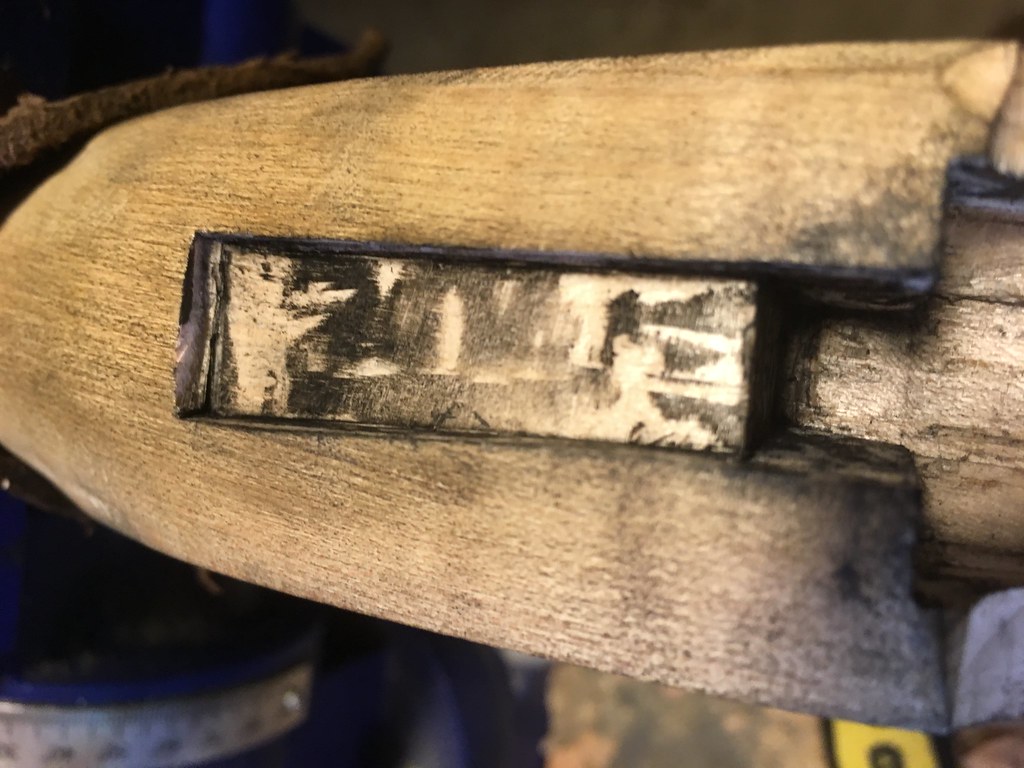
7. fitting ....start reading the marks and removing the high spots...
 Untitled
 by
Travis Brown, on Flickr
 Untitled
 by
Travis Brown, on Flickr
 Untitled
 by
Travis Brown, on Flickr
 Untitled
 by
Travis Brown, on Flickr
 Untitled
 by
Travis Brown, on Flickr
 Untitled
 by
Travis Brown, on Flickr
 Untitled
 by
Travis Brown, on Flickr
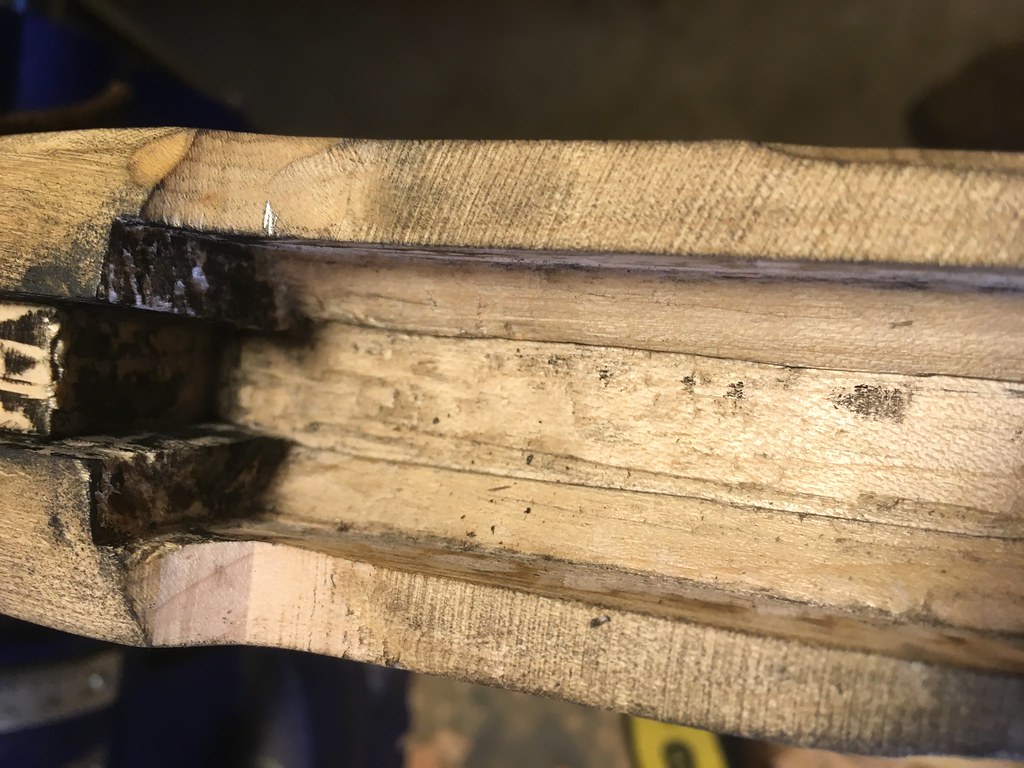
As the tang goes down it wants to mark farther back..Look close at the photos above. You can see it going down and also printing at the rear.
I use chisels and I Have a gouge...you may can do with with small rounded files or very careful use of sand paper (maybe glued to a suitable shape? and fingernail files. Or, you could try Zonie's tips mentioned above.
The goal is have very good contact with the breech face of the stock.
After the barrel is fitted....
Heat the breech with a torch, this releases the hooked tang. Then clean it up and fit it to the stock.


