• This community needs YOUR help today. We rely 100% on Supporting Memberships to fund our efforts. With the ever increasing fees of everything, we need help. We need more Supporting Members, today. Please invest back into this community. I will ship a few decals too in addition to all the account perks you get.


    Sign up here: https://www.muzzleloadingforum.com/account/upgrades
  • Friends, our 2nd Amendment rights are always under attack and the NRA has been a constant for decades in helping fight that fight.

    We have partnered with the NRA to offer you a discount on membership and Muzzleloading Forum gets a small percentage too of each membership, so you are supporting both the NRA and us.

    Use this link to sign up please; https://membership.nra.org/recruiters/join/XR045103

My first kit build

Muzzleloading Forum

Help Support Muzzleloading Forum:

This site may earn a commission from merchant affiliate links, including eBay, Amazon, and others.
Joined
Jul 7, 2017
Messages
804
Reaction score
337
Location
Michigan
Thankful for advice I received here, I went ahead and purchase a Pendersoli Kentucky flintlock kit. This will be my first “build,” though really just a kit gun and nothing like a lot of the incredible craftsmanship that I see posted here.

I’m a total newb to gun building, so I’m appreciative of any/all advice from those of you who do this kind of work!

My plans are to stick with the main design, sanding and shaping minimally as necessary to improve the fit and finish, and to make it something to be proud of. I would like to brown the barrel, and polish the brass to match an antique style. Unsure on all other details, including my wood finish options.

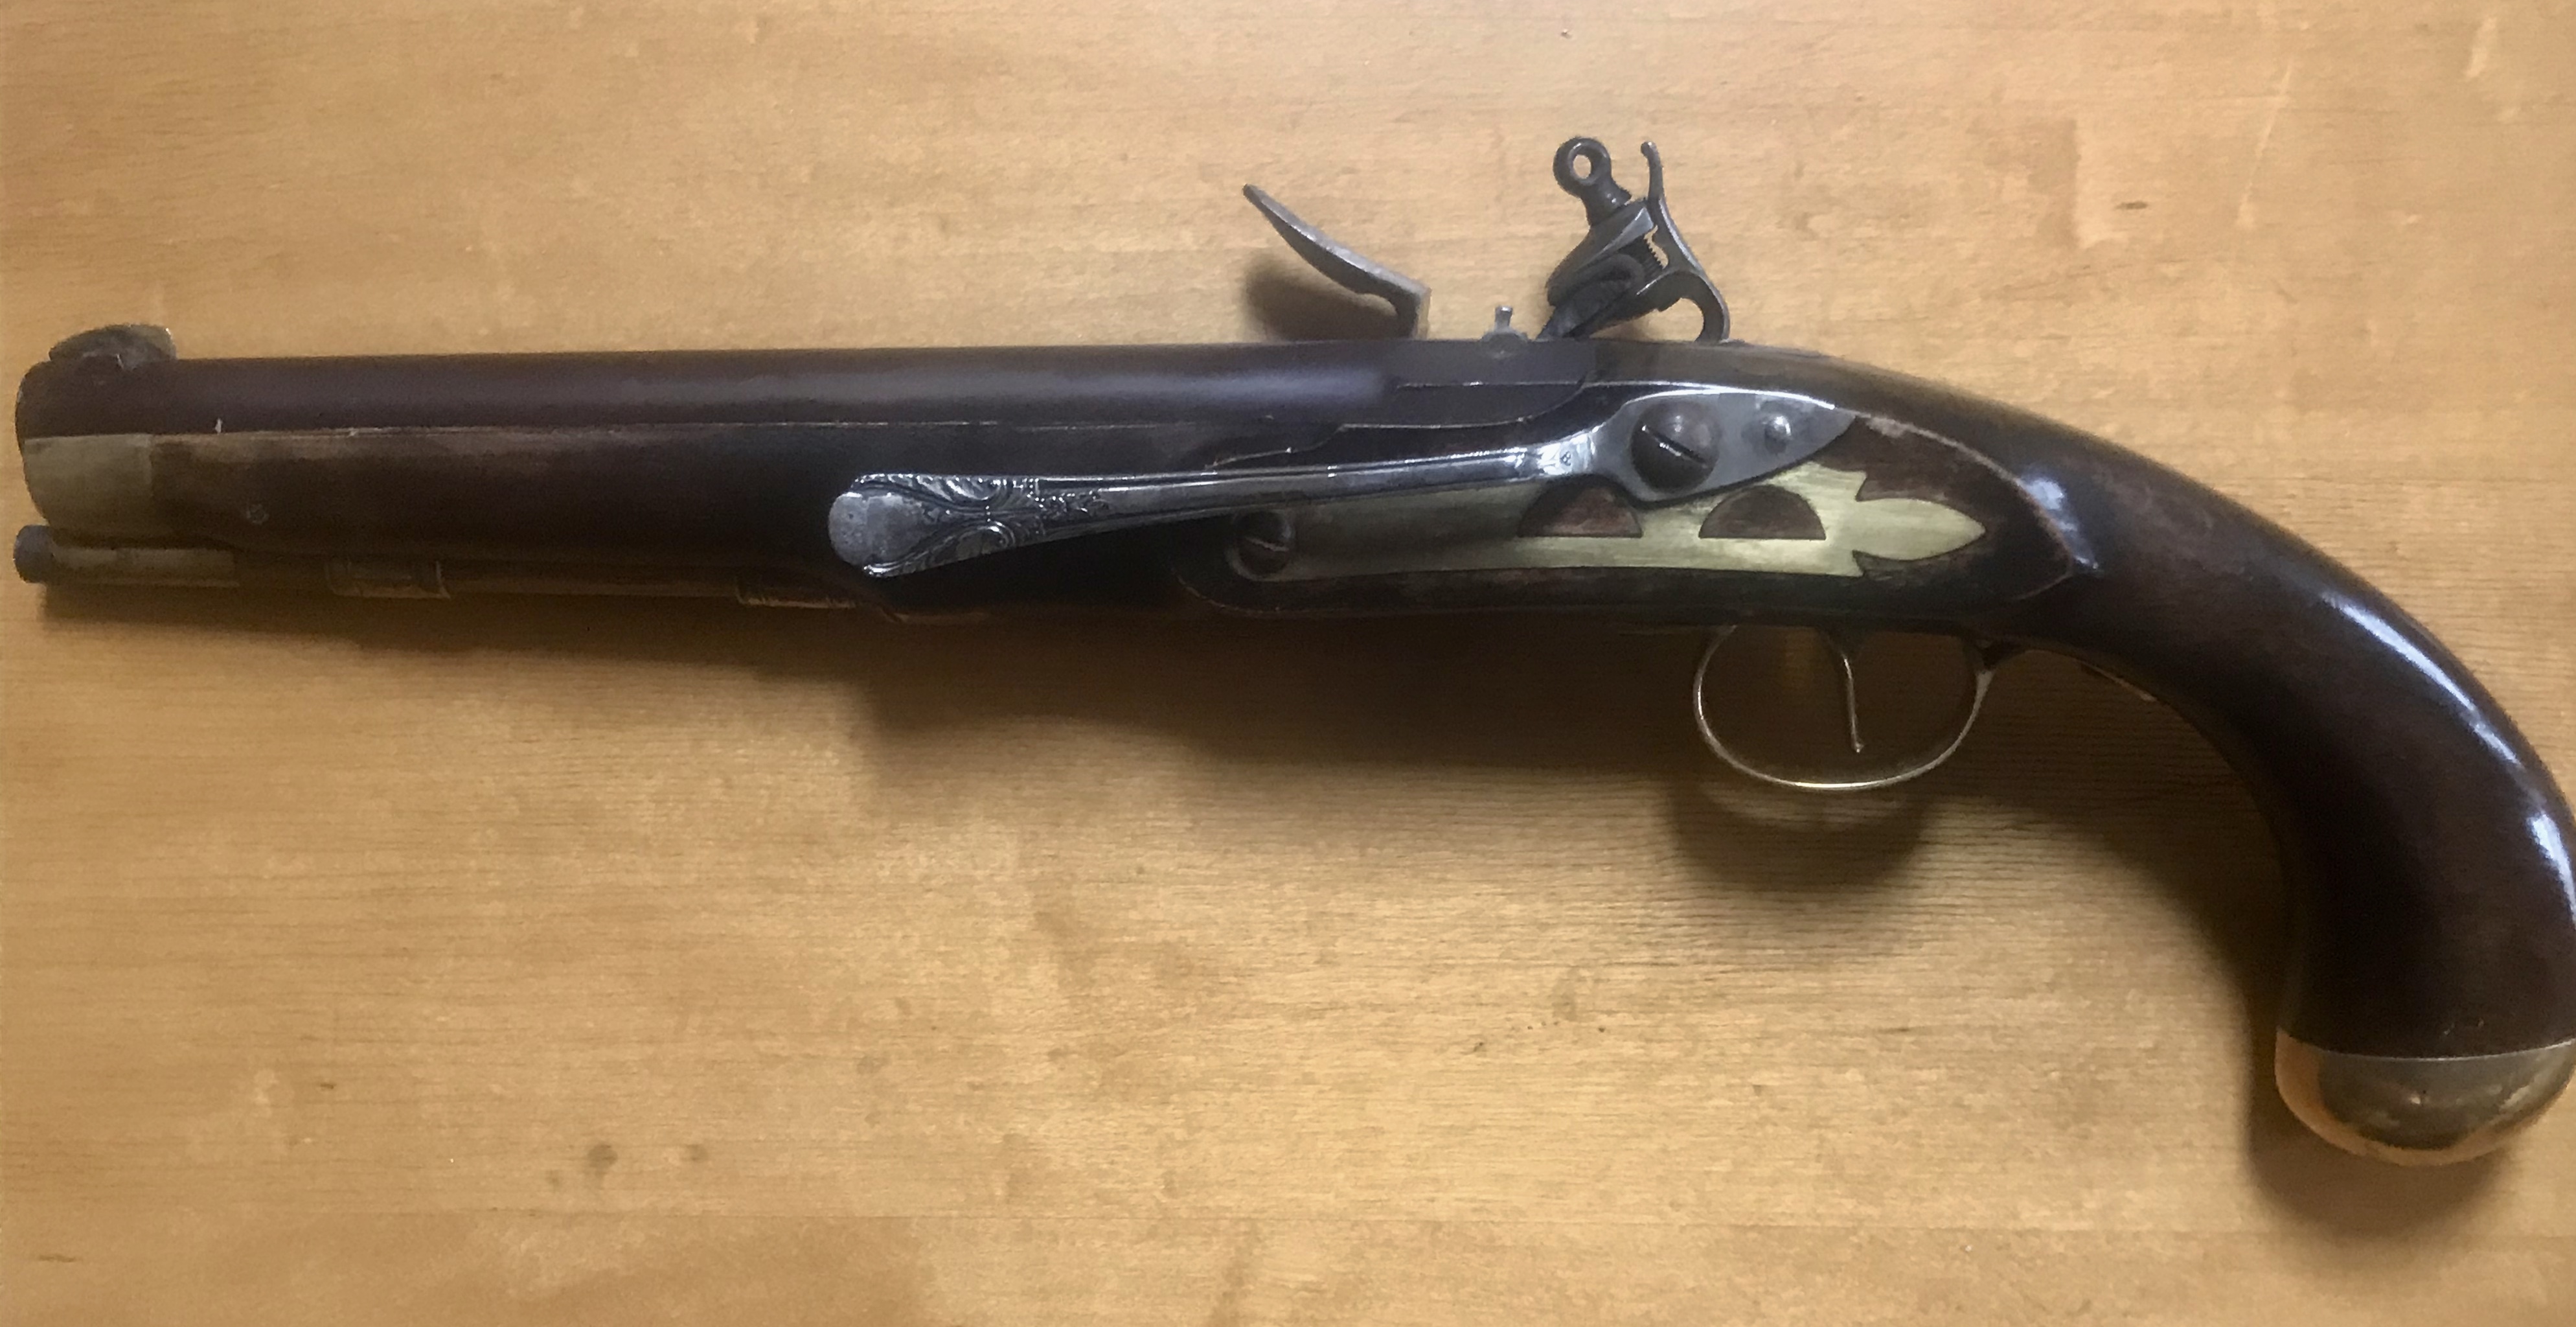
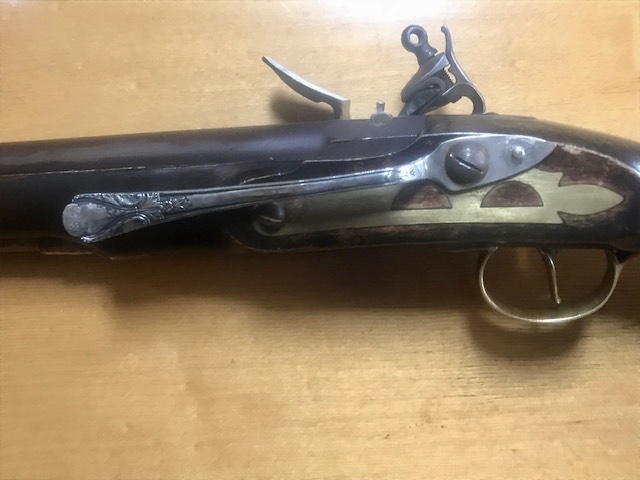
Here are some pics of the kit, for those interested in what comes in the box:

1585854222407.jpeg

1585854363050.jpeg

1585854386417.jpeg

1585854413674.jpeg

1585854439677.jpeg

1585854460406.jpeg

1585854482942.jpeg

First job for the weekend is to clear off space on my garage workbench!
 
First thing is try the trigger guard,I had problem with mine but did get it to fit with some forcing.
Try all parts first before sanding ,even try all screws, make sure the nose cap fits okay, and the tang bolt aligns with the trigger plate.
fullsizeoutput_7fa.jpeg
fullsizeoutput_7f5.jpeg
 
Last edited:
First thing is try the trigger guard,I had problem with mine but did get it to fit with some forcing.
Try all parts first before sanding ,even try all screws, make sure the nose cap fits okay, and the tang bolt aligns with the trigger plate.
View attachment 27628
View attachment 27627
Indeed, the trigger guard will need to be bent in order for it to fit. I dropped the trigger itself in, and the lock, but I haven’t inserted any screws. Guess I’ll do that before any sanding work.

Not sure if the touch hole is correct.Will check that too!
 
First thing is try the trigger guard,I had problem with mine but did get it to fit with some forcing.
Try all parts first before sanding ,even try all screws, make sure the nose cap fits okay, and the tang bolt aligns with the trigger plate.


That is a bad word. There is nothing wrong with a snug fit but if you feel you are forcing something, STOP!
Take a breath, back away and examine the issue. Plan a course of action to correct the issue then follow through. It is very common to have to "tweak" a component a bit to get the fit you want but forcing a component into place ends usually with broken or damaged parts and more bad words.
 
My trigger guard seems a little “oversized” like Jim’s picture, but not quite as bad. I think I can just kinda “convince” it to go into its designated slot.
 
Watch when you sand your lock panel, and the opposing panel. One common mistake is to round off the edge, you want to keep the panel edges clean and sharp.
 
Watch when you sand your lock panel, and the opposing panel. One common mistake is to round off the edge, you want to keep the panel edges clean and sharp.
Man, I’m glad you said that. I can EASILY see myself doing that!

Speaking of the lock, it arrived completely assembled, thankfully. As I look at it with my “I sew leather, not make guns ” eyes, the metal looks to me to need nothing. If the picture above is adequate, can you confirm/deny that?

Also... As I plan to brown the barrel, do I brown those pieces too?
 
The lock is color case hardened which is correct and should be left that way. Clean and oil it with a dab of grease on the spring contact points. Bluing was done back in the day but if you prefer browning that is good too on the barrel.
 
The lock is color case hardened which is correct and should be left that way. Clean and oil it with a dab of grease on the spring contact points. Bluing was done back in the day but if you prefer browning that is good too on the barrel.
Thank you Phil. That's a relief on the lock! I'm afraid to mess with those... glad that I don't have to on this build.

RE the barrel, did they brown barrels back in the day too? I'll probably brown either way because I really like how that looks and I've never owned a firearm that's been browned, but I would like to know if my doing so makes this build less-PC.

Also...
 
Another question RE that brass decorative piece that attaches to the left (non-lock) side of the gun...

I've seen other pistols that have a clip on that side of the gun that could be used to attach the gun to a belt. While not a full-blown holster, that seems like a pretty handy way to temporarily retain the firearm and free up your hands for other tasks without having to lay it down somewhere.

Anyone know if there are after-market clips that would fit on top of or instead of that brass plate for a Pendersoli Kentucky?
 
Browning was done as well as fire blued, charcoal blue or left in the white. Browning can be quite dark or a pale plum brown. If you refinish the barrel that’s a good opportunity to draw file some or all the stamping from the exposed flats of the barrel. You’re not required to have any of them on the barrel and original guns rarely have any marks on them.
 
Another question RE that brass decorative piece that attaches to the left (non-lock) side of the gun...

I've seen other pistols that have a clip on that side of the gun that could be used to attach the gun to a belt. While not a full-blown holster, that seems like a pretty handy way to temporarily retain the firearm and free up your hands for other tasks without having to lay it down somewhere.

Anyone know if there are after-market clips that would fit on top of or instead of that brass plate for a Pendersoli Kentucky?

A little bit of an idea that I did on a cheap Traditions pistol after a lot of reshaping. An old silver spoon, simple hand tools and a silver nail and there it is, a belt hook. I prefer a belt hook to a "holster".

fullsizeoutput-26bd.jpg


fullsizeoutput-26bb.jpg
 
Neat spoon/hook idea! I'll be that sort of thing was common back in the day too, when these were necessary tools, rather than display items.

RE browing, I've read a fair amount but certainly not exhaustive. It seems that Birchwood Casey Plum Brown is one popular way to brown, and there are also some "cold browning" methods that folks like too. Any opinions here??
 
I've used both . I like laurel mountain forge slow rust brown. It gives a much more durable finish . the plum brown works good but is a little less durable. Both work great as long as you follow the directions.
 
Ok guys, thanks. Think I’ll go with the cold laurel mountain then.

Next question has to do with the fit of the trigger guard.
1585946215549.jpeg

When I line up the front screw with the threads on the trigger base:
1585946260008.jpeg

I’m way off on the rear; nearly 1/2”:
1585946298625.jpeg

And There really isn’t much room between the trigger and the trigger guard:
1585946341548.jpeg

I think if I can bend the brass, I will probably give myself a little extra room between trigger and trigger guard:
1585946402172.jpeg

But I do have quite a bit of bending to do in order to get the back end to fit into the pre-cut slot:
1585946457512.jpeg

How does one safely bend this brass without breaking it or badly distortion the shape?
 
Try putting the grip in first then note how far the front is from lining up. Make a measurement and place the guard on a piece of paper and trace it. Put the guard in your padded vice jaws by the grip rail. Bend only the trigger bow to move it to where it needs to be. Check on the tracing not the gun. A tiny amount spring is OK.
 
Try putting the grip in first then note how far the front is from lining up. Make a measurement and place the guard on a piece of paper and trace it. Put the guard in your padded vice jaws by the grip rail. Bend only the trigger bow to move it to where it needs to be. Check on the tracing not the gun. A tiny amount spring is OK.
No heat on this to make it easier to bend?

And... curious why I’m comparing it to a drawing that’s my best stab at replicating what it should look like, instead of just testing it on the wood itself? Please know-I ask because I’m learning, not because I’m challenging your recommendation.
 
Indeed, the trigger guard will need to be bent in order for it to fit. I dropped the trigger itself in, and the lock, but I haven’t inserted any screws. Guess I’ll do that before any sanding work.

Not sure if the touch hole is correct.Will check that too!
For whatever my $.02 is worth?
DO NOT try to "bend" that trigger guard. Cast Brass will snap faster than a Willowd twig in a Winter wind storm. If it needs to move more than 1/16" do some more inletting to get a "good" fit. There may be a little "forcing" involved, but by all means, Do Not try to "bend" that trigger guard!
Good luck.
Two Feathers
 
I like to prepare my parts and do as much alterations off the wood to have better control. Two feathers has a point, some of the brass that are used can be any mixture of copper, tin, zinc, aluminum and a host of other metals. Some thing I’m working on at this time has a trigger guard that bent and was easy to file yet another part is as hard as the back of my head! Heating the brass to a dull red may help. Some brass can be heated and cooled then becomes soft. Others get brittle, so with out knowing the type of brass you have and with out a lot of experience you are in a pickle.
 
Back
Top