• This community needs YOUR help today. We rely 100% on Supporting Memberships to fund our efforts. With the ever increasing fees of everything, we need help. We need more Supporting Members, today. Please invest back into this community. I will ship a few decals too in addition to all the account perks you get.


    Sign up here: https://www.muzzleloadingforum.com/account/upgrades
  • Friends, our 2nd Amendment rights are always under attack and the NRA has been a constant for decades in helping fight that fight.

    We have partnered with the NRA to offer you a discount on membership and Muzzleloading Forum gets a small percentage too of each membership, so you are supporting both the NRA and us.

    Use this link to sign up please; https://membership.nra.org/recruiters/join/XR045103

One way to rust blue, rust brown or or rust black a muzzleloading steel parts.

Muzzleloading Forum

Help Support Muzzleloading Forum:

This site may earn a commission from merchant affiliate links, including eBay, Amazon, and others.
Joined
Feb 17, 2019
Messages
467
Reaction score
160
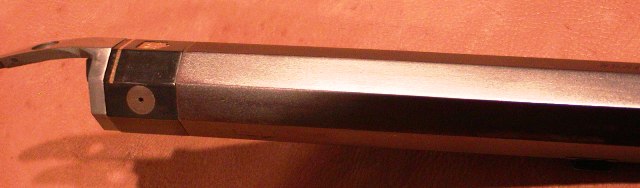
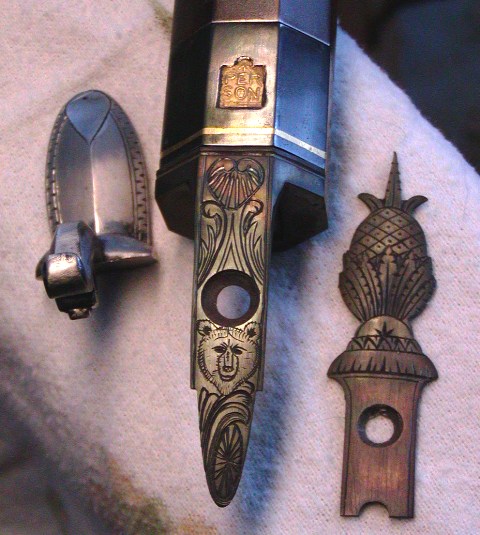
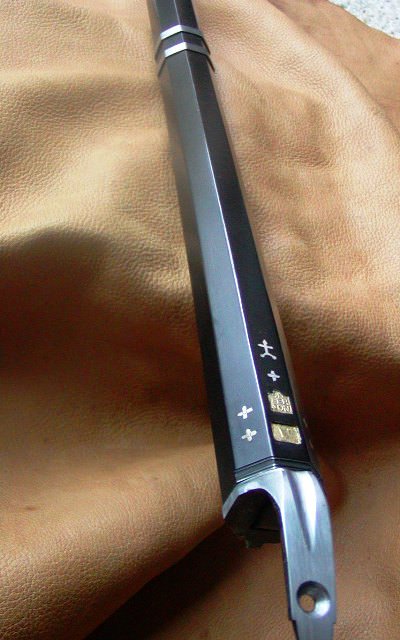
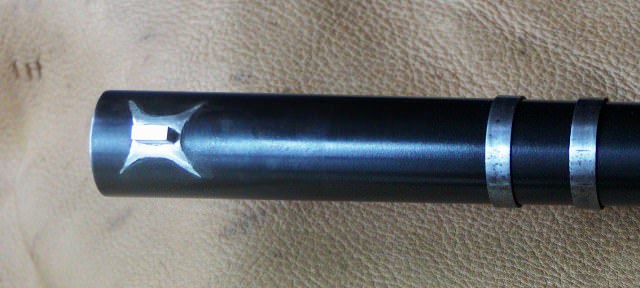
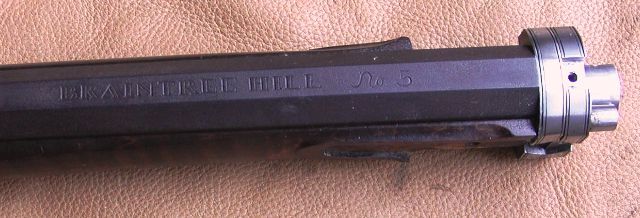
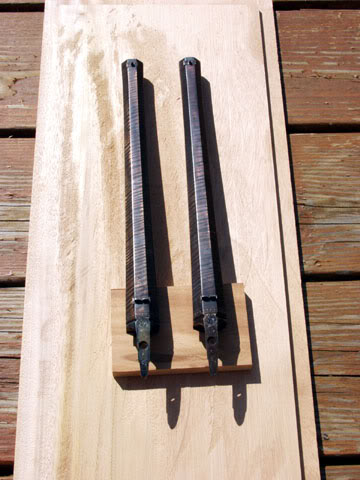
ive had really good success with this in your own kitchen doing rust brown, blue or black. first you need mark lee of the color you want, brow, or blue. if you want black you need both. to get black mix the mark lee and brown together 50/50/ ive never used birchwook casey plumb brown but using my method i bet it would work good also. now lets do a cva pistol. take all metal part apart, seperate the ones you want to finish. sand carefully with 220 wet sanding paper you get from a good auto store all metal parts. dont need to be shiny but groove and scratch free and with out any sand marks. when you have done that this next part is very important. no matter where you live their is a auto repair shop, farm equiptment shop or blacksmith shop that has a bead blaster run by compressed air to clean parts with. it is a large metal box you stand in front of, put your hands and arms into through some rubber arm sleeves and rubber gloves. their is a gun inside the case and you put your parts in the box and blast them to a matte finish and complete clean and scratch free. pay the owner a small fee for letting you do this or they can do it for you. as to your muzzle of your barrel, tap a tappered wooden dowel into it so the bore doesnt get harmed. now as to the method of finishing. you dont want the wife in the kitchen with you be in their alone. you need a glass pie plate that can take oven heat, you need a big pot to boil the parts on top of the stove. dont use a good cooking pot, find a pot big enough for the job that is old at a used stuff store. (side bar, i just had to leave the computer to break up my daughters two huge tom cats.man do they go at it sometimes. they really dont like each other. they are still growling at each other) so much for that. turn your oven on to 225, put all the pistol parts in the glass pie plate and put in the oven. leave them their until they are oven temp the same. use oven mit to set the plate on top of the stove. have your bueing or what agent ready in a glass bowl. use a few cotton swabs to keep applying the agent to the metal until it stops sizzeling.if you cant get a sizzel turn up the temp until you do. the agent must sizzel. i have a large wooden twiezer to move the parts around. dont burn you fingers. if the cotton patches get bad, change them to clean new ones. do this several times in fact at least a dozen times or more. i never card the parts and they always turn out perfect. by now have the big pot full of water and boiling real good and to the water and a generous amount of baking soda. after a dozen or so applications reheat the parts again and when they are place them in to boiling water. boil at least 30 min. or more do it for a hour is better. keep adding water so the pot does not go dry. now when the parts are boiled good put them in the sink and with a bristle bush that has none metal bristles under warm water brush the parts until all the agent is of them, it wont be hard or long in doing it. look at them, some metal takes a couple of these procedures repeated to get what you want. bet it will be good the first time. now you have to cure the parts for a day. mix penetrating oil and real paste wax like for good hard wood floors or tables before hand. rub that into the finished metal parts and barrel. keep doing it ever so often. do that all day. when you go to bed do it again. cover with paper towels and when get up the next morning wipe the parts and barrel off and their your are, it will turn out very very nice for you. now how to do a rifle barrel in your oven. first of all never ever and i will get flack on this for sure use a heating torch on you rifle barrel. do you know how many novices have have bent a nice expensive rifle barrel with a torch. some will look like a horse shoe. dont use a heat gun either, that was a you tube brain fart. use your oven. a torch should be used by aver experienced gun smith and no one else. this is how you make your oven stay on when the door is a little open. thir is a little push button that disengages when the door is open. i cut a piece of wood so when the door was open a little and the wood was between the door and the button the oven stayed on. take all racks out of the oven, dont do this in a greasy ovem, clean the oven grease free for a rifle barrel. your oven is bare and clean. put the rifle barrels muzzle in one corner and the other end sticking out of the oven at the other corner. heat at at least 225 until the meats sizzles some. with a big fat COTTON mit take the barrel out of the stoves oven before hand you have placed two wooden two by fours on top of the stove one on each side. cover the hot part in the liquid you have to treating the barrel and then reverse the barrel so the cooler end is in the oven. do each end many times. remember to bead blast this longer barrel if you can before hand also. now you cant put a rifle barrel in a pot to boil it so this is what you do. before hand buy a length of 3 inch pvc pipe about 6 inches longer than your barrel. buy a end cap and glue it on one end. set it in a corner in your kitchen with the open end up. put a cement block in front of it so it does not side and go all over the floor and you with boiling hot water in it. be very careful and dont let kids be with you when you do this last part. as your treating the barrel, keep boiling water with the soda in it and pouring into the pvc pipe. it will stay hot inside pipe. fill up the pipe almost. when your done treating the barrel and tie a cotton cord to the tang or what ever and lower into the pipe, cover with a wash cloth and leave it in their a hour or more. when you take it out clean it good as the other parts and oil oil oil with penetrating oil and a little floor wax. if you can figure out how to boil it another way, please let us all know. ive thought about a chicken feed trough from the farm store heated by a gas torch. my way makes a really good finish on the barrel. dont be afraid to do it twice if it needs it. now we will hear from every one who does it another way and if they get good results, it is a good way. im sure a couple of guys will come to this that make the room cold when they walk into a room. but that is america and free speech.
 
Hi,
I prefer my browns and blues to be smooth although a matte texture can be nice for some guns but you do not need a sandblaster to do it. All you have to do is let the barrel rust longer between carding.
qIKYGxx.jpg

gwq51oY.jpg

WWgOFfx.jpg

jexx2Gz.jpg

lM0fAP3.jpg

Z5hfCW6.jpg

rLmvIyq.jpg

wVlQyz3.jpg


dave
 
Last edited:
Wow that is one fancy barrel. I've found I like to let my barrels turn a nice "gunmetal gray". It takes years however. On the brown barrel in the first pic, how does it stand up to handling, carrying all day? Do you get a shiney spot at the balance point?
 
Hi,
I prefer my browns and blues to be smooth although a matte texture can be nice for some guns but you do not need a sandblaster to do it. All you have to do is let the barrel rust longer between carding.
qIKYGxx.jpg

gwq51oY.jpg

WWgOFfx.jpg

jexx2Gz.jpg

lM0fAP3.jpg

Z5hfCW6.jpg

rLmvIyq.jpg

wVlQyz3.jpg


dave
Wow! A picture is worth a thousand words... stunning workmanship
 
Wow! A picture is worth a thousand words... stunning workmanship
Thanks Woodnbow,
My work is a little more complicated than
Wow that is one fancy barrel. I've found I like to let my barrels turn a nice "gunmetal gray". It takes years however. On the brown barrel in the first pic, how does it stand up to handling, carrying all day? Do you get a shiney spot at the balance point?
Hi RAT,
It should stand up just fine. The barrel is for a late flint English rifle I am finishing building for a client. The reddish brown took me a while to learn how to do and I had to up my game quite a bit to get it right and match the finish found on those great guns. I got great advice from some folks who really know what they are doing. The secret to that brown is 1) Wahkon Bay browning solution, 2) polishing the barrel up to 800 grit, 3) applying the browning very sparingly and letting the barrel rust for about 6 hours before carding for the first 2 cycles but after that no longer than 2 hours. The shorter rusting period gives a smoother finish because it causes less pitting. 4) before carding, pouring scalding (not boiling) water over the barrel, 5) carding with a very soft stainless steel wire wheel with bristles no thicker than 0.003". Those wheels are available from Grobet and Brownells. The breech of that barrel is charcoal blued, which means it is packed in bone and wood charcoal and heated to 800 degrees F for 3 hours and air cooled. There is a little more to it than that but those are the essentials.

dave
 
their are guys like the above who do museum quality work and they should be admired for that, i just do practical home not too expensive work. both are good. but i have to admit museum quality work speaks for its self. thank you for showing us what can be done. thanks thanks thanks.
 
you gave me some more saying, i love the drunk monkey saying, how ever drunk monkey can be very very good. please let me use that when i talk to people. im just a drunk monkey. man do i love that, thanks
 
Well, I can't seem to blue or brown a barrel well, so the gunmetal gray works for me, as I don't have to do much. Just put my sweaty hands on it a lot, minimize any oil on it, maybe touch up an actual rust-spot now and then by just rubbing it down with an oily cloth. Both my 1861 Springfield, and Jeagar barrel (Colerain) seem to be very rust-resistant...they just go gray. My Brown Bess barrel is a little more rust prone, buy not by much, and it is a very nice gray now. Does take a few years, maybe three or four to really get there. As they go gray, seems they become even more rust-resistant, but I don't know if that is true or not. The barrel on my replica 1863 Remington contract rifle is a rust magnet. Don't even breathe near it, or look at it with watery eyes. :)
 
boil it i water with a little baking soda in the water, then rub it down when cleaned and dry and warm with penatrateing oil mixed with a good paste floor wax. bet it will be different after that. also grey looks good on a gun.
 
Needs "white space", I'm not even going to try and read it.

There was a time when I could lay a newspaper on my face and read it. Those days are gone.
Same here... close up vision is poor now without reading glasses and frankly, I just don’t have the patience to work through a wall of text. I may be missing out but I guess I’ll never know... I’m a blissful man anymore.
 
Rat
Here is my grey metal gun. A '51 G&G I bought at gun show for $75.00 because it would not cycle without really forcing it. Guy sold it for scrap, he didn't really want it. Found someone had packed the action full of grease, looked like axle grease, and it had hardened. Anyway after a cleaning, and a new hand, new bolt and some fitting it works great. Anyway soaked the barrel, cylinder, and rammer in vinegar overnight. Next day washed in hot water and Dawn soap. Oiled the nipple threads, cylinder bores, barrel bore and waited for the rest of it to rust. After 2 weeks I seen it wasn't going to rust. Why I don't know. So I antiqued the brass and polished up the grips. Have not touched it for a year now. Still no rust. I LIKE IT.
IMG_0612.JPG
IMG_0614.JPG
IMG_0615.JPG
IMG_0617.JPG


DL
 
That's exactly what I did to my 1860 Army. I think the patina that has developed on the bare metal looks good. At least it matches the finish on my 1873 Peace Maker.
 
Yeah I like it. I'll give you $80.00 for it, and that will cover all the work you did on it. Let me know when you are ready to send it. :) Naw just kidding. Cool deal, cool pistol. It should continue to "grey", with more use and handling.
 
That nice shiney new looking wood is out of character with the worn & neglected look on the rest of the gun. Make the wood match by soaking in in xylene or toluene, then boiling it in water for a few hours to remove any oil or finish. When dry it will have a weathered look more befitting the rest of the gun.
 
Back
Top