-
This community needs YOUR help today. We rely 100% on Supporting Memberships to fund our efforts. With the ever increasing fees of everything, we need help. We need more Supporting Members, today. Please invest back into this community. I will ship a few decals too in addition to all the account perks you get.

Sign up here: https://www.muzzleloadingforum.com/account/upgrades -
Friends, our 2nd Amendment rights are always under attack and the NRA has been a constant for decades in helping fight that fight.
We have partnered with the NRA to offer you a discount on membership and Muzzleloading Forum gets a small percentage too of each membership, so you are supporting both the NRA and us.
Use this link to sign up please; https://membership.nra.org/recruiters/join/XR045103
You are using an out of date browser. It may not display this or other websites correctly.
You should upgrade or use an alternative browser.
You should upgrade or use an alternative browser.
TOW Bucks County Rifle Kit Update
- Thread starter duelist1954
- Start date

Help Support Muzzleloading Forum:
This site may earn a commission from merchant affiliate
links, including eBay, Amazon, and others.
duelist1954
40 Cal.
- Joined
- Jun 27, 2011
- Messages
- 430
- Reaction score
- 70
Swamp Rat I filmed that process, so it will be in there
DOUBLEDEUCE 1
69 Cal.
- Joined
- Jan 25, 2008
- Messages
- 4,145
- Reaction score
- 831
Thank you for filming this project. I find it all very interesting and inspiring. :thumbsup:
duelist1954
40 Cal.
- Joined
- Jun 27, 2011
- Messages
- 430
- Reaction score
- 70
This is the first of two videos where I install the spring catch and stud for a push button patchbox release on the Track of the Wolf Bucks County flintlock rifle kit. In Update #27 I'll make the actual push button release trigger.
Just so you know, this is the first time I’ve ever done a push button lid release, and it has been a real learning experience for me.
http://www.youtube.com/watch?v=hFd5QyXk5xE
Just so you know, this is the first time I’ve ever done a push button lid release, and it has been a real learning experience for me.
http://www.youtube.com/watch?v=hFd5QyXk5xE
Last edited by a moderator:
Looks real good. You came through real fine with the patchbox release. Keep up the good work and thanks for posting. I am enjoying the project and its progress. :hatsoff: :thumbsup:
Dave
Dave
duelist1954
40 Cal.
- Joined
- Jun 27, 2011
- Messages
- 430
- Reaction score
- 70
Swamp Rat, you'll see in the next video that I wasn't happy with my peening job on that stud. It didn't fill in the countersink completely on one side.
So, I covered the gap with silver solder...which also adds to the strength of the joint. But it took me an hour to sand off the silver solder that had migrated where I didn't need it on the PB lid.
So, I covered the gap with silver solder...which also adds to the strength of the joint. But it took me an hour to sand off the silver solder that had migrated where I didn't need it on the PB lid.
duelist1954
40 Cal.
- Joined
- Jun 27, 2011
- Messages
- 430
- Reaction score
- 70
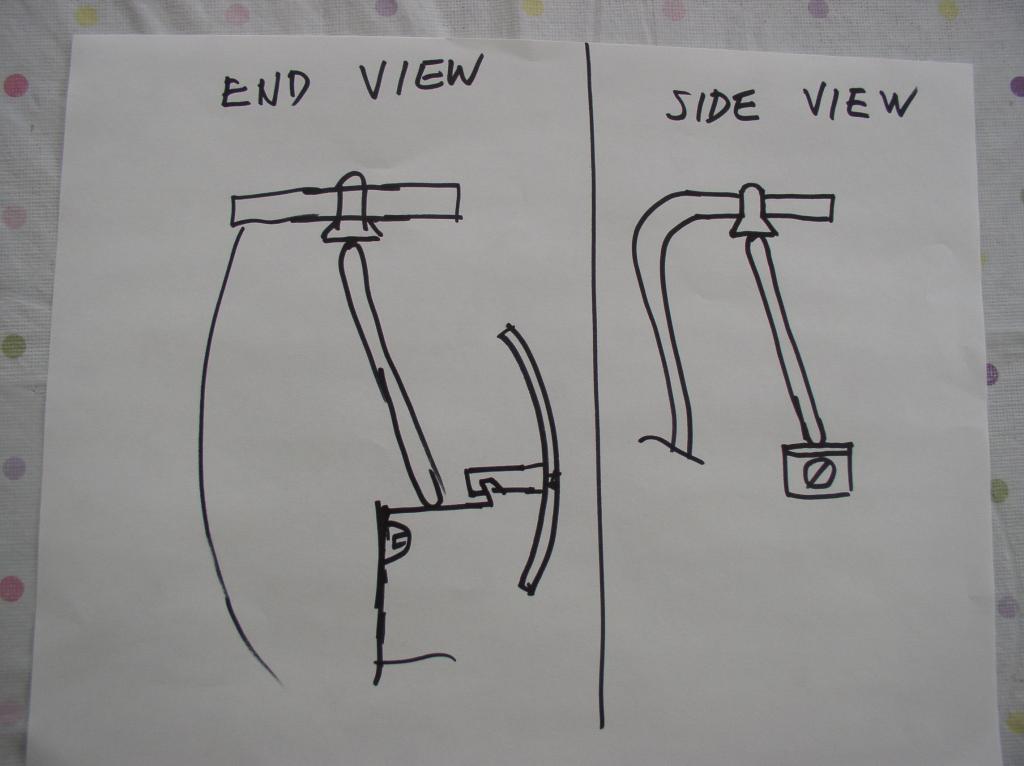
I'm getting the video for update #27 ready, but first I thought I'd show you the parchbox lid release button tip that Fred Lehto gave me.
This design is pure genius. It was easy to do and it worked like a charm, as you'll see when the video goes up. The button itself is made out of a large, flat headed screw.
To be fair, this is Fred's design, but I've not seen him actually make it, and, when he sees how I go about it, he may be appalled. So, if anything looks funky in the video, it is totally on me.

duelist1954
40 Cal.
- Joined
- Jun 27, 2011
- Messages
- 430
- Reaction score
- 70
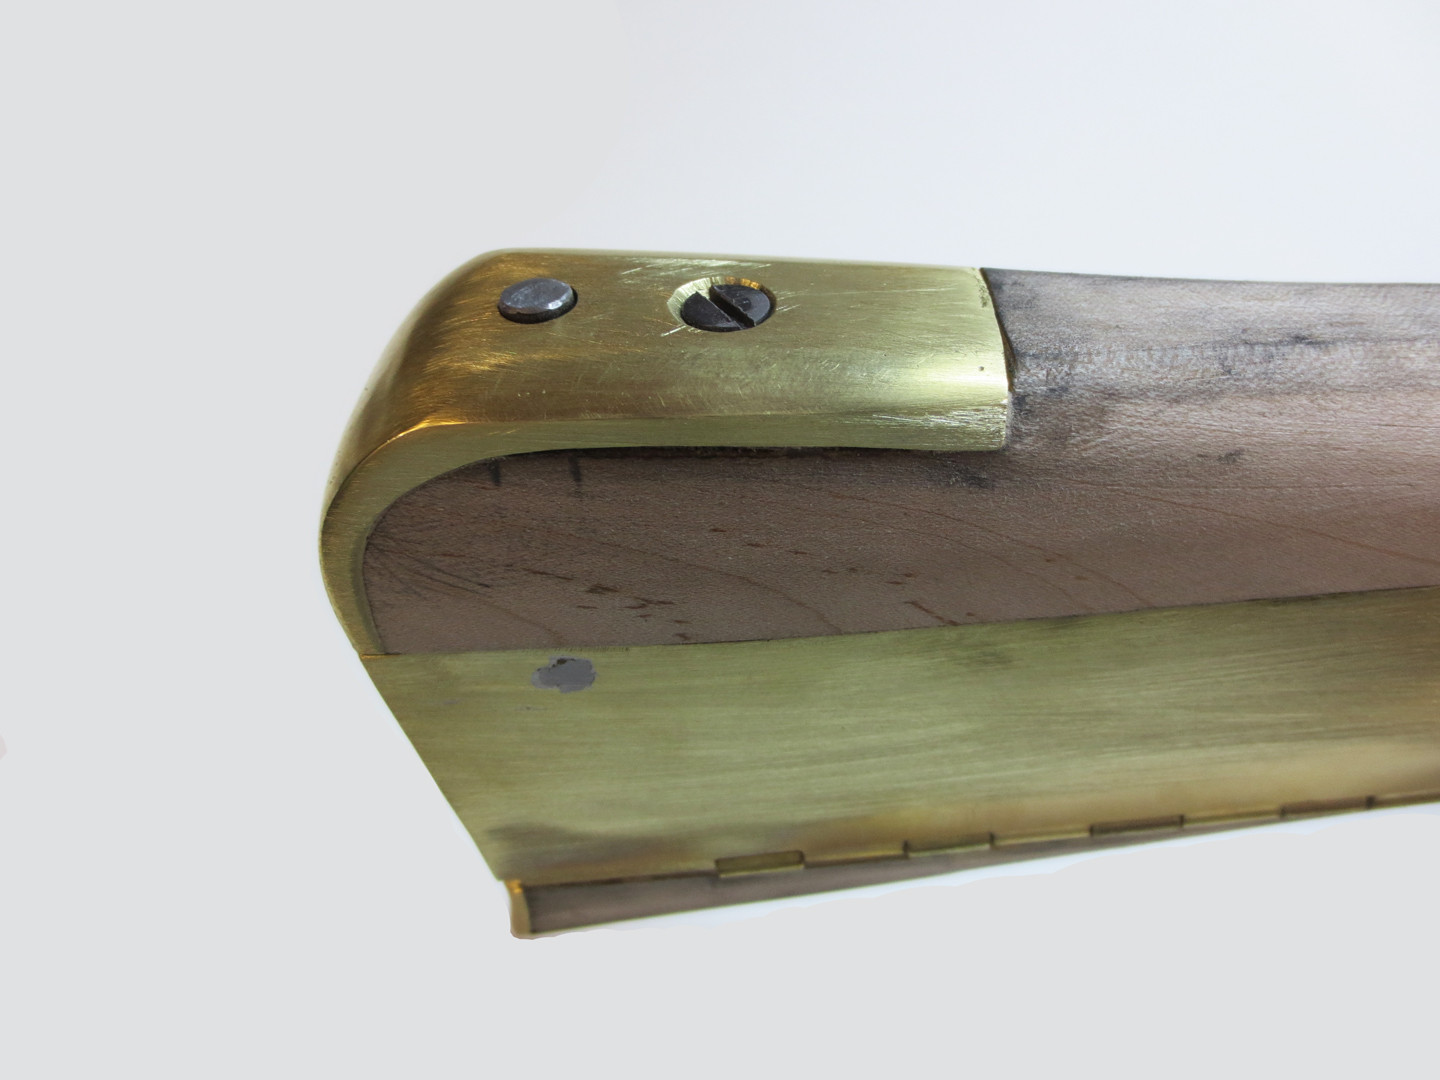
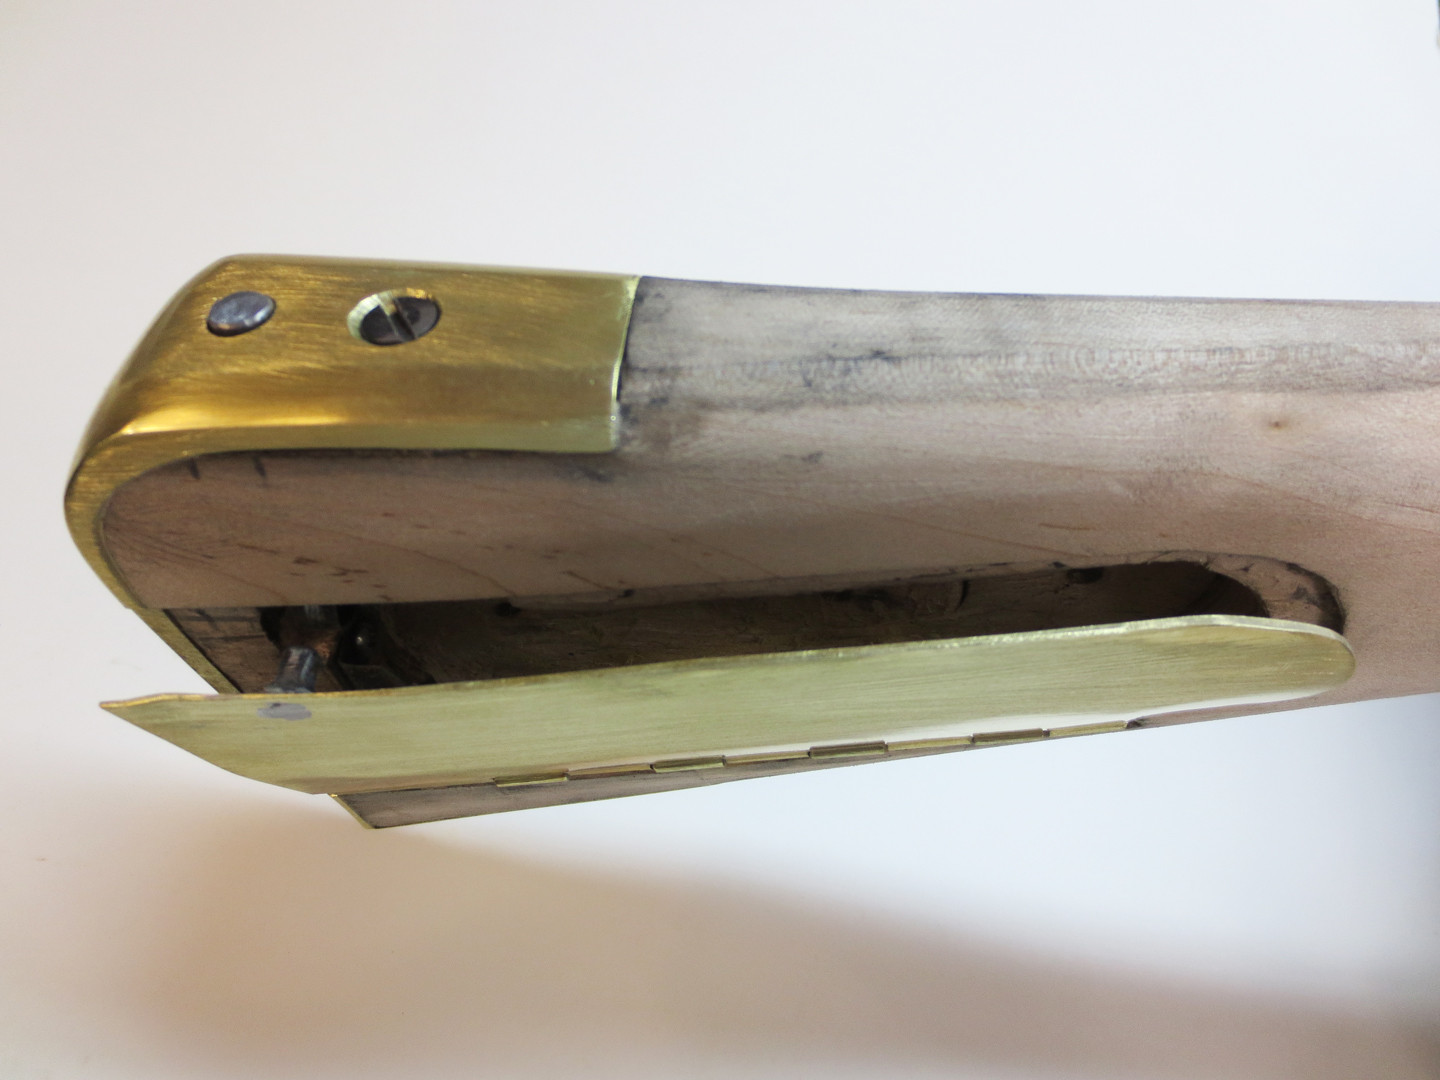
Here's what the button looks like installed..still needs to be polished and browned


duelist1954
40 Cal.
- Joined
- Jun 27, 2011
- Messages
- 430
- Reaction score
- 70
This is the final video covering the patchbox on my Track of the Wolf Bucks County flintlock rifle kit. In this video I’ll make and install the actual lid release button. I’ll be making the button out of a big, old wood screw. In fact, this was a butt plate screw from a British SMLE rifle.
http://www.youtube.com/watch?v=_omdhYal1lc
http://www.youtube.com/watch?v=_omdhYal1lc
Last edited by a moderator:
Worked out Nice Mr. B. now according to the 80-20 rule that states. 80% of the work takes 20% of the time and that 20% of the work takes 80% of the time. Looks like it you are getting into that last 20% now. Keep the videos coming.
You did a good job on the release, but the spherical radius on the flathead screw head isn't necessary...mine are just flat and work well. I Kasenite the screw head. The spherical radii on both ends of the push rod are necessary. Sometimes I've filed a "tit" on the rod end that pushes the spring catch and this "tit" goes into a hole in the spring catch. Either way works well.
Seeing I don't have a lathe to make a shouldered push rod, this solves the problem......Fred
Seeing I don't have a lathe to make a shouldered push rod, this solves the problem......Fred
Mike: ya gotta lot of people cheering ya on; and learning from this building project..
Thank you for taking the time to post these videos; it's like being in a shop working and learning along side a good rifle builder....
priceless !!!!
winter well
thom
Thank you for taking the time to post these videos; it's like being in a shop working and learning along side a good rifle builder....
priceless !!!!
winter well
thom
duelist1954
40 Cal.
- Joined
- Jun 27, 2011
- Messages
- 430
- Reaction score
- 70
Fred, thanks again for showing me how to do this. I really appreciate it.
I guess I over-engineered that concave end to the button. Next time I'l leave it flat.
I guess I over-engineered that concave end to the button. Next time I'l leave it flat.
duelist1954
40 Cal.
- Joined
- Jun 27, 2011
- Messages
- 430
- Reaction score
- 70
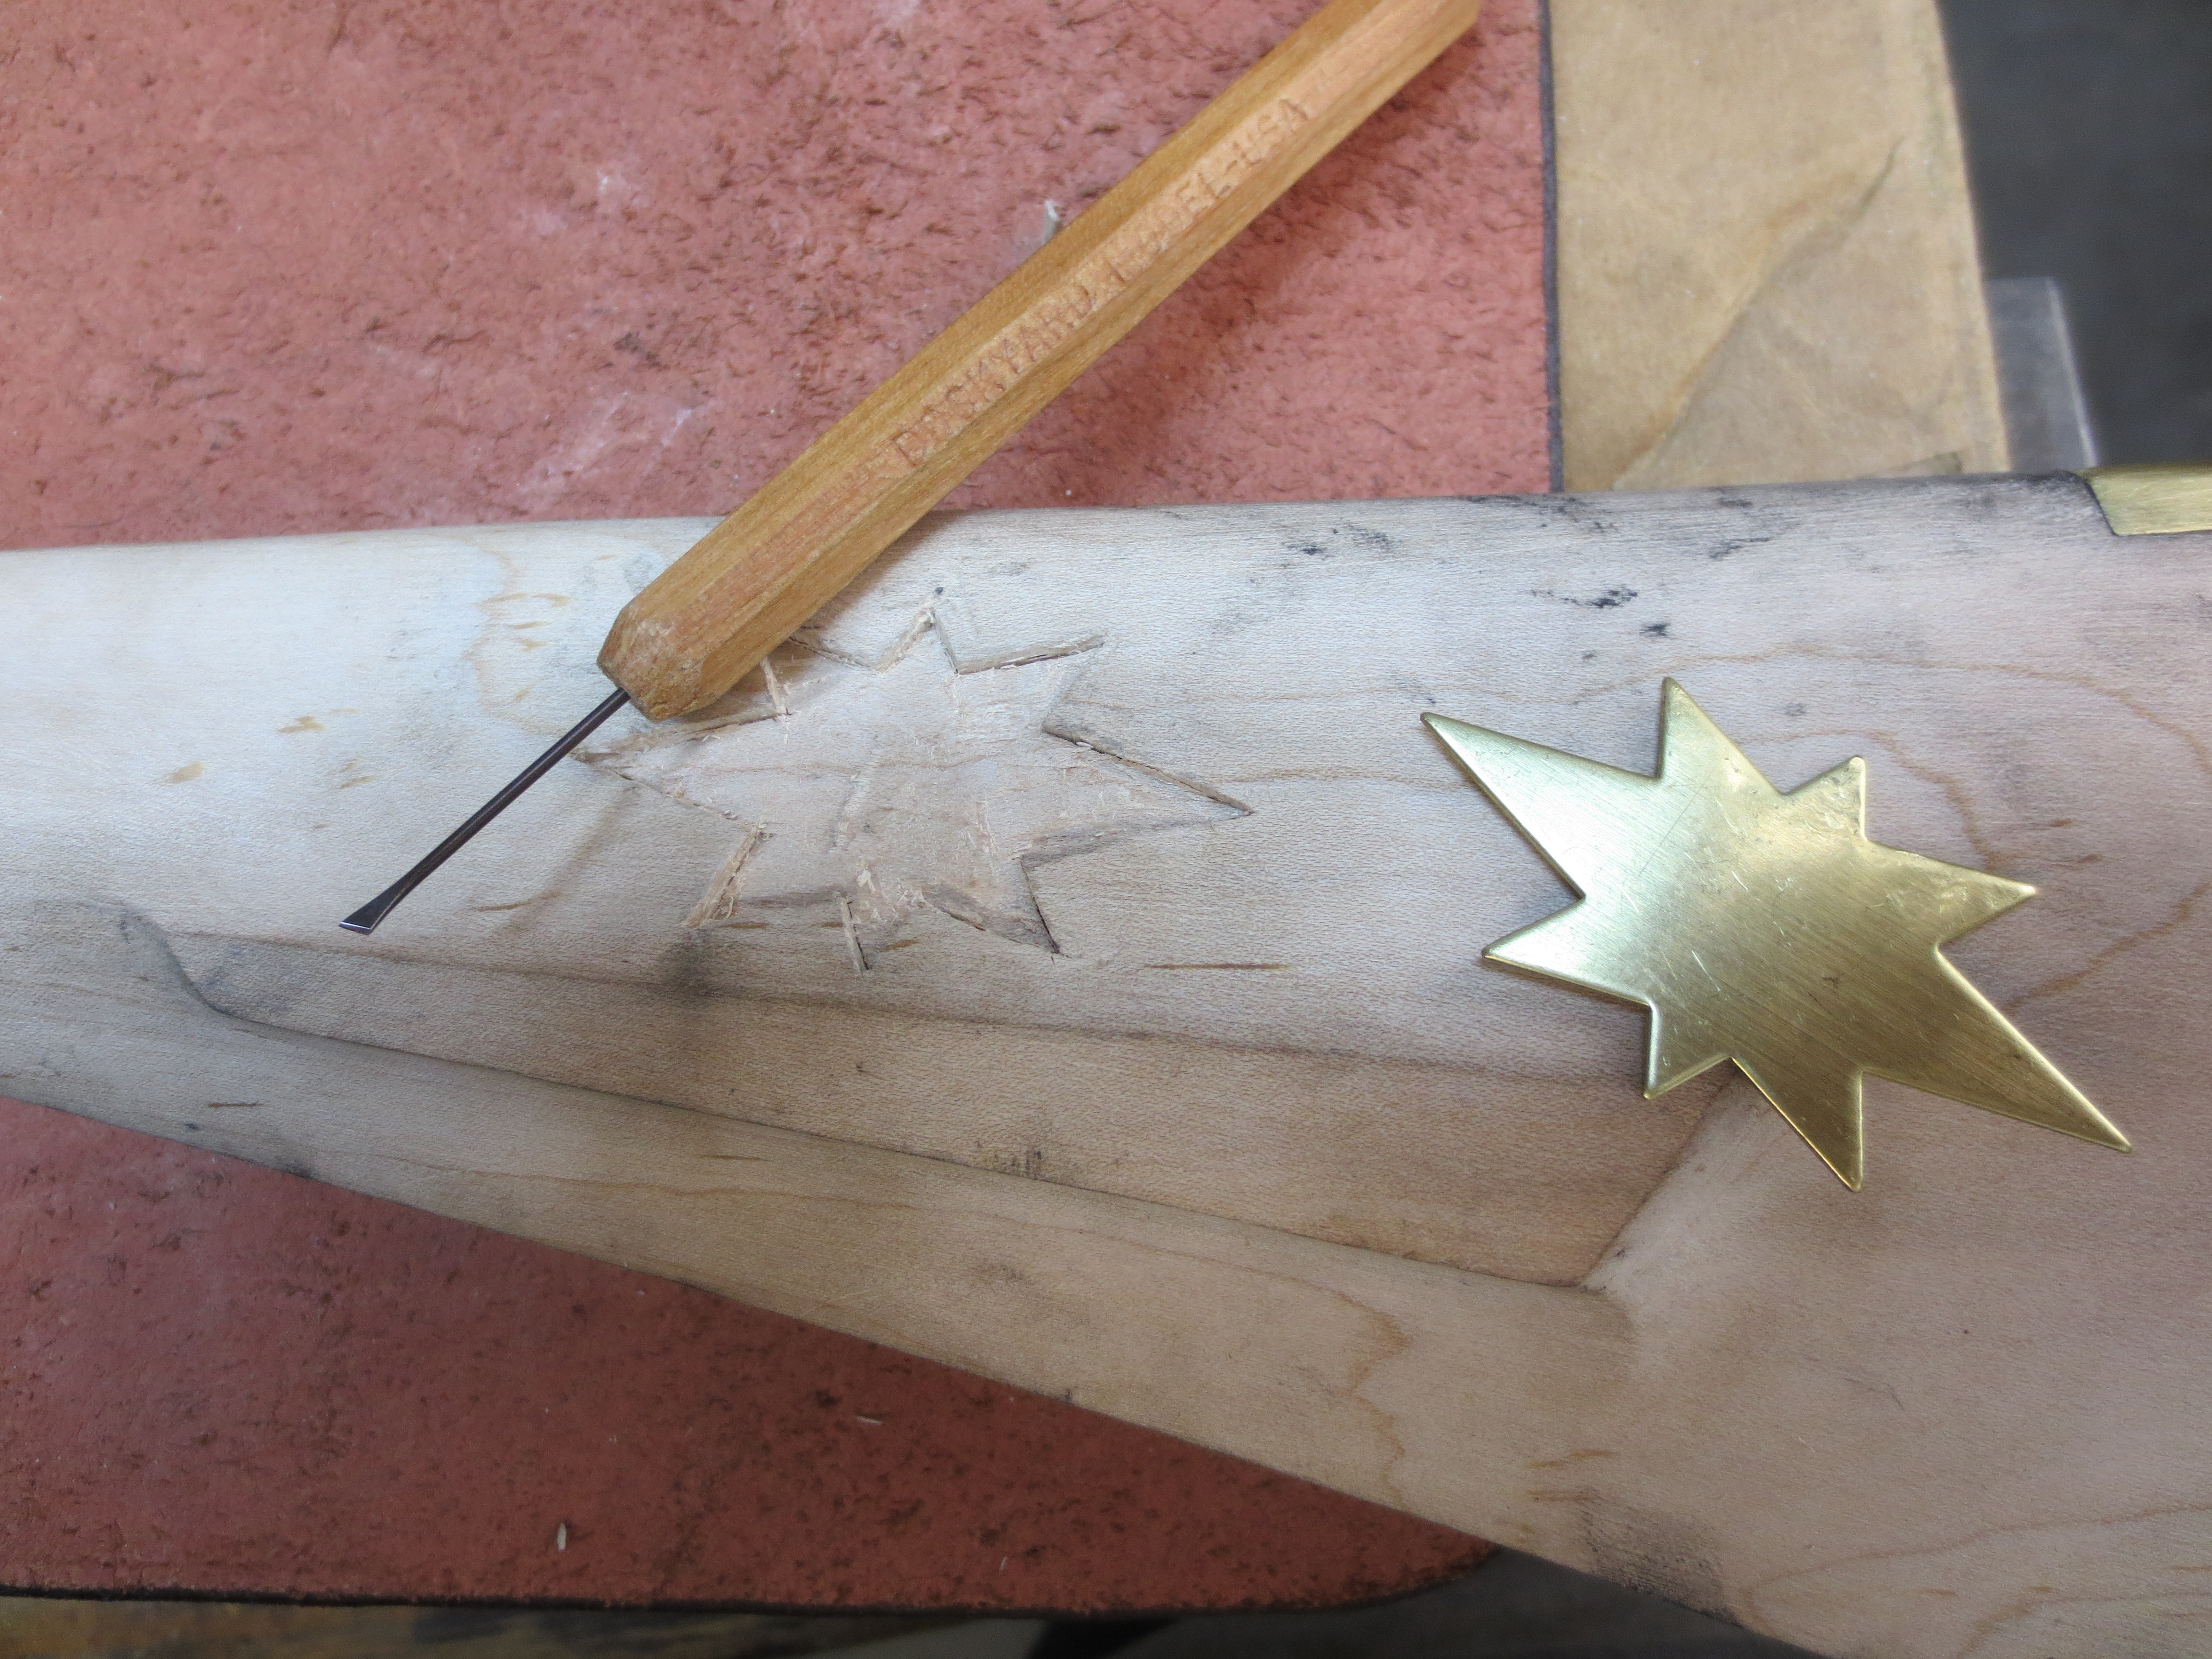
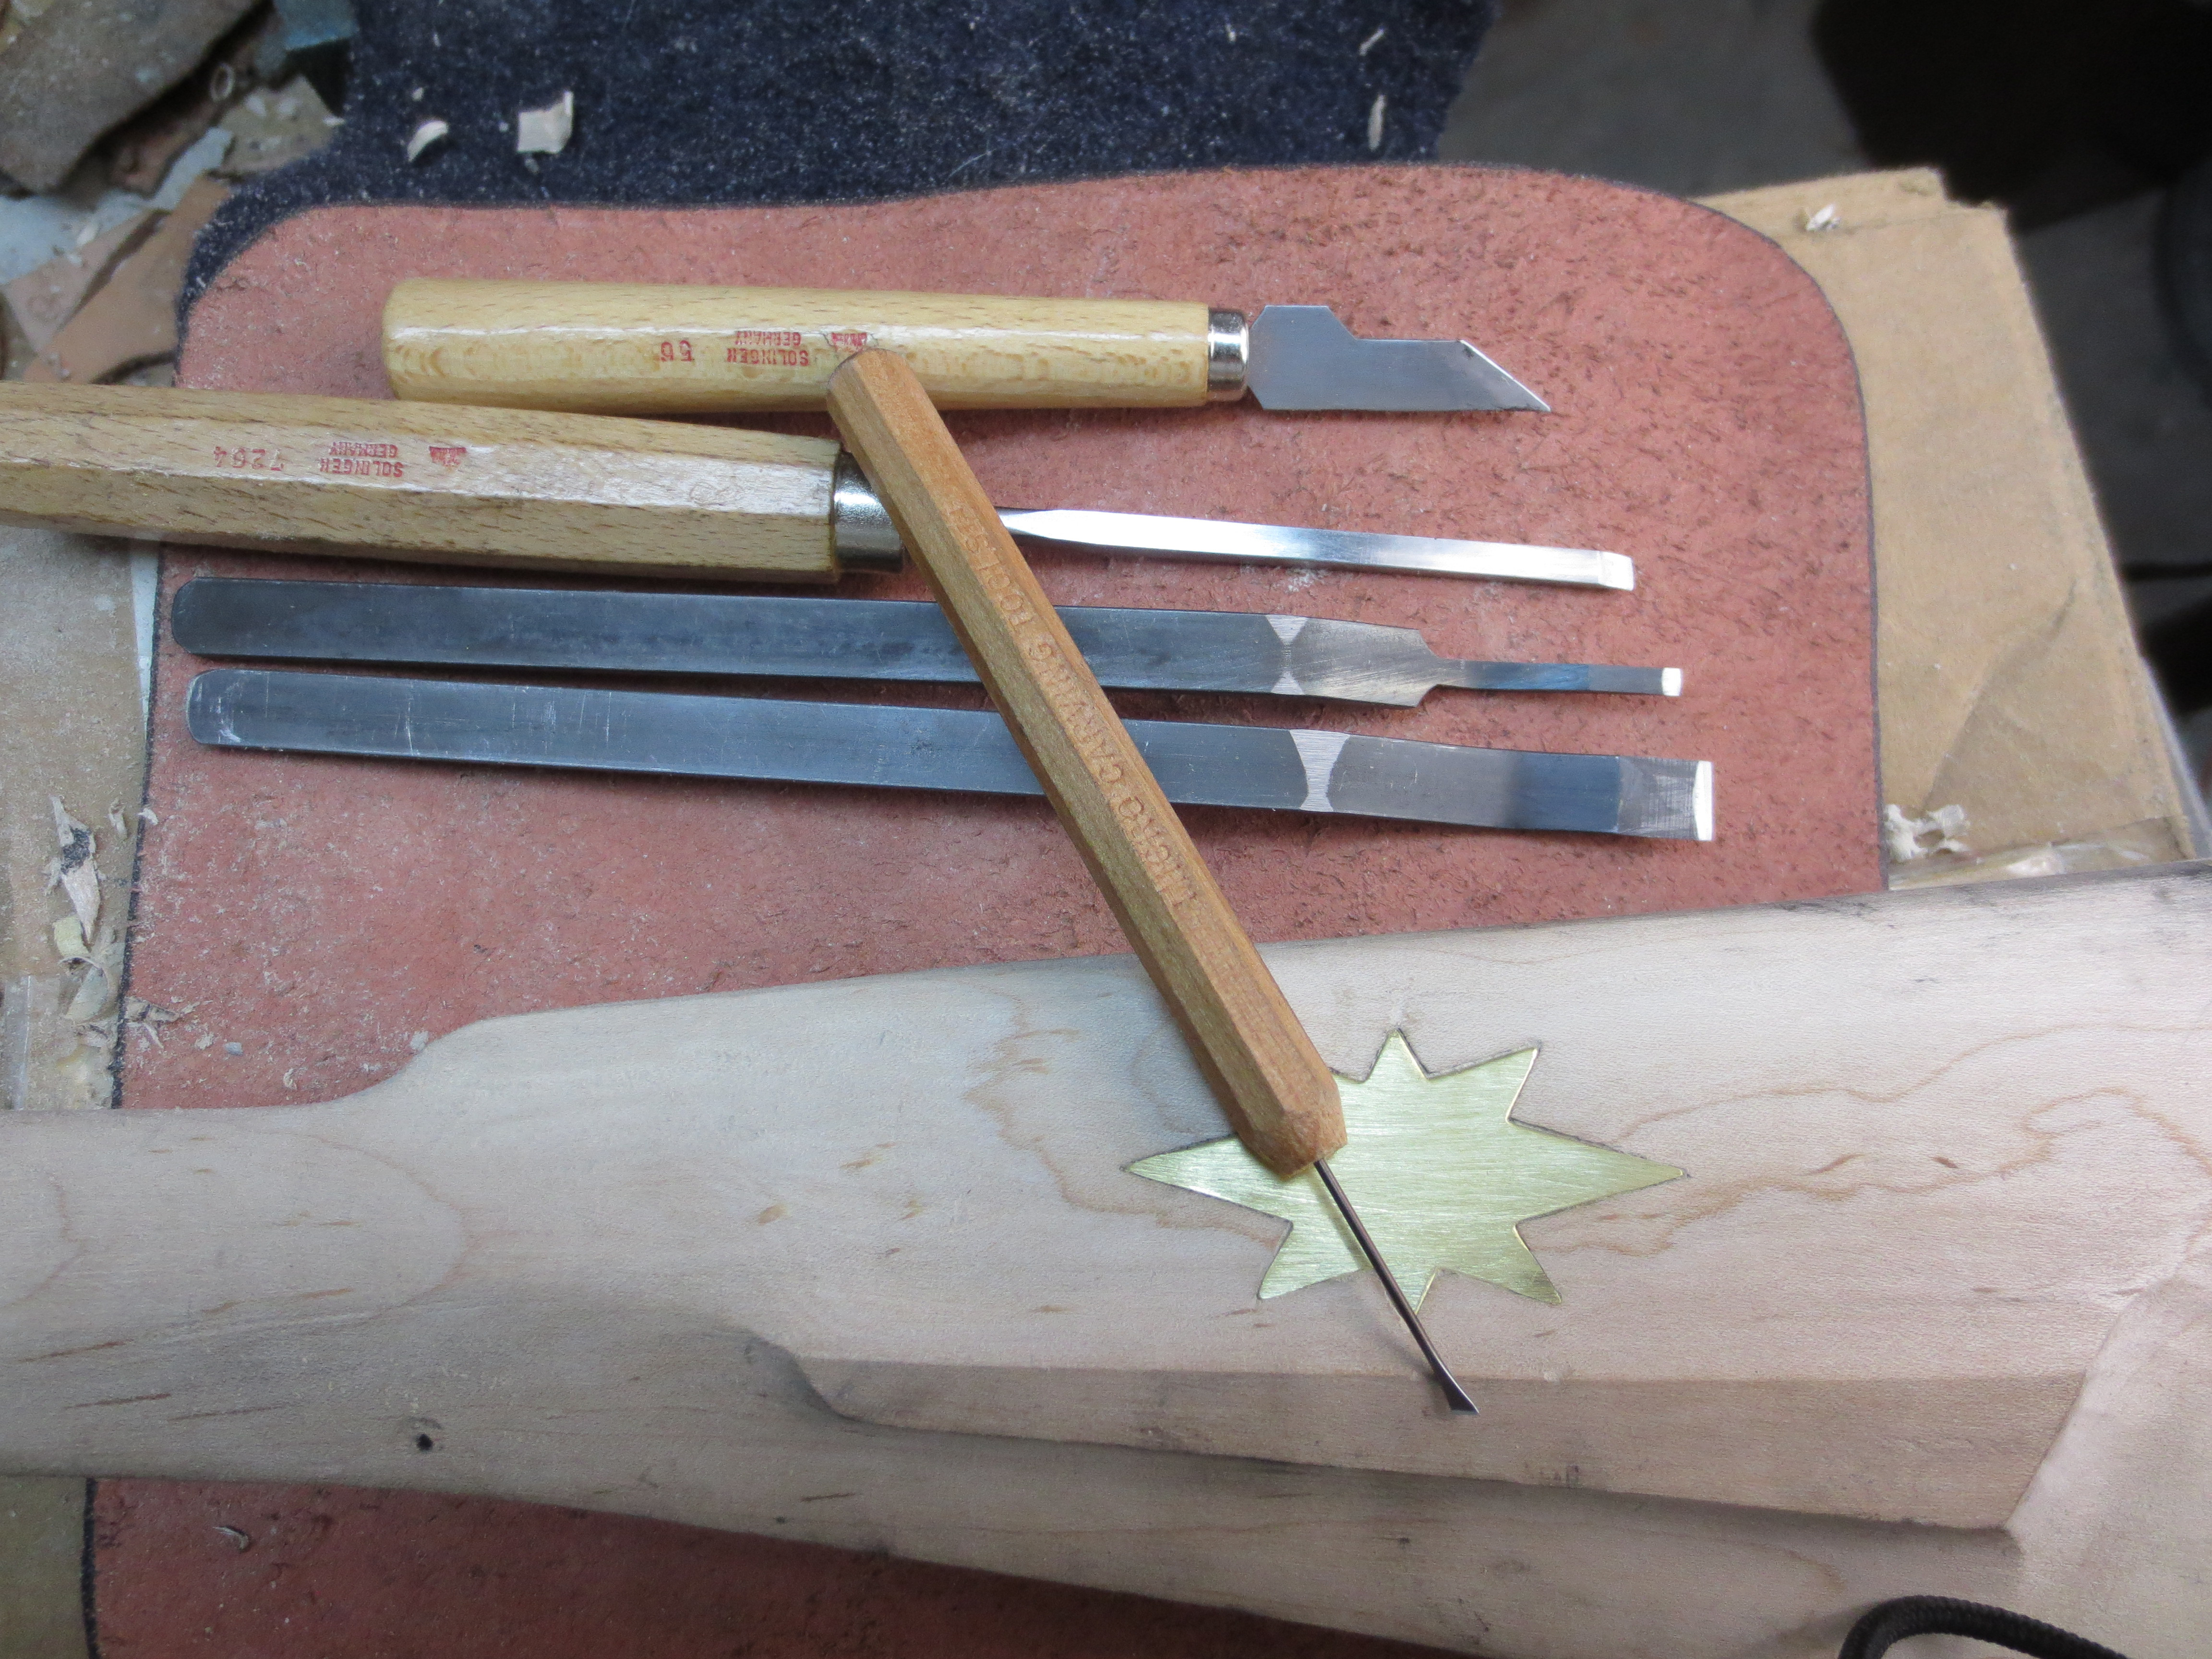
I finished the final piece of inletting on the stock. Now it is on to sanding and carving.


duelist1954
40 Cal.
- Joined
- Jun 27, 2011
- Messages
- 430
- Reaction score
- 70
Update #28 is up.
This update covers sanding and whiskering the stock, and I cut incised lines to detail the lower border of the butt stock and to form the ramrod channel molding.
http://www.youtube.com/watch?v=rIjtfA5lESA
This update covers sanding and whiskering the stock, and I cut incised lines to detail the lower border of the butt stock and to form the ramrod channel molding.
http://www.youtube.com/watch?v=rIjtfA5lESA
Last edited by a moderator:
Similar threads
- Replies
- 49
- Views
- 4K
- Replies
- 20
- Views
- 1K


