• This community needs YOUR help today. We rely 100% on Supporting Memberships to fund our efforts. With the ever increasing fees of everything, we need help. We need more Supporting Members, today. Please invest back into this community. I will ship a few decals too in addition to all the account perks you get.


    Sign up here: https://www.muzzleloadingforum.com/account/upgrades
  • Friends, our 2nd Amendment rights are always under attack and the NRA has been a constant for decades in helping fight that fight.

    We have partnered with the NRA to offer you a discount on membership and Muzzleloading Forum gets a small percentage too of each membership, so you are supporting both the NRA and us.

    Use this link to sign up please; https://membership.nra.org/recruiters/join/XR045103

Manton Lock and Main spring interference

Muzzleloading Forum

Help Support Muzzleloading Forum:

This site may earn a commission from merchant affiliate links, including eBay, Amazon, and others.

fusil de chase

40 Cal.
Joined
Dec 8, 2011
Messages
291
Reaction score
0
After a couple years of looking at a blank with a sitting fox round to octagon 20 inch barrel inleted into it I have decided to man up and move onto the lock inlet/placement.

IMG_0008_zpse52e5b9a.jpg
[/URL][/img]

The purpose of this build is illustrated here:

happiestsightinthebush_zps5bab3d7e.jpg
[/URL][/img]


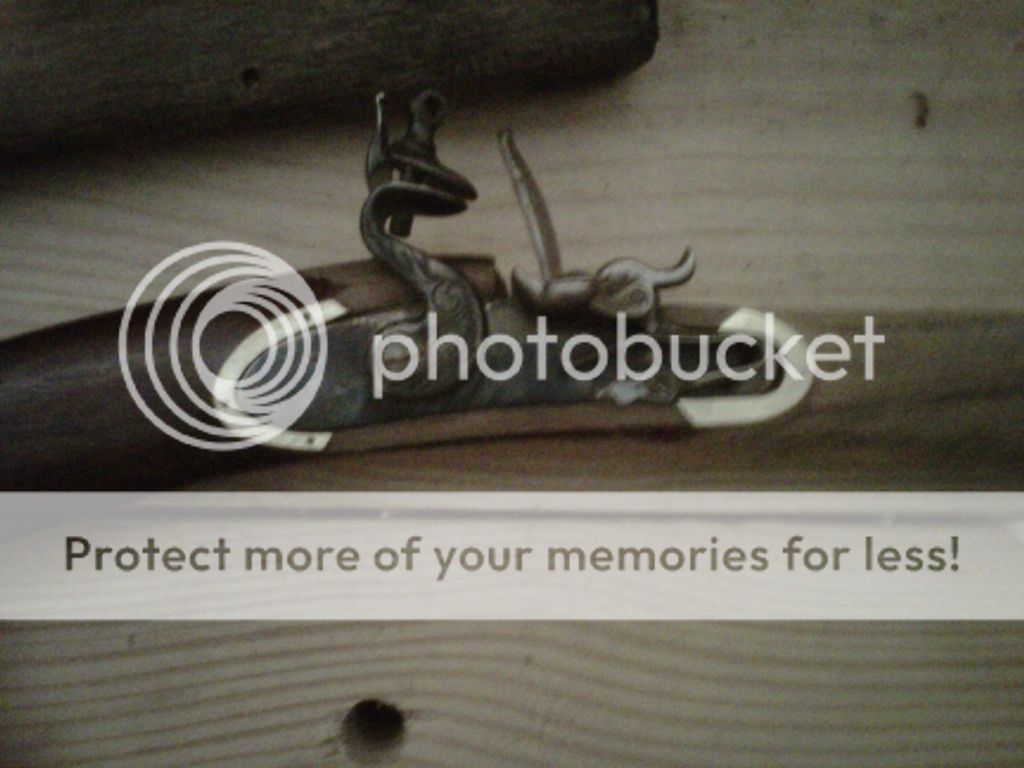
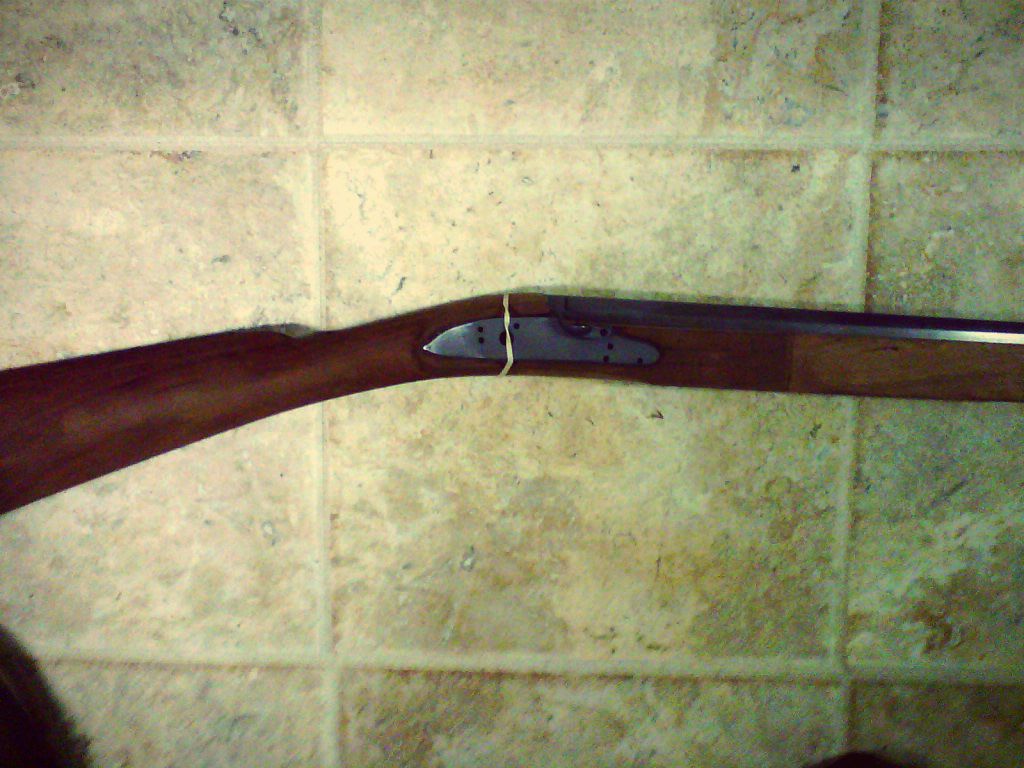
So my question is about lock placement and if I can use an L&R manton lock on it. I have a siler but I like the Manton's small size. Here is the lock held in place, look right?

IMG_0001_zps782baae1.jpg
[/URL][/img]

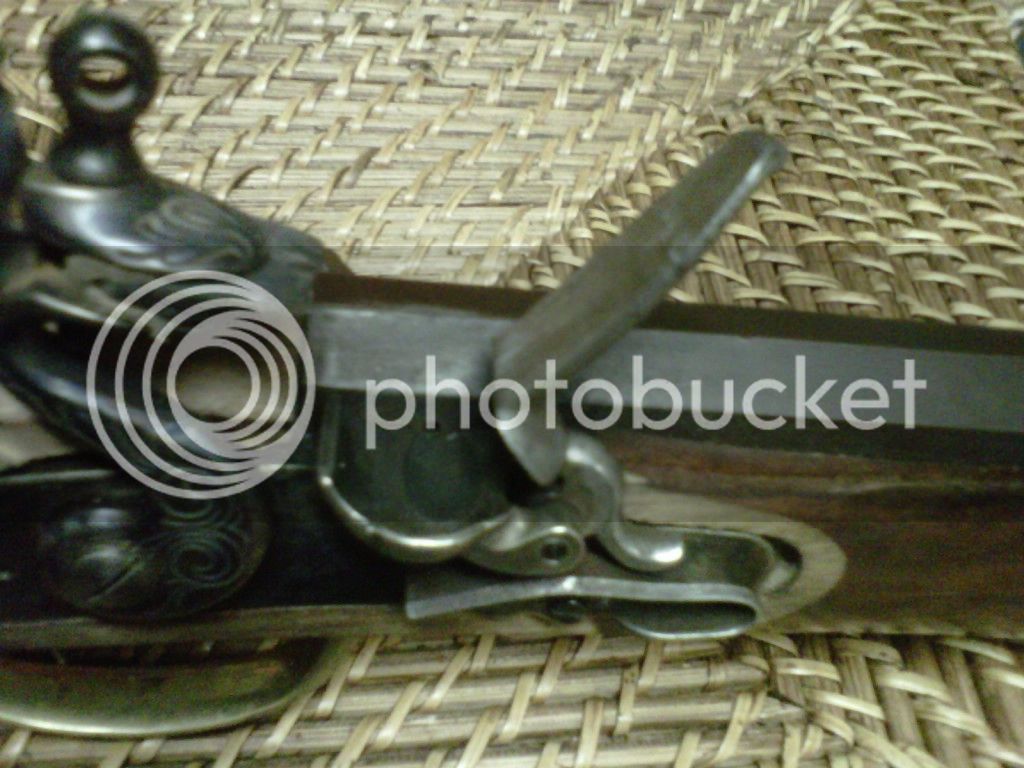
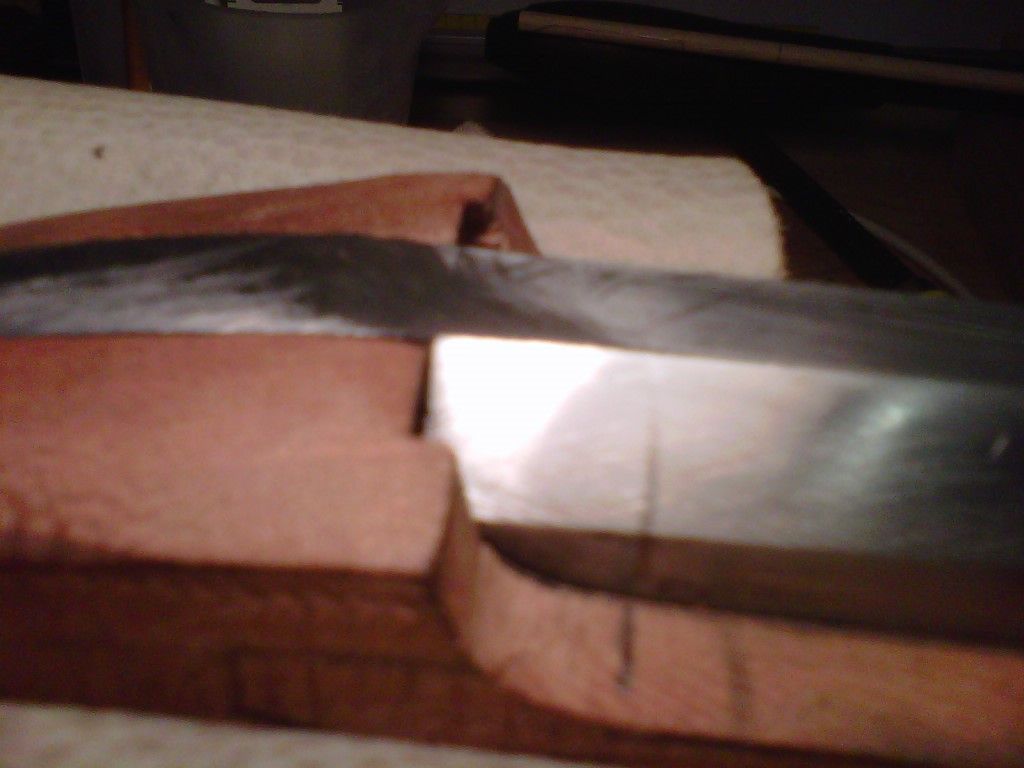
The trouble is that when placed as above the main spring still is in contact with the barrel, can the spring be thinned abit? Not a great pic but maybe you can see the spring and barrel at the left side of the pic:
IMG_0004_zpsa5d55568.jpg
[/URL][/img]


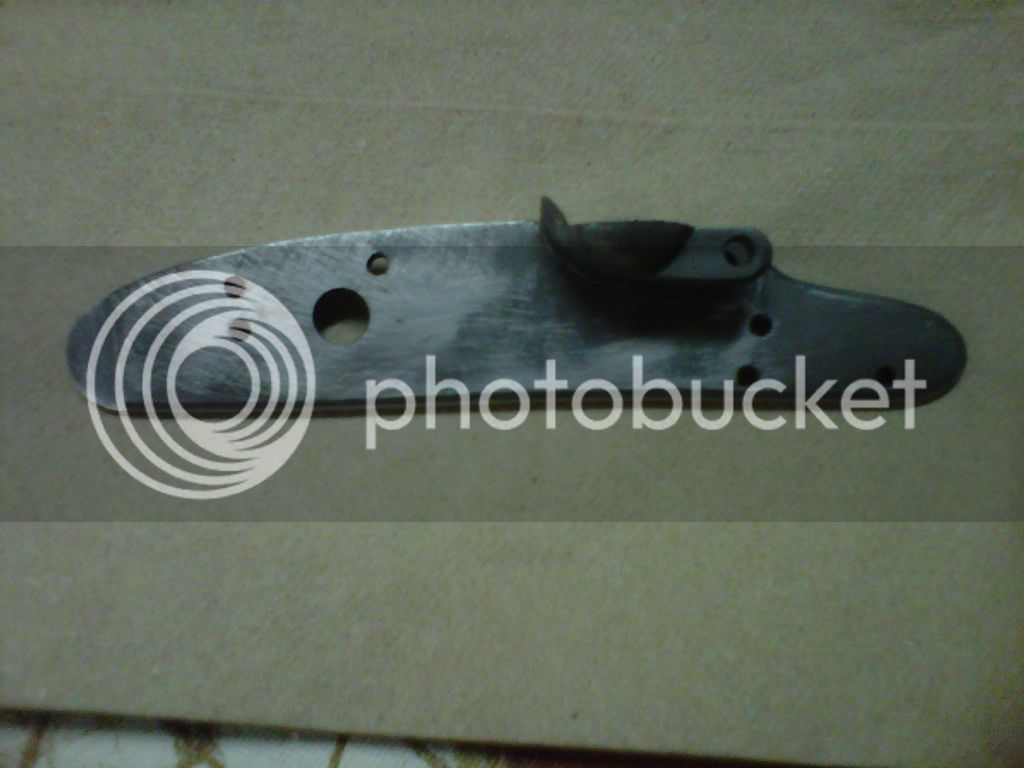
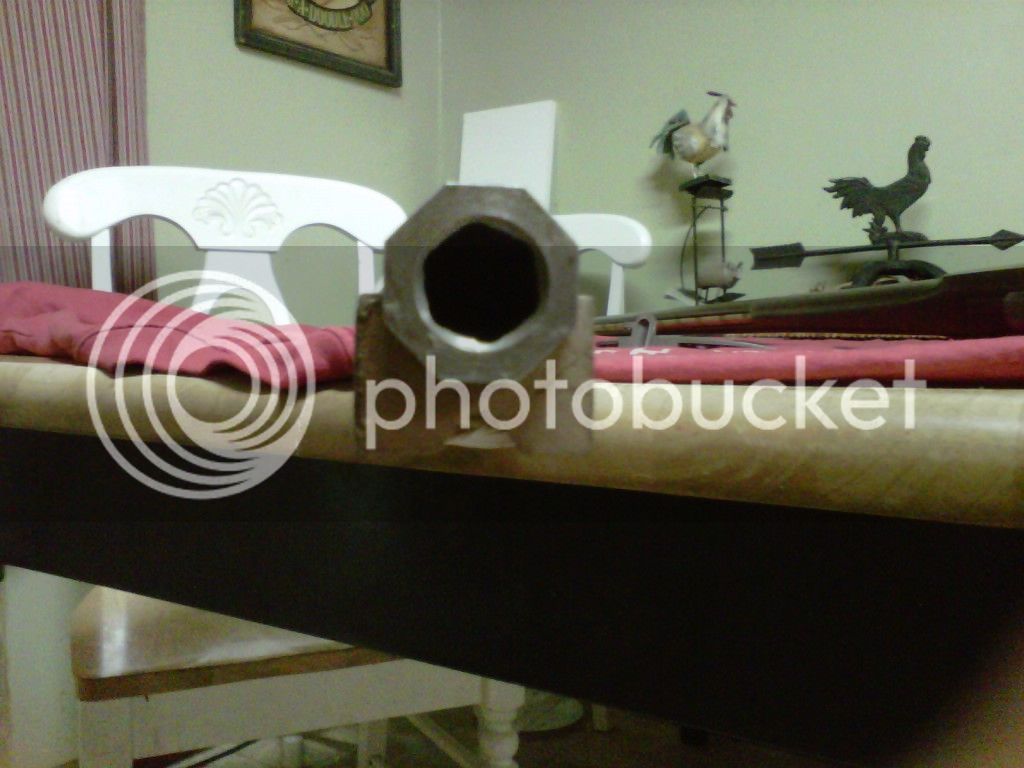
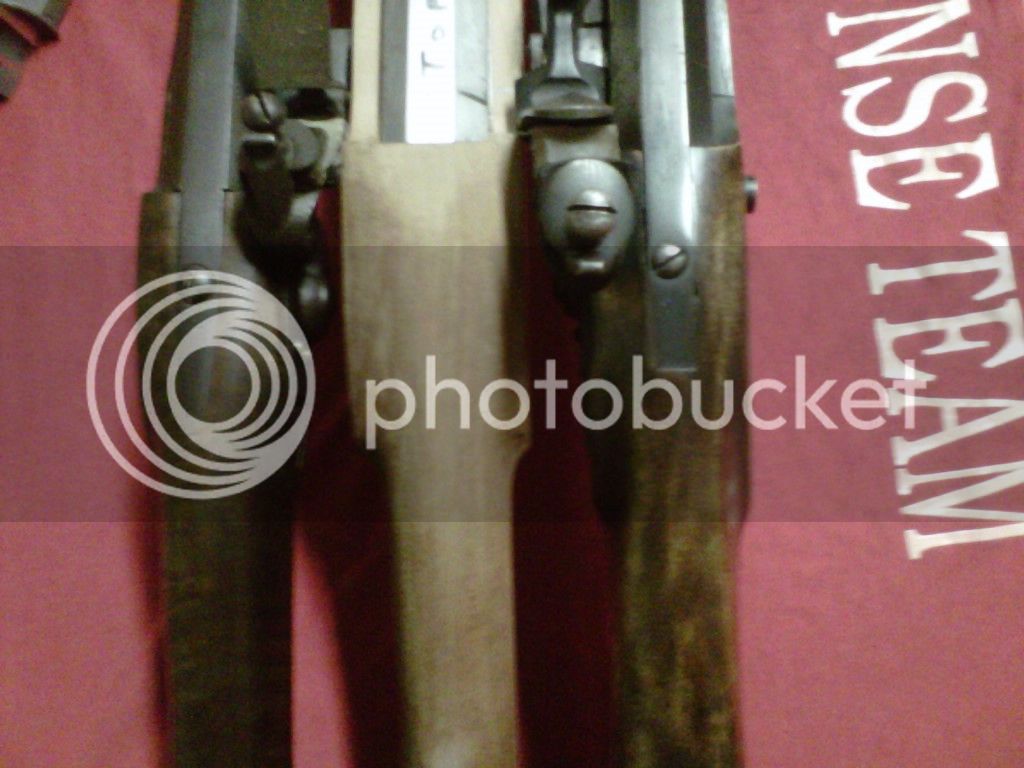
The other interference is with the breech plug the screw (not installed but the hole for it is shown) hits the plug. Maybe I can take some of the screw's head off or grind clearance in the plug? Pic here:

IMG_0005_zpsf5477ebd.jpg
[/URL][/img]

IMG_0006_zps95646492.jpg
[/URL][/img]

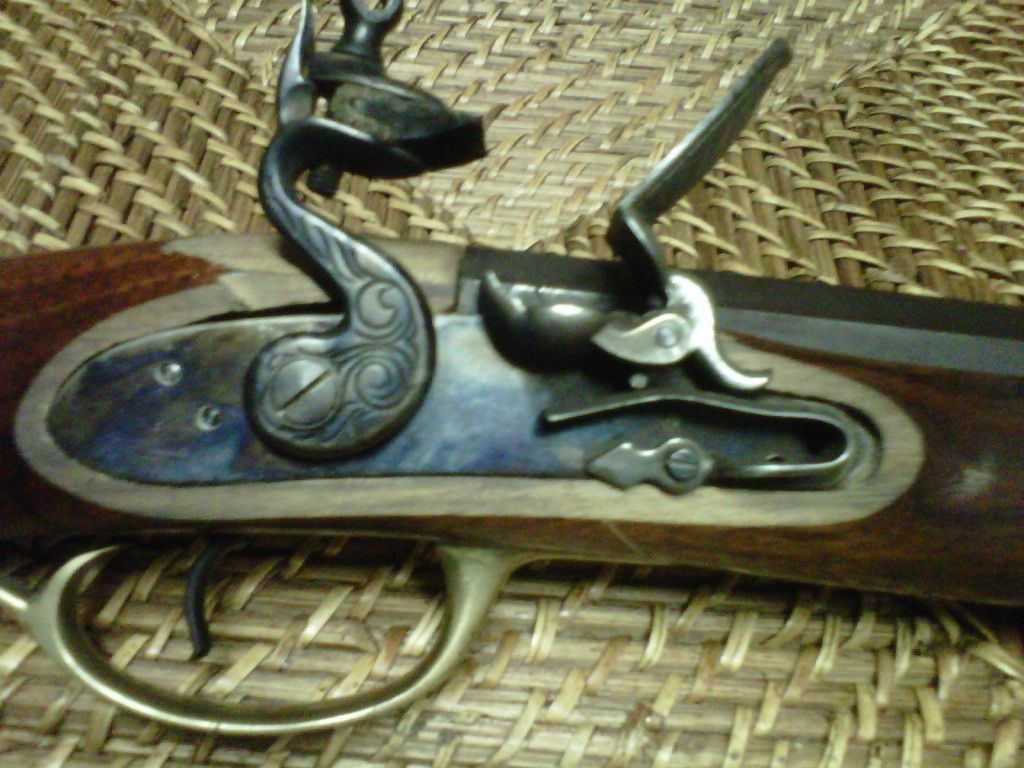
Now just incase the verdict is to leave the Manton for another day and use a siler does this look anywhere near correct for placement?

IMG_0002_zps45c879bf.jpg
[/URL][/img]
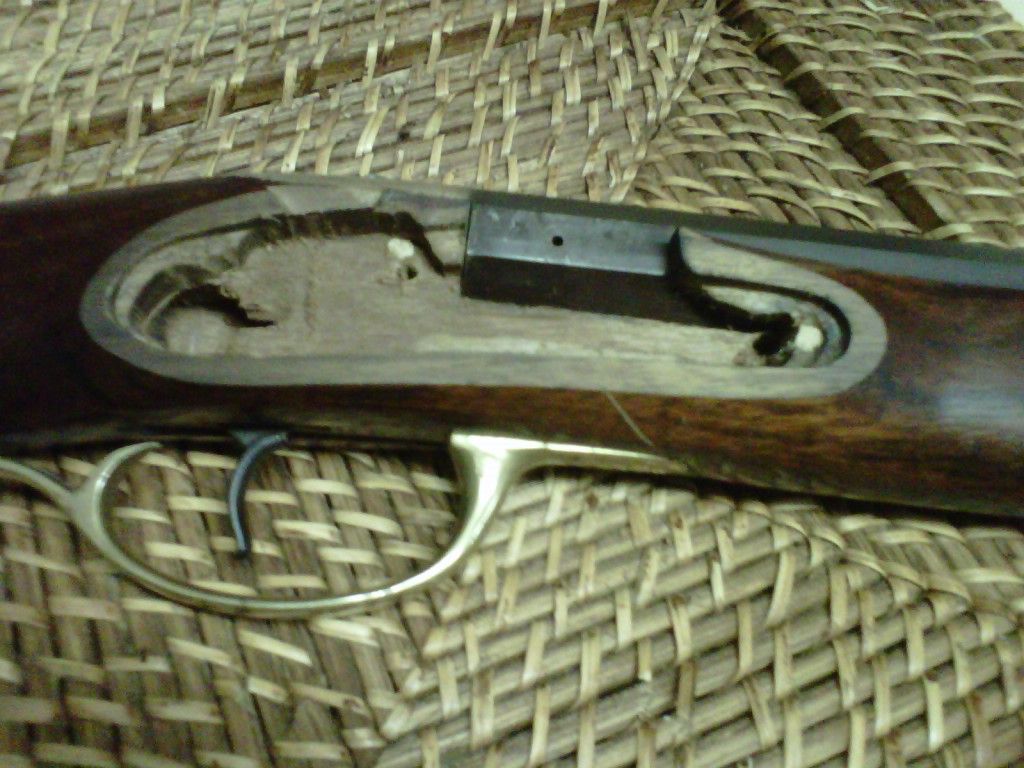
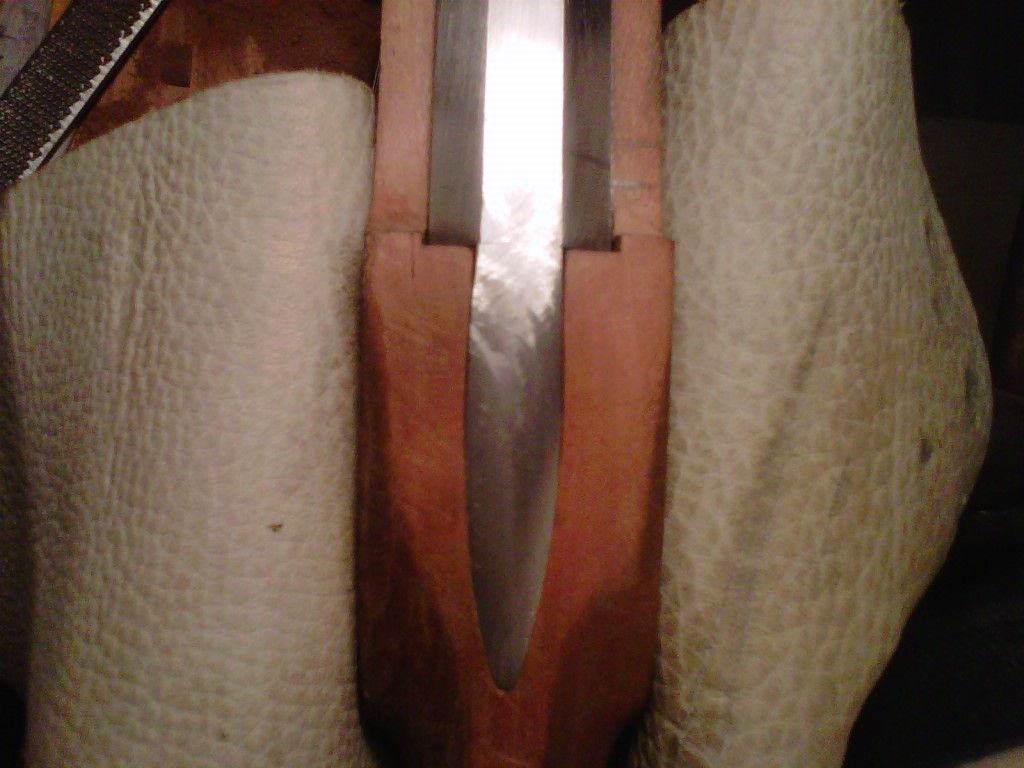
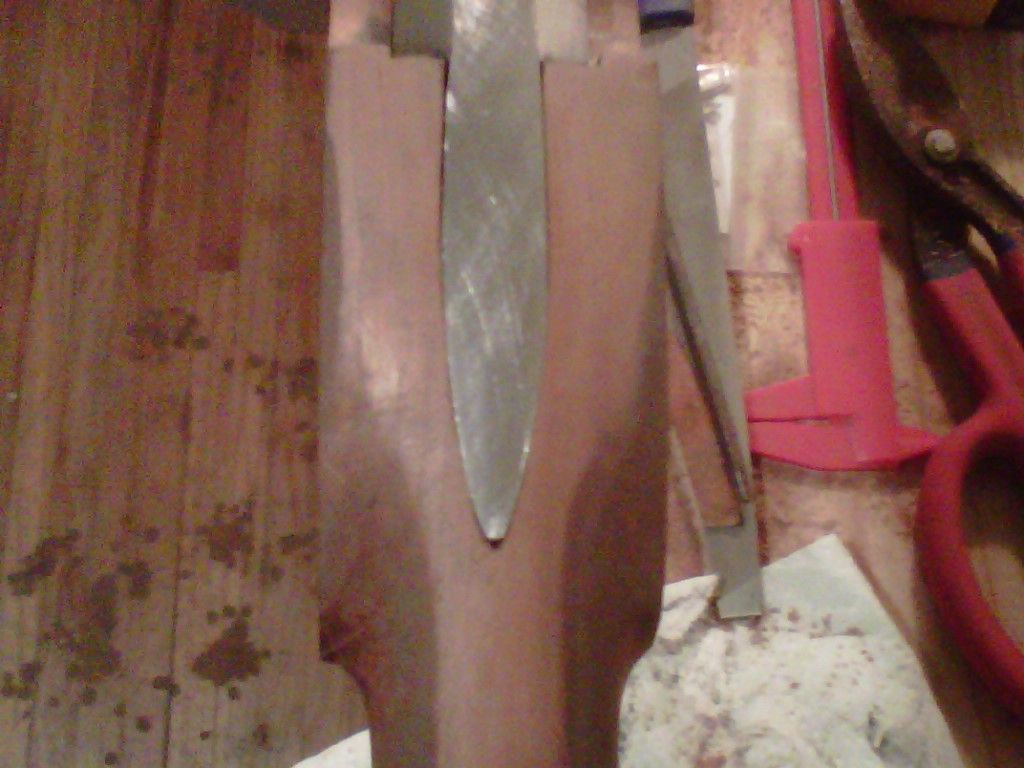
My other current question is what should I do about the mess I have created with the tang :redface: Should I continue torturing it? or can I file it to shape once everything is installed and I have the wrist 90% shaped?

IMG_0007_zps5fd53f36.jpg
[/URL][/img]

Thanks for taking the time to look at my mess. If anyone has any suggestions beyond saving for a Caywood build I'd love to hear them.
 
I may be wrong but the barrel looks to be set way to deep in the breech area of that stock. I know it's a rough blank but you still have a lot if work to do before that lock is ready to be inlet.

You'll pretty much have to measure and redraw the pattern to salvage that blank IMHO. But...you need to know how and what to draw. I suggest you get at lest one good building book like the Gunsmith of Grenville County.

Study it, research original work, ask questions.

The Manton is a small lock but I believe it's your placement that's giving you the most problem.

I think you are placing your lock too far down the barrel and too high on the side flat. The center of the pan should be just ahead of the breech face, about 1/8 inch for a drilled vent, a little more for a liner to clear.

Buddy I'll be honest. Ive been studying your project real hard trying to help. I see where you ave made some potential mistakes especially in the barrel placement. Since it's a blank I think most of it can be fixed, but I do not have the experience to confidently tell you how to fix it. All I can suggest is to study the building books and ask questions. Maybe Birddog6 ,Zonie or some of the more experianced builders like them will be able to help.
 
Good eye, Sorry I should have forewarned, there is lots of wood above and below the barrrel that will be coming off, about 4 mins work with a sharp spoke shave. I used a TOW tulle plan to get the basic stock shape/barrel reltionship, You can't see it in the pic but on the stock I have transfered the TOW lines pretty exact and the barrel is where it is suppose to be (i hope/think) in relation to the faint lines though not in relation to the roughed out shape. I did the barrel inlet when the blank was a squared up hunk of wood and only roughed out the shape when I needed to see something happen. I am always loath to give up square surfaces when there is measuring to be done LOL. Basically that big hump at the tang was just left as a sacricial surface.

I have laid out the ram rod, thimbles, lugs and lock plate and they all seem to fit (cross fingers).

The stock while certainly it's own bundle of imperfection and bad inleting is not interfering with the lock (yet).

Thanks for the book advice, I do have the Kit Ravenshire ones but certainly could use more.
 
I think you are placing your lock too far down the barrel and too high on the side flat. The center of the pan should be just ahead of the breech face, about 1/8 inch for a drilled vent, a little more for a liner to clear.

Your right about too far down the barrel for sure, the breech plug ends at the beginning of the circle around the fox, In my pic the lock is slid too far forward.
Re the hieght on the side flat how low can I go? I was afraid to go any lower because that flat ends and the bolster wont be against anything? This defienlty is the heart of my quandry.
 
Up with a fussy baby so figured I might as well snap a couple more pics and make sure I did'nt totally miss something.

I laid a cardboard piece on to show my intended lines, does it looked whacked still?

IMG_0015_zpsb047133d.jpg
[/URL][/img]

The picture with the lock plate has a square in it showing where the plug ends am I in the ball park do ya figure?
IMG_0017_zps5496f7c5.jpg
[/URL][/img]

One thing is for dam sure pro built flinters in the 1500-2500 dollar range are one of the great bargains in the world!
 
Take the barrel out, take a RR & push it down the bore to the breechplug.
Mark the RR at the muzzle end.
Take the RR out of the bore & lay it along the side of the barrel, align the mark to the end of the barrel, now mark the breechplug face on the barrel flat the lock will be on.
Take a exacto knife & turn it over & make a light scratch on that line so it will not rub off.

IF using a vent liner, now lay it on the barrel flat at the bottom edge of that barrel flat. Set it about 1/16" off the breech face line. Now above it mark the center of that vent liner with the exacto knife.
Remove the vent liner & with a straight edge make a line straight down.

Now take a center punch & make a light punch dot in the Center of the flat, on the vent liner center line.

THAT mark my friend, is what you will use to align the flashpan center of the lock to the barrel.

No guessing, no "should be about.... here", no nothing, the center IS on this dot.

I prefer the vent liner threads NOT to intersect with the breechplug threads.

What lock you use should be what fits the build.

Normally the rear lockbolt is going to be interfered with by the lug on the breechplug. That usually is eliminated by a hole in the lug or at least a notch in it. Either way, it must have clearance on the bolt/screw when finished. If not, the rifle recoil transmitted to the screw could crack the stock at the lock inlet.

Keith Lisle

PS: I would Rasp off some of the wood on top of that stock so you can see what you are doing. Flatten it off. Then cut some of the side rail back more so you can see some of the barrel back at the breech area. The wood is sloped up & you cannot see where the vent liner will even be. Look at your plans or a finished rifle & trim it back a lil & then round it up so you can see how it is going to fit in.

PSS: IF you do not have a set of Plans, stop where you are & call TOW & buy a set Right Now, get them & use them. It will help you Immensely to have a set of plans to set all your parts placements by, if you have never done it before. If not, you may end up with the wrist & breech all out of proportion. YOu can even take a photo to a copier & blow it up, but it is best to know or have something to go by or you could take 900 bucks & make a 150. rifle.
 
I don't mean to be crude or rude, but by the time you flatten of the top of that breech area wood, & contour the stock down to fit, you may be all out of whack.

Appears the barrel is too low & the comb & butt too high. Since you have already shaped the bottom of the stock, you don't have any extra to adjust it.

Get a picture of what you are building, blow it up & lay the firearm over it. It could be the angle of the photo as you have the muzzle at a downward angle & that could be misleading.

But I like Plans, Photos, Drawings. I don't build Anything without getting a plan first or making a plan. I want to KNOW where I am going with it, not just flop along......

Keith Lisle
 
Normally I would say drill the ramrod hole before you begin to inlet your lock, no matter which lock you decide on. Reason being, if the hole strays from its course a little low, you could still lower the barrel to maintain slimness in the breach area. In your case, however, the barrel appears to be so deep already, there will be nothing left of the wrist. Like Birddog says, get a plan sheet and mark it on your stock. Whatever you do, don't remove any more wood from the underside of the buttstock.
 
One thing is for dam sure pro built flinters in the 1500-2500 dollar range are one of the great bargains in the world!

Amen, Bro.
This is a good post, it shows clearly why non-builders, like me, should leave it to the experts.
I will comment on two points, though.
Generally, screwing the mainspring is a big NO-NO. :nono:
Screwing with the screws is often OK and done to provide clearances. Just keep them from banging on the wood.
 
Prowler - if your cardboard cutout is the shape you want throughout the butt, and its all got wood under it as you laid it out, then maybe you are not out of whack. Trace those lines and rasp or bandsaw down to them.

If indeed you have an acceptable lockplate/wrist/butt profile, then you're good to go with the normal sequence. I guess you've inlet the tang already. I wouldn't "torture" it much more, at least while cold - - looks like it could snap on you at the thin spot. Or heat it red and bend it slightly to match top wrist profile. It can be filed to match the profile - some folks only have about 1/8" thickness left at the rear of the tang.

You can take meat off the tang bolster to remedy the interference with the bridle screw, but I'm guessing when you position the lock back correctly, that won't be an issue.

Next thing I do is install barrel lugs and pins - get the barrel in its permanent home. Some don't do this at this point.

Are you going to use two lock bolts, or just one rear one? If you're using two, you really should do the ramrod hole before you position and inlet the lock. You know the fore-aft positioning of the lock now from earlier advice, but you'll also need to know the up-down position, i.e. where to position the nose of the lock for the front bolt. That will depend on where exactly your RR hole ended up. It's a balancing act to keep that bolt in the thin wood web and keep your pan under the vent that is roughly centered on the side flat.

Try to stay in the normal building sequence - deviating usually leads to issues later on.
Good luck and ask questions !
/mike millard
 
Hi Guys thanks for the feedback. To be clear I know within a 1/64th where the breech plug ends, I am working to a plan from T.O.W and the lines have been transfered to the blank, I have patterns cut for every piece and no matter how many times I mock things up everything seems to fits in the wood I have left. Ram rod wont be drilled it will be cut. I saved a piece of channel length wood for a cap and ground a scraper to match the RR. I'll stare on it/measure a bunch more before I go anyfurther and if I have taken too much off the bottom I'll have to go with a smaller diameter steel ram rod with homemade furrels?

Re the MAnton Lock:
I think what I have distilled from the responses is that the pan should be in the center of the flat (vertically) so that precludes the use of the Manton? In order for the manton to be close to fitting it needs to be too low on the flat.

Just to lighten the air of the build the barrel was 50 bucks off gunbroker, and the siler lock was half of that. When this gun is done I'll be into it for just a bit more then 200. (and a zillion hours) With the price of .410 cartridges what they are it wont take many ruffies and bunnies to pay for it no matter if it is perfect or not.

Thanks again for taking the time to help, much appreciated.
 
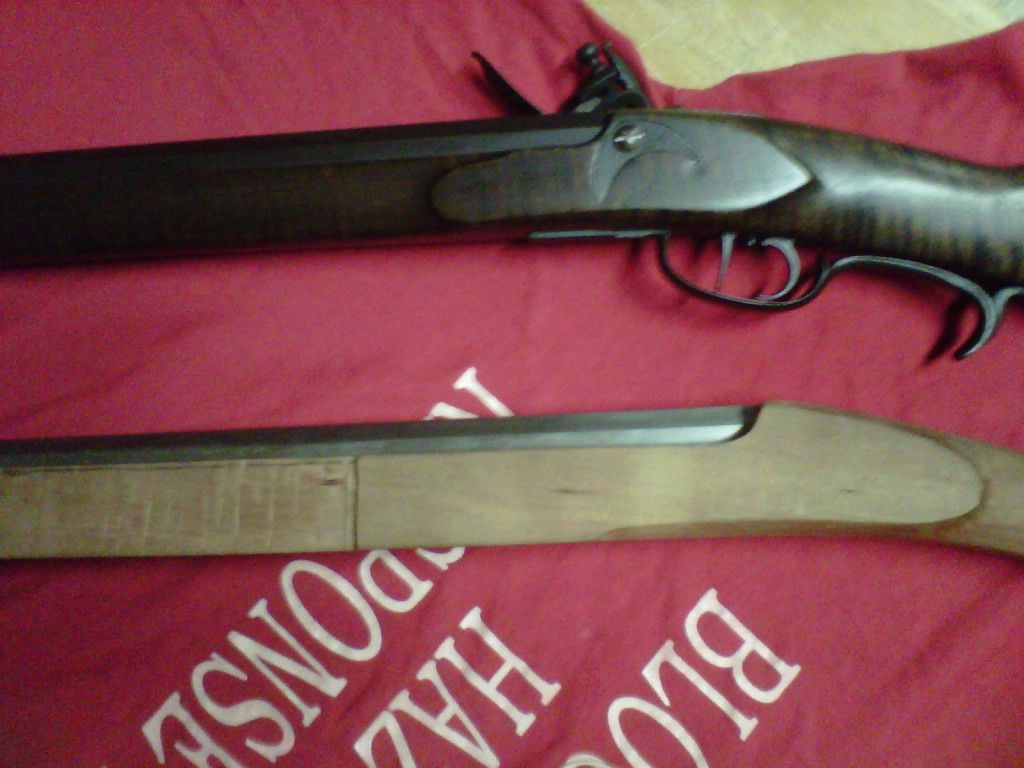
Hers some guns and rifles showing lock locations.


Note here how I have the ramrod groove measured and drawn on the side of the stock. Note how this lock plate is positioned The spring is well below the barrel and the "guts" are well behind the breech. This lock plate was reshaped to fit.


Tangs...
It's best to fit the barrel without the tang or breech plug installed.

OK here you see that I have revealed more of the side flat. Note too as as the the line approaches the breech it dips revealing more of the side flat of the barrel, an original feature. The top of the side panel will be brought down to the match the top of the side flat line, another original feature.


After the barrel is fit to the stock, the Breech plug is installed and the barrel with tang is inlet straight down.


A little space was left just behind the point so it's less prone to chip there on recoil. If course on a flat tang the line or space will be straight across. The tang is only bent and filed to match the final contour of the wrist.

On this Clay Smith gun, note how the sides of the stock fall way from the tang. The stock is not flat on each side of the tang.
 
54ball,

Huge thanks for those pics, they were very well chosen.

Amongst other 'aha' moments the tapering as you approach the breech explaination really helped me.


OK my brain is about worn out.

Here is a pic of where the lock needs to go, yep it looks way too low

IMG_0001_zpsb4b08ef8.jpg
[/URL][/img]

But here are pics of the T.O.W tulle pattern pinned on the wood, all seems well.

IMG_0005_zpsa12b414d.jpg
[/URL][/img]


Guess there is not much to do but forge ahead, can't think it out much more. Worse case scenario I break out the epoxy and paint then cover the opps fixes with tanabark red or robins egg blue paint, some bronze nails and elk ivory accents.

Thanks again I appreciate the help.
 
I don't think you have the lock positioned correctly on the top photo. You have the top edge of the flashpan clear down at the bottom edge of the flat. :shake: The top edge of the flashpan goes to the Center of the flat.

Possibly you are looking at the molding around the lock instead of the actual lock lines ?

Keith Lisle
 
Yep your right, not sure what I was thinking when I laid that out. Guess I got convinced there was a problem that did not exist and conformed to it.

All is well now.

Measuring and not having your confidence shaken go a long way in this stuff eh.

Thanks
 
Do a search on "Mike Brooks gun building tutorial".

Lots of pics and info on the building sequence that will be of benefit to your build.
 
Now, when you do get everything laid out, touch hole located (doesn't have to be drilled, just located), breechplug inlet, lock located, etc. and you end up with the mainspring breaking through the wood and hitting the barrel, don't worry. Happens all the time. Just mark on the barrel at the location of the spring break-through, and take yourself a big ol' file and gouge out a groove in the barrel to clear the spring. :wink: It's almost a guarantee it will have to be done when using a Siler lock with its THIN bolster (it is with me, anyway).

When you get it done, let us know how that SHORT barrel patterns!

:)
 
J.D, Stophel, 54ball,

Great insight/advice guys gratitude.

I just spent 20 mins browsing the Books links and that cost me 100 bucks! In addition to the Greenvile I discovered I could not live with out the French Trade Gun book.

Found the tutorial ( :redface: again I read it 2 years ago and promptly forgot everything) thanks for the reminder.

Wow I am glad you mentioned the thin bolster I would have had a big moan if I did not see it coming. Would it be possible the fit a shaped'spacer/shim' between the bolster and barrel to avoid needing to cut a groove in the barrel?

EDIT: Ok I just held a complete siler against the barrel and yep the top arm of the spring just touches the barrel. LOL. It never ends, Well at least now I have a solution so I am ahead eh. Too bad to learn about the Siler's thin bolster problem I have 4 of them to use up over the coming years.

Pattern from this tube.... we can hope for something that predictabley clips standing grouse heads at 20 yards.... I have bags of cards, wads and 50 lbs of #6 shot ready to go and will certainly be playing with those before I break out the RB mold. Very much looking forward to the process of making it shoot. Hope it all works out I got the idea in my head that it would be the most perfect thing to climb with for big Blue Grouse or Partmigan.
 
That is what I thought. I am looking at that & thinking "Why does he have the flashpan at the bottom of the flat ? He is looking at the wrong line on the plan, must be mistaken the lock molding line for the lockplate line.

Oh, :shake: No don't shim the bolster. If you shim the bolster then the frizzen is going to have a big gap between it & the barrel. That leaves powder exposed which is dangerous, powder can get wet, powder can fall out, powder can accidently get ignited, etc.

I work with Silers all the time & it will work out OK if you have the lock placement correct. Once in a while you may have to file a very small place in a barrel, but seldom for me. I think I did it one time in the last ?

Keith Lisle
 
Back
Top